
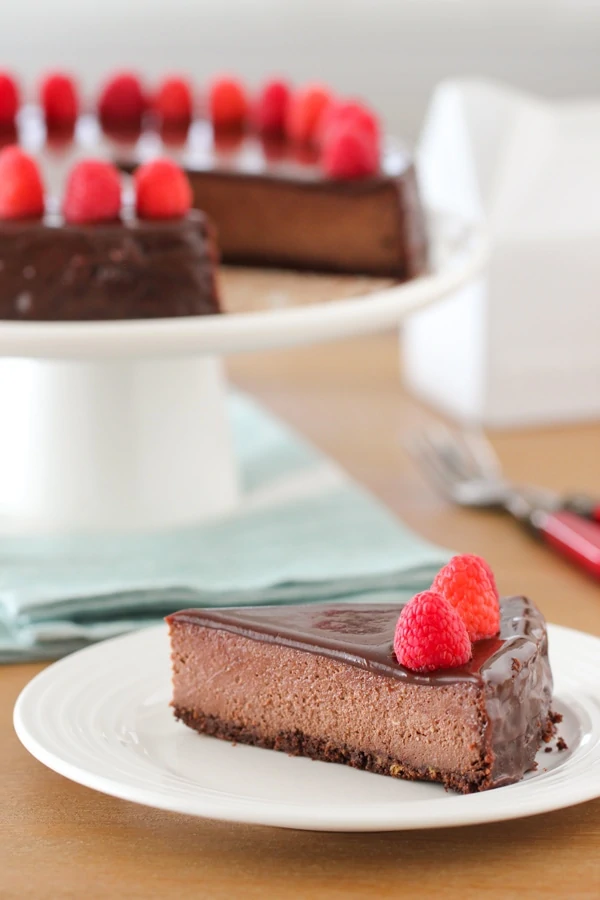
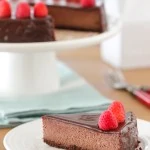
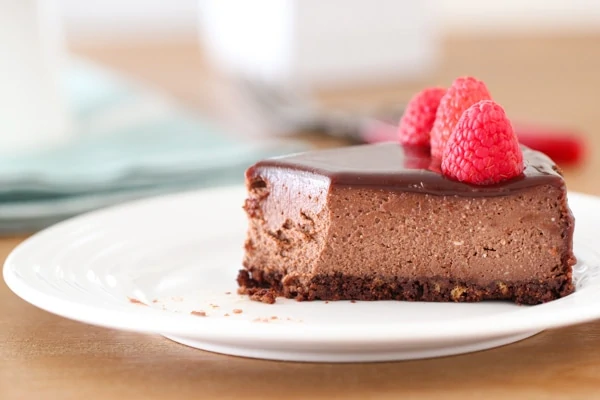
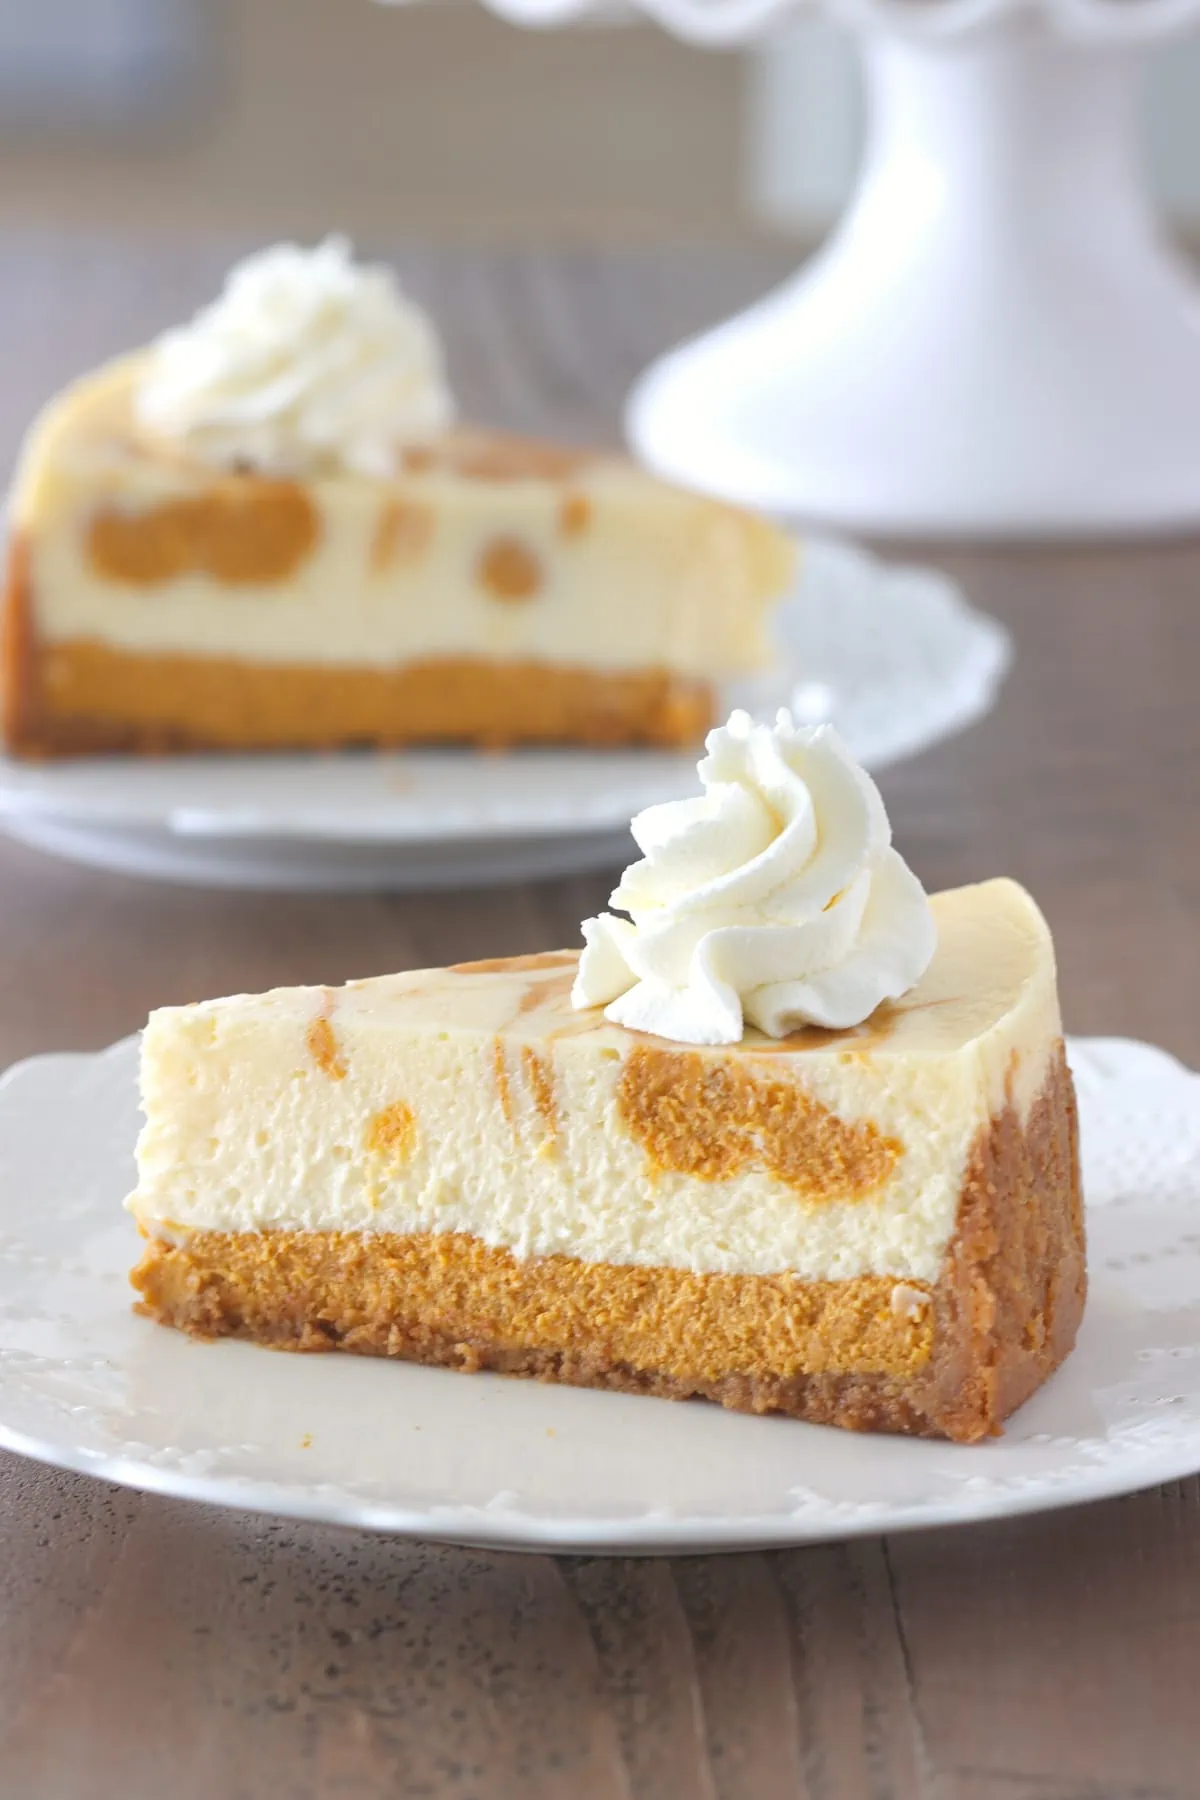
This Chocolate Ricotta Cheesecake is tender, velvety and so chocolatey. Using ricotta for the cheesecake makes it so much softer and more luscious than using just cream cheese.
The chocolate sour cream topping and the fresh raspberries make it extra special and even more delicious. It's looks so elegant and sophisticated, but is really easy to make.
 When I'm rarely but suddenly attacked by a chocolate craving, sometimes there's nothing to do but give in. Since cheesecake is my vice, a decadent, creamy Chocolate Cheesecake was the way I decided to go. My cheesecake of choice is a soft and tender sort, so I prefer to add some ricotta cheese to it.
Even though I'm in the mood for baking now and then, it's nice to have options for a cake that takes hardly any effort. You know what? This is probably the easiest cheesecake in the world. You don't even need to use any electrical appliances and will have just a few dishes to deal with. Even though this is a Chocolate Cheesecake, there is no finicky chocolate to deal with. That's right. I have a confession to make. Sometimes I'm too lazy to melt chocolate, so in this case, I'm using cocoa powder. I can promise you that it tastes just as chocolaty and delicious, even without it, and most of all, you can have it in the oven in 20 minutes. That's pretty great in my book.
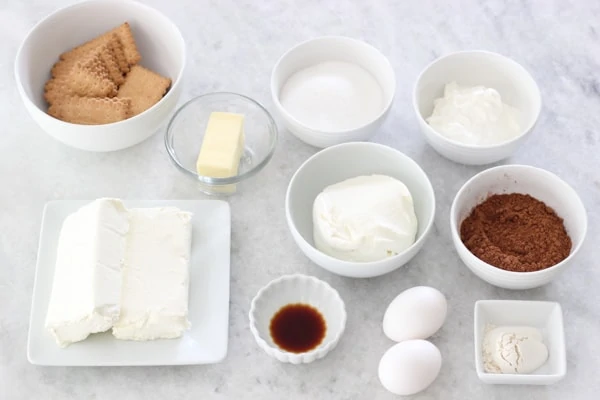
Most importantly, the velvety and luscious chocolate cheesecake will have you whispering compliments to yourself with every bite. Most likely you already have most of these ingredients on hand, so you can whip this up anytime. Ingredients:
Crust:
1 cup tea biscuit cookie crumbs (or vanilla wafers or graham crackers)
2 Tablespoons granulated sugar
4 Tablespoons butter, melted and slightly cooled
¼ cup unsweetened cocoa powder
⅛ teaspoon salt
Filling:
2 (8 oz) packages cream cheese, softened to room temperature
¾ - 1 cup granulated sugar
1 cup ricotta cheese
½ cup sour cream
2 eggs
1 teaspoon vanilla extract
½ cup unsweetened cocoa powder
2 Tablespoons all purpose flour
Chocolate Glaze:
3 Tablespoons cocoa powder
4 Tablespoons sour cream
6 Tablespoons sugar
2 Tablespoons butter
To decorate:
fresh raspberries
Or you can use toasted nuts, other berries, coconut flakes or chocolate shavings
Video of How To Prepare the Chocolate Ricotta Cheesecake
Instructions:
 Preheat the oven to 325 degrees Fahrenheit.
In a large ziplock bag, crush the tea biscuits with a rolling pin to get 1 cup of cookie crumbs. You can also use vanilla wafers or graham crackers. You can also pulse the cookies in a food processor. 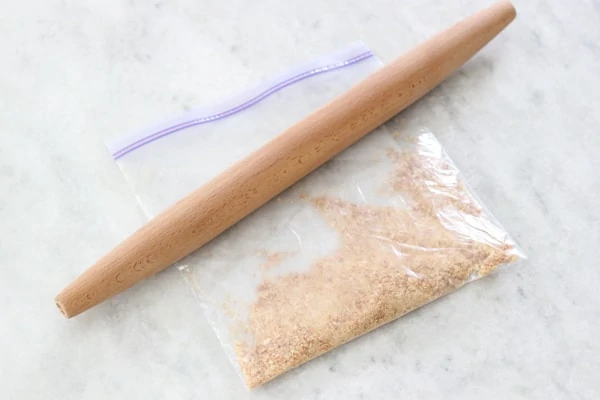 Add the sugar, melted butter, cocoa powder and salt to the ziplock bag, close and massage the bag with your hands to mix the ingredients together. (You can also add all these ingredients to the food processor and pulse a few times to combine.)
 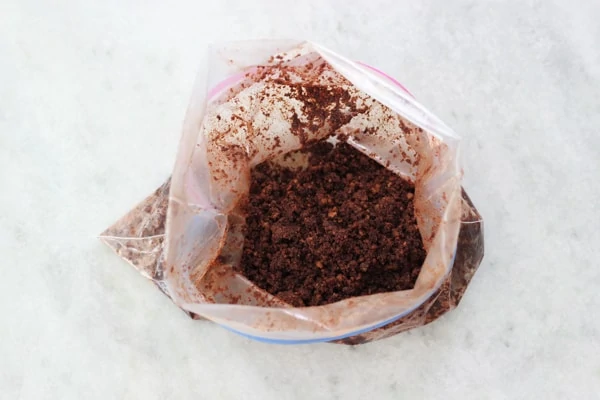 Press the crumb mixture into the bottom of a 9 inch round springform baking pan. If you want to make your crust come up the sides of the cheesecake, make another ½ batch of the crumb mixture.
 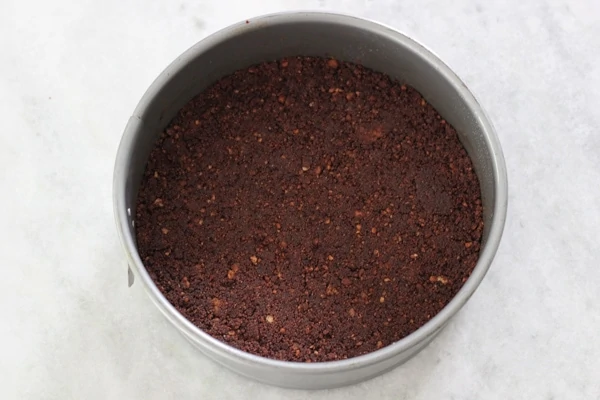 Bake the crust in the preheated oven for 8 minutes, then cool slightly.
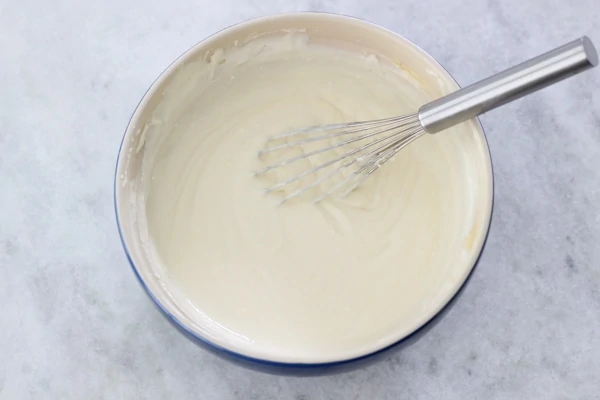
Meanwhile, mix the softened cream cheese with the granulated sugar in a large mixing bowl. 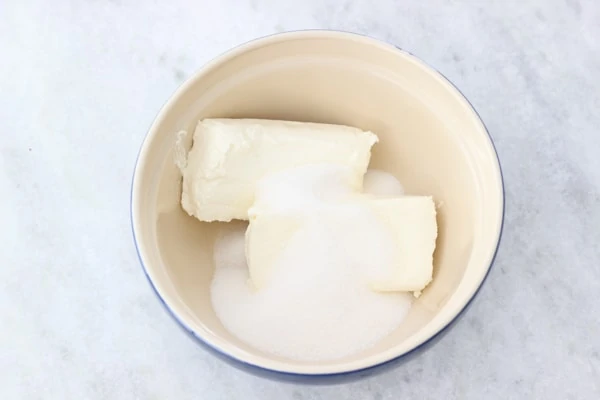 If your cream cheese is softened enough and you're willing to put your arm muscles to good use, you can use a large wooden spoon, but you can most certainly use a standing mixer or a hand mixer. Mix until smooth.
 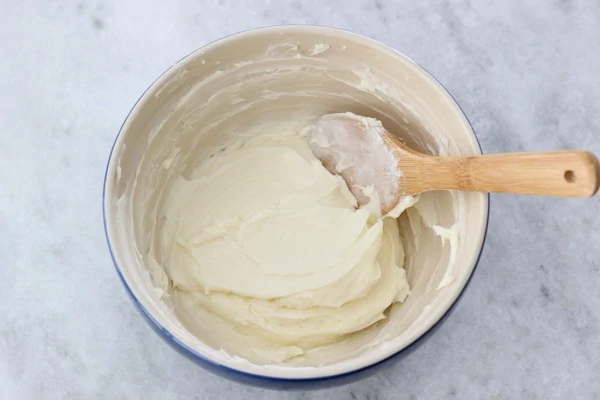 Add the ricotta, sour cream, eggs and vanilla extract.
If you would prefer not to use ricotta cheese, you can use the same amount of farmer's cheese or cream cheese.
At this point, I like to switch to a whisk. 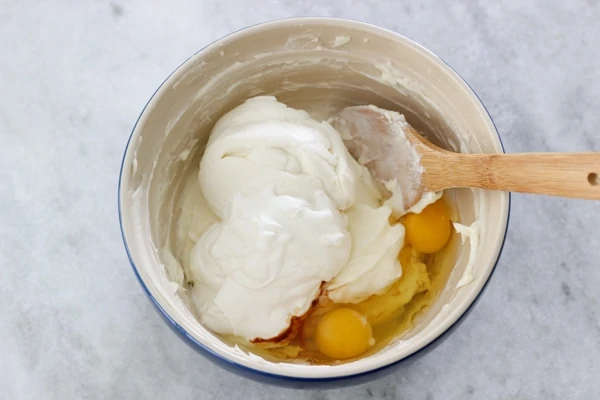
 Add the cocoa powder and flour. Mix to combine.
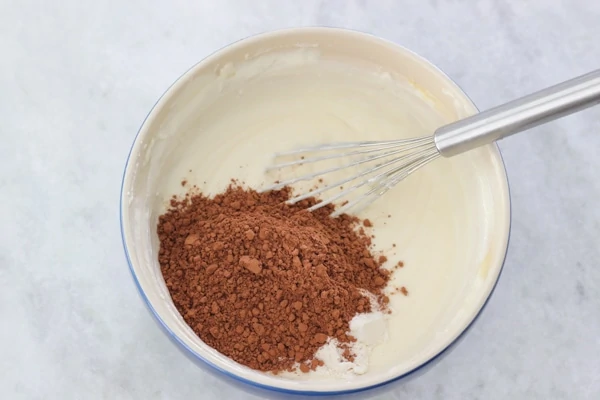
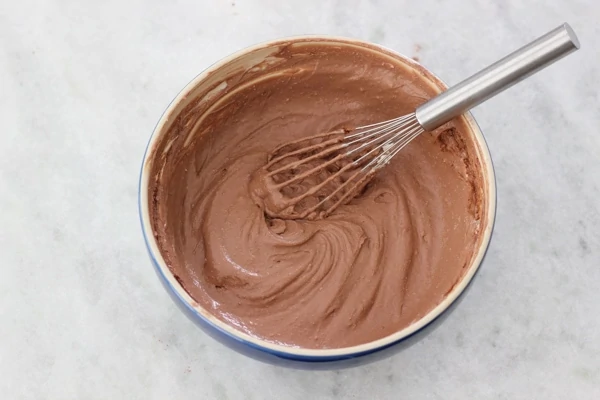 Pour the filling into the baking pan over top of the slightly cooled crust. The thing that I'm happiest about right about now is that I only have one bowl, one spoon and one whisk to wash.
 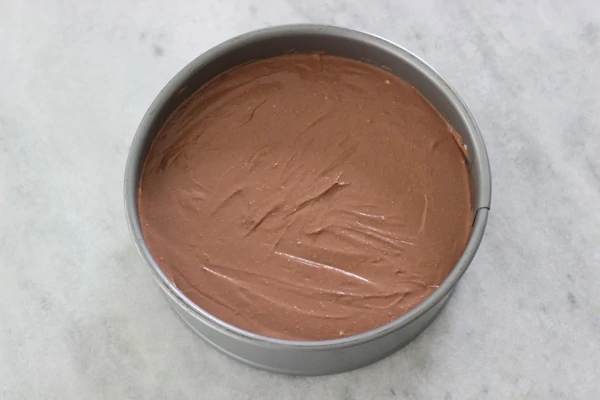 Bake in the 325 degrees Fahrenheit preheated oven for about 40 minutes. Turn off the oven, crack the oven door open and let the cheesecake cool gradually until the oven is completely cool. Chill the cheesecake in the refrigerator overnight, or for about 6-8 hours.
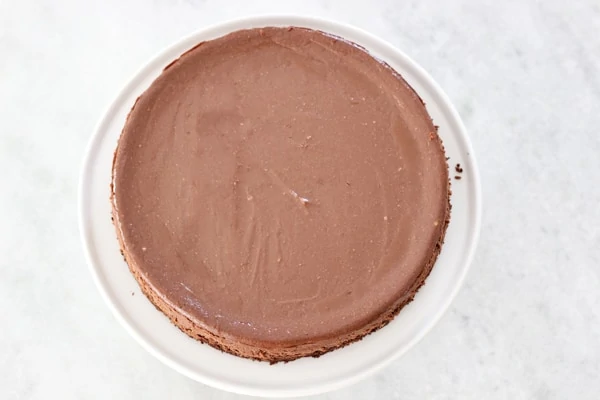
 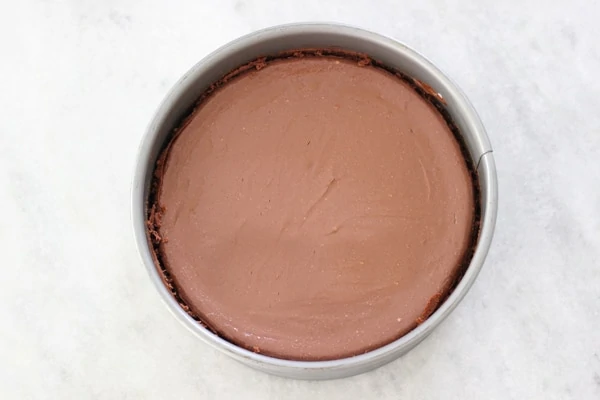 Take the cheesecake out of the springform pan and transfer to a serving plate or a cake pedestal.
 Make the chocolate glaze.
This glaze/frosting is AMAZING! Something about the addition of sour cream makes it extra creamy and flavorful. I actually prefer it to melted chocolate.
You can totally skip making the glaze though. If I'm going with the easiest route possible, I only make the cheesecake itself.
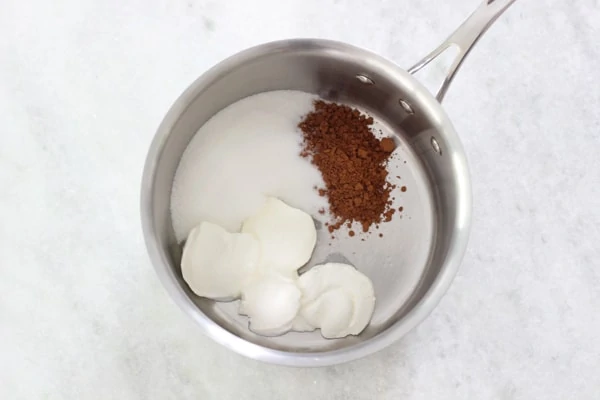
Place the cocoa powder, sour cream and sugar in a small saucepan. Whisk everything together until smooth while still cold.
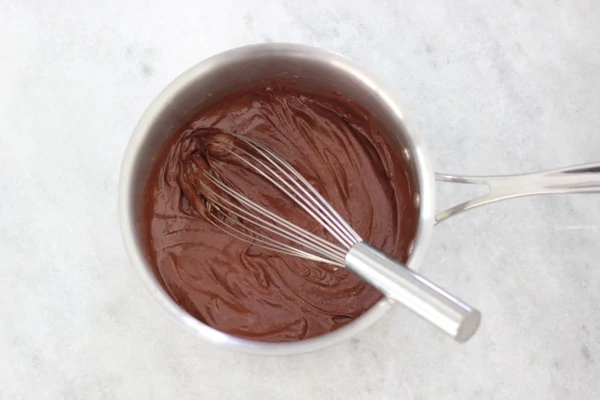 Cook on medium-low heat until it comes to a boil, simmer for a few minutes, until the sugar dissolves and the glaze thins out to a syrupy consistency.
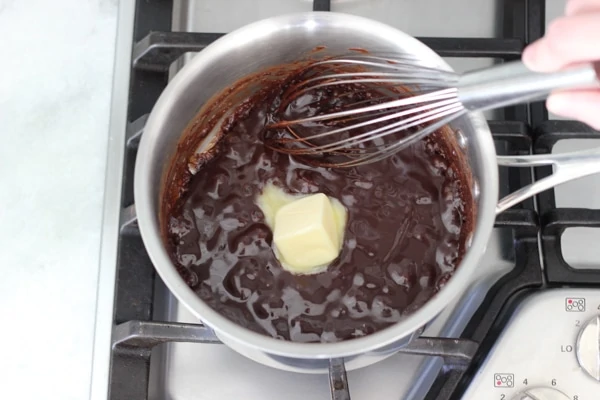
 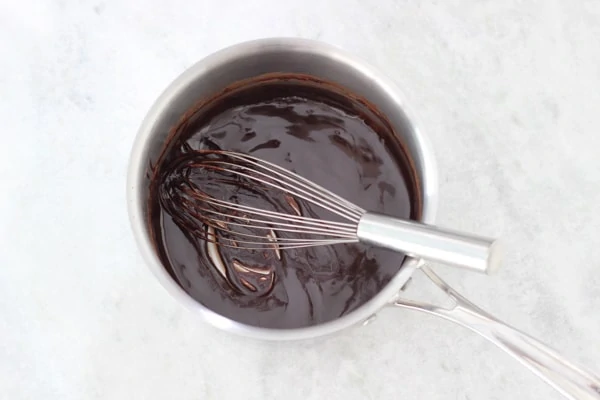 Whisk in the butter.
 Pour the chocolate glaze over the top of the cheesecake.
 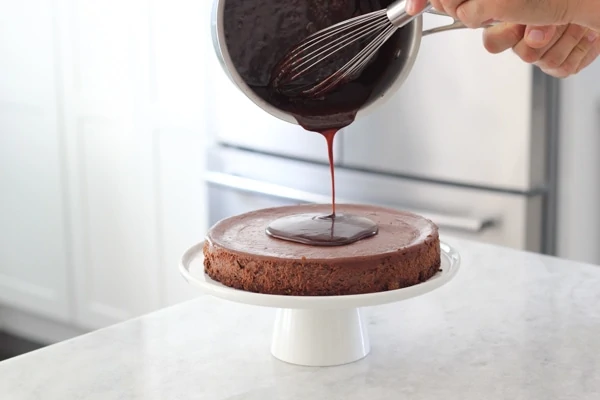 Quickly tilt the cheesecake while swirling it around to distribute it all over the top. Do this quickly, since the cheesecake is cold and the chocolate glaze will set up fast.
 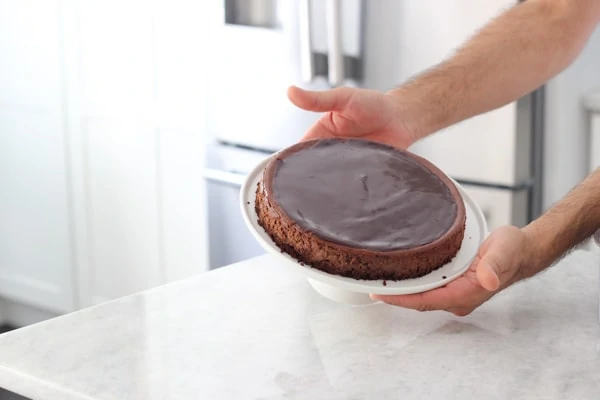 (My husband was kind enough to help me out with the glaze, so I could have this picture. So now you can stop wondering about the manly hands in the picture. My arms are really not that hairy.)
I also spread the glaze on the sides of the cake. You can make more crumbs and spread them up the sides of the cake. Decorate with raspberries. I also use chopped, toasted nuts, chocolate shavings, sprinkles, etc.
Bring the cheesecake to room temperature before serving.
Chocolate Ricotta Cheesecake
- Prep Time: 35 mins
- Cook Time: 48 mins
- Total Time: 1 hour 23 mins
- Yield: 1 (9 inch) cake 1x
- Category: Sweets
Ingredients
Crust:
- 1 cup tea biscuit cookie crumbs (or vanilla wafers or graham crackers)
- 2 Tablespoons granulated sugar
- 4 Tablespoons butter, melted and slightly cooled
- ¼ cup unsweetened cocoa powder
- ⅛ teaspoon salt
Filling:
- 2 (8 oz) packages cream cheese, softened to room temperature
- ¾ - 1 cup granulated sugar
- 1 cup ricotta cheese
- ½ cup sour cream
- 2 eggs
- 1 teaspoon vanilla extract
- ½ cup unsweetened cocoa powder
- 2 Tablespoons all purpose flour
Chocolate Glaze:
- 3 Tablespoons cocoa powder
- 4 Tablespoons sour cream
- 6 Tablespoons sugar
- 2 Tablespoons butter
To decorate:
- fresh raspberries
- Or you can use toasted nuts, other berries, coconut flakes or chocolate shavings
Instructions
- Preheat the oven to 325 degrees Fahrenheit.
- In a large ziplock bag, crush the tea biscuits with a rolling pin to get 1 cup of cookie crumbs. You can also use vanilla wafers or graham crackers. You can also pulse the cookies in a food processor.
- Add the sugar, melted butter, cocoa powder and salt to the ziplock bag, close and massage the bag with your hands to mix the ingredients together. (You can also add all these ingredients to the food processor and pulse a few times to combine.)
- Press the crumb mixture into the bottom of a 9 inch round springform baking pan. Bake the crust in the preheated oven for 8 minutes, then cool slightly. If you want to make your crust come up the sides of the cheesecake, make another ½ batch of the crumb mixture.
- Meanwhile, mix the softened cream cheese with the granulated sugar in a large mixing bowl. If your cream cheese is softened enough and you're willing to put your arm muscles to good use, you can use a large wooden spoon, but you can most certainly use a standing mixer or a hand mixer. Mix until smooth.
- Add the ricotta, sour cream, eggs and vanilla extract. At this point, I like to switch to a whisk.
- Add the cocoa powder and flour. Mix to combine. Pour the filling into the baking pan over top of the slightly cooled crust.
- Bake in the 325 degrees Fahrenheit preheated oven for about 40 minutes. Turn off the oven, crack the oven door open and let the cheesecake cool gradually until the oven is completely cool. Chill the cheesecake in the refrigerator overnight, or for about 6-8 hours. Take the cheesecake out of the springform pan and transfer to a serving plate or a cake pedestal.
- Make the chocolate glaze.
- Place the cocoa powder, sour cream and sugar in a small saucepan. Whisk everything together until smooth while still cold.
- Cook on medium-low heat until it comes to a boil, simmer for a few minutes, until the sugar dissolves and the glaze thins out to a syrupy consistency. Whisk in the butter.
- Pour the chocolate glaze over the top of the cheesecake. Quickly tilt the cheesecake while swirling it around to distribute it all over the top. Do this quickly, since the cheesecake is cold and the chocolate glaze will set up fast.
- I also spread the glaze on the sides of the cake. Decorate with raspberries. I also use chopped, toasted nuts, chocolate shavings, sprinkles, etc.
- Bring the cheesecake to room temperature before serving.
This is an updated version of the Chocolate Ricotta Cheesecake recipe that was published originally on February 4, 2013. The recipe is the same; I added a new video.
If I was to make mini cheesecakes using this recipe, how long do you think they should bake for? And should I still leave them longer in the oven with the door cracked open?
I haven't experimented with making this recipe into mini cheesecakes, so I'm not sure of the timing.
This was easy and absolutely fantastic!!! Better than any 5 star restaurant.
I'm so happy to hear that, Kristy! So glad you enjoyed the cheesecake. Thanks for taking the time to write.
Made it last week and it was good!!! Perfect for the holidays!
Made this cake for my husband's birthday, absolutely delicious and was a huge success. Wanted to thank you for all the extra tips, they definitely helped!
I'm so glad you enjoyed the cheesecake, Anat.
how long will this cheesecake be good for in the fridge?
A few days at least, Annya. 3 days for sure.
How do u cut the cake to get perfect slices. My cheesecake sticks to the knife and damages the slices. I tried putting knife in hot water but it's not much of a difference
Put the knife in hot water and wipe the knife between each slice on a paper towel.
How far in advance can the ganache be put on the cake? Is the night before too soon?
Also, how do you get the ganache on the sides of the cake so evenly and smoothly?
The night before would be perfect, Christine.
I used an offset spatula to smooth the ganache on the sides while it was still hot.
Hello Olga. This looks interesting to make.
I like Russian recipes but some of them have have measurements that are hard for me. I am not good at math so I hate it. But willing to learn and improve. Do you have a conversion chart that you use for your recipes? Like 5 gr. to tablespoon? I might be confusing. I hope you understood my question.
Hi Lana.
I don't have a conversion chart. I'm sure if you google, you will find many options.
I don't use the metric system for my recipes, so I'm not sure where you found 5 grams? Is it from another website or Russian cookbook?
Hello Olga! This cake super delicious and pretty!
Why is it important to mix one egg at a time? You know such recipes, right?
Adding eggs one at a time allows them to incorporate evenly into the batter, Lana.
In the case of this cheesecake, adding them one at a time helps them to mix evenly quickly. If you add the eggs all at once, you will have a harder time mixing the eggs into the batter and will need to mix it much longer. As I mentioned in the video, one of the things that can cause a cheesecake to crack when baking is when too much air is incorporated into the batter if you mix it too long.
In other recipes, when you are mixing eggs into a creamed butter, it is even more important to add eggs one at a time. Fat and liquid (butter+eggs (or any other liquid, like buttermilk, milk, etc), needs to be added slowly (and be at room temperature) to create a proper emulsion. This creates a perfect texture of the finished cake - light, fluffy, spongy. If you add the eggs all at once, they won't have the correct texture and will most likely cause the cake to be flatter, not as fluffy and may even sink while baking.