
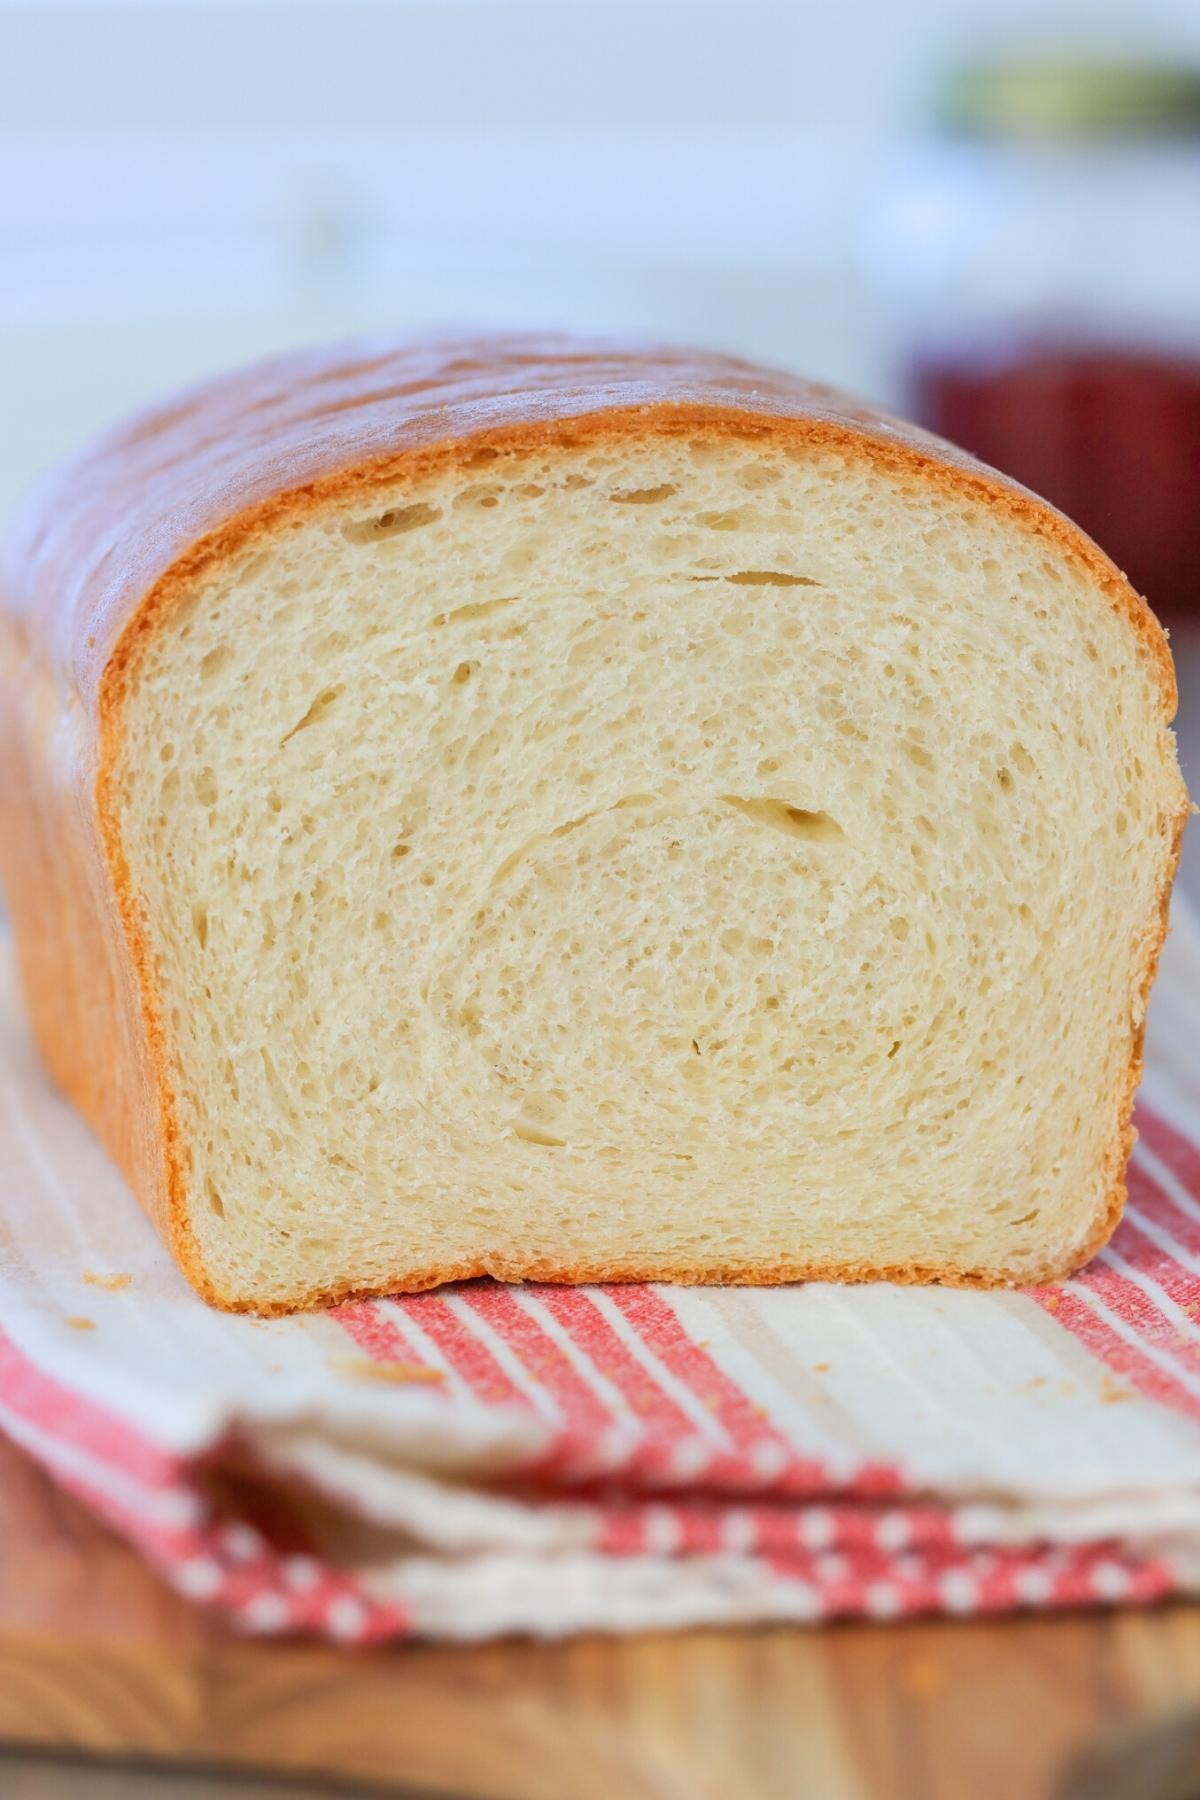
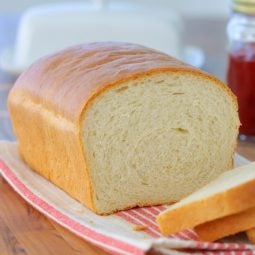
This is my go-to Easy Homemade Bread recipe that always turns out great, uses simple pantry ingredients and makes my house smell amazing. The bread is so fluffy, delicious and is perfect for sandwiches.
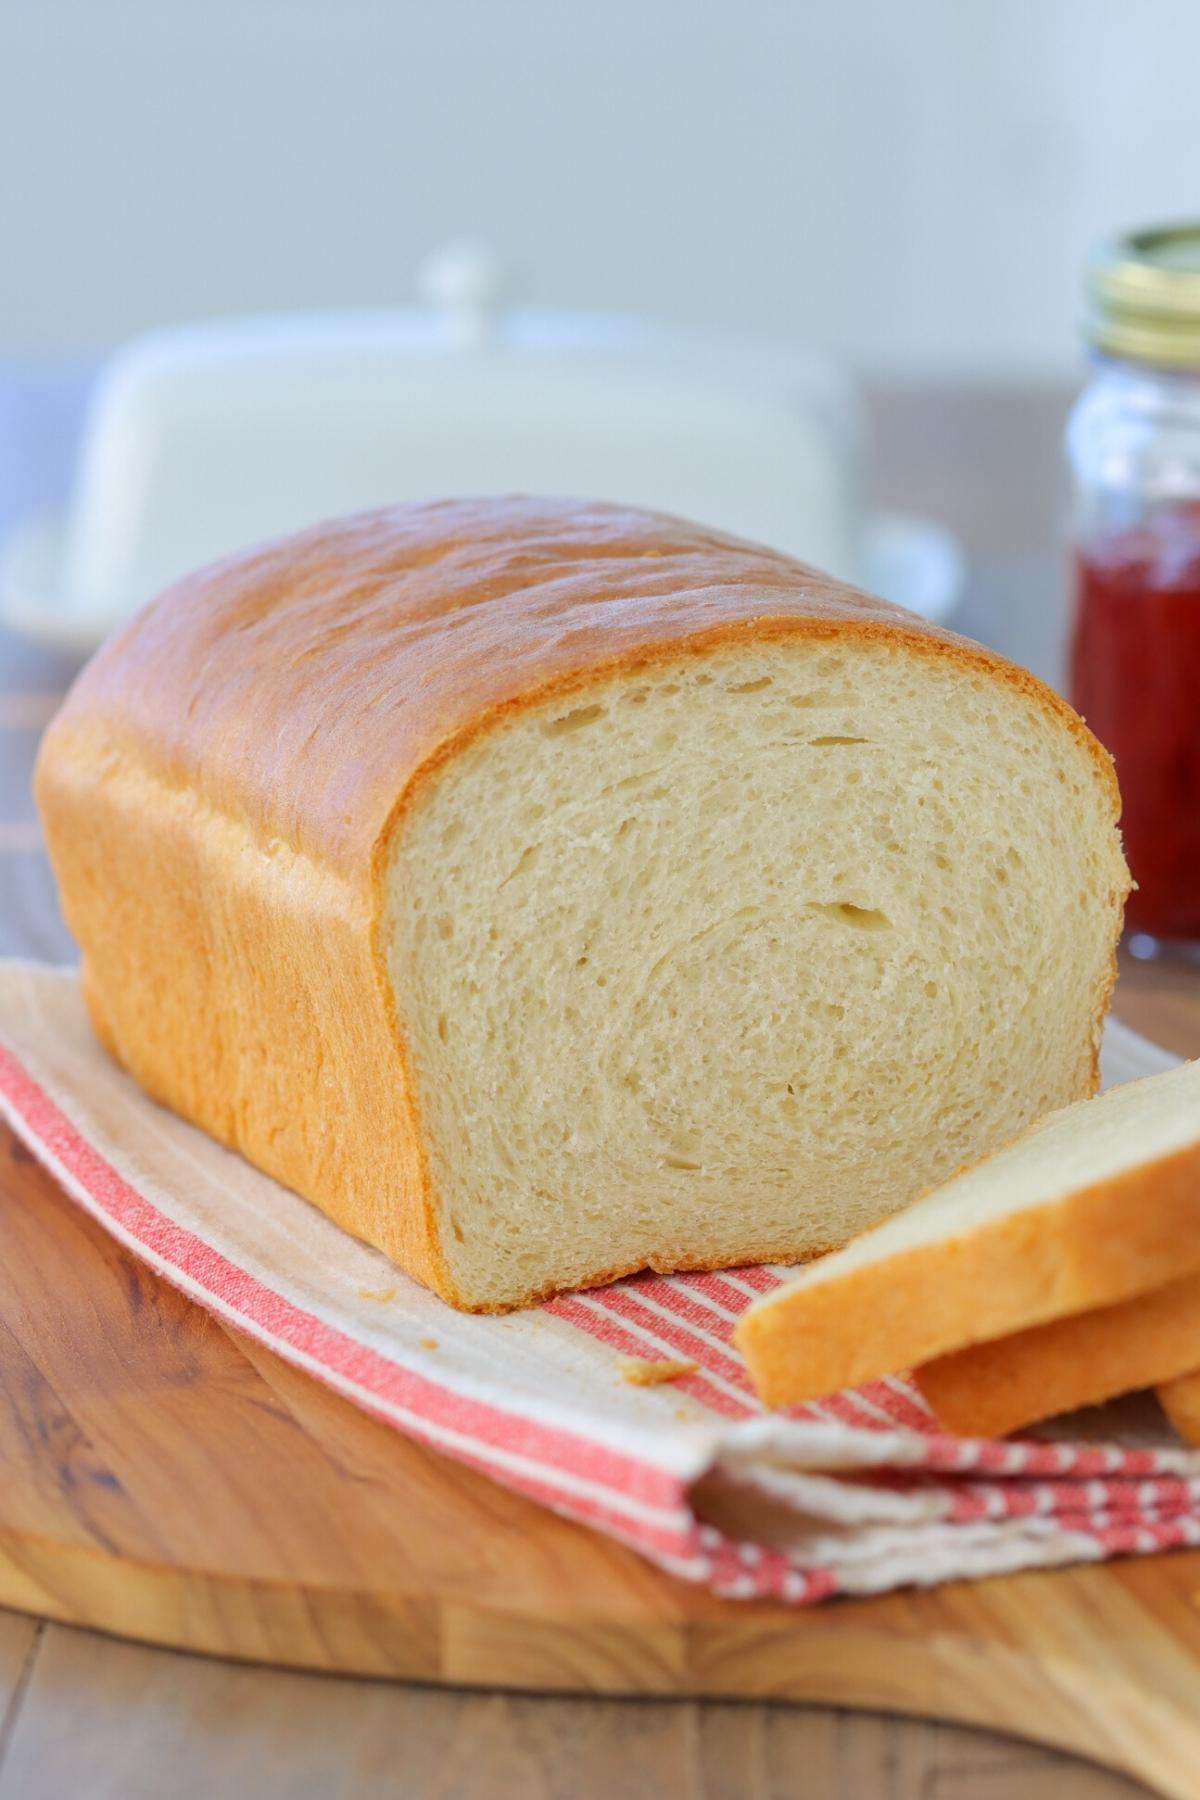
An easy homemade bread recipe is the perfect place to start if you want to start making bread from scratch. There's something so satisfying with making your own bread - it is absolutely amazing. I love experimenting with all kinds of recipes for bread, but when I'm in the mood for simplicity, this is the one I go for.
Jump to:
Why You'll Love This Simple Bread Recipe
Perfect for beginners: If you’re new to baking bread or just want an easy recipe, this is the perfect place to start.
Quick and easy: This recipe is a breeze—there aren’t many steps to follow, so you can enjoy fresh homemade bread without spending hours in the kitchen.
Absolutely nothing like homemade bread: Freshly baked bread is a game-changer. It’s amazing with Homemade Strawberry Jam or alongside a warm bowl of Chicken Noodle Soup.
A family favorite: Baking a loaf of bread brings everyone together—there’s nothing like the smell of fresh bread filling the house. You’ll have the whole family crowding around the kitchen, ready to grab a warm slice!
Ingredients:

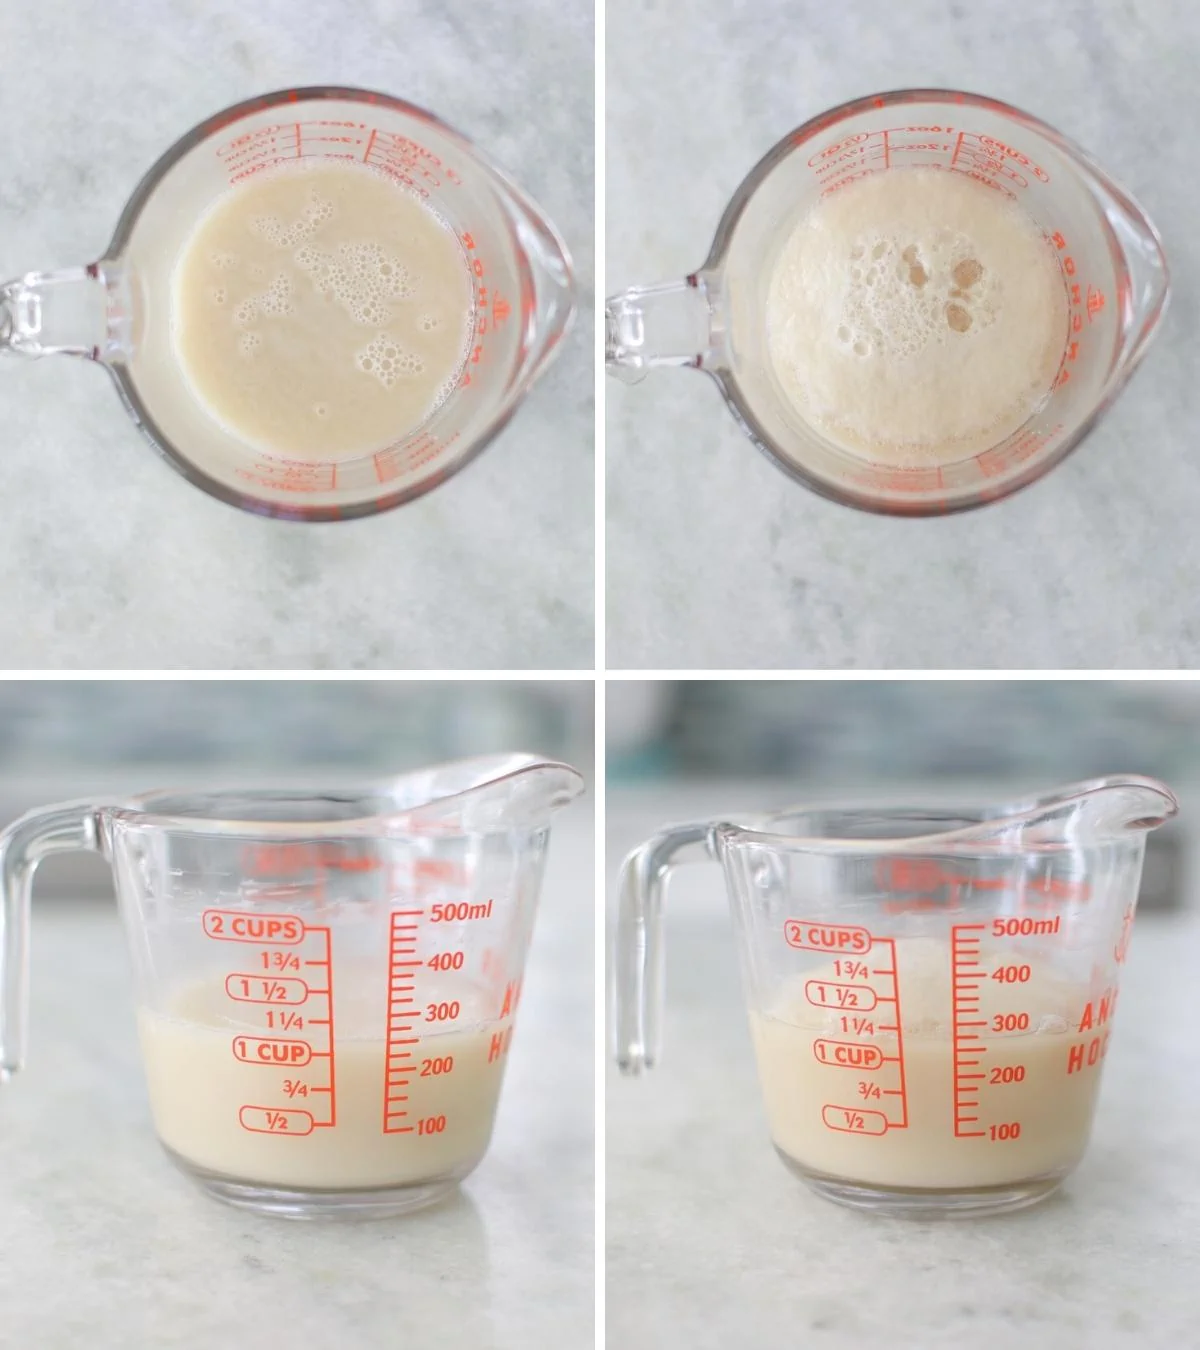
- warm water (110-115 degrees Fahrenheit) - This temperature is perfect for activating the yeast without killing it—just warm enough to help it get to work.
- dry yeast (active dry yeast or instant yeast) *see note below
- sugar - Regular granulated sugar works fine, but I often swap it for honey.
- oil - Any neutral oil works, but I like using olive oil best, followed by avocado oil.
- flour - Bread flour is the best choice for a chewy, airy texture, but all-purpose flour works too.
- salt
The complete list of ingredients and their exact measurements can be found in the recipe card below.
Active Dry Yeast vs. Instant Yeast
They are very similar and can be used interchangeably in recipes. However, active dry yeast needs to be dissolved in warm water first, before using it in a recipe. Instant yeast can be added in dry.
If you're not sure which yeast you have, just add it to warm water first to be safe. The water should be about 90-110 degrees Fahrenheit. If the water is too hot, it will kill the yeast and your dough won't rise.
Is Your Yeast Still Active?
It's such a bummer if you make the bread dough and then wait and wait and it doesn't rise.
To check if your yeast is still active, sprinkle the yeast into some warm water (100-110 degrees Fahrenheit) with a little bit of sugar. Set it aside for 5-10 minutes. It should rise and foam up. It’s ready to use! If your yeast doesn’t do that, it’s time to get new yeast.
P.S. Store your yeast in the refrigerator or even your freezer so it stays fresh longer.
How To Make Homemade Bread
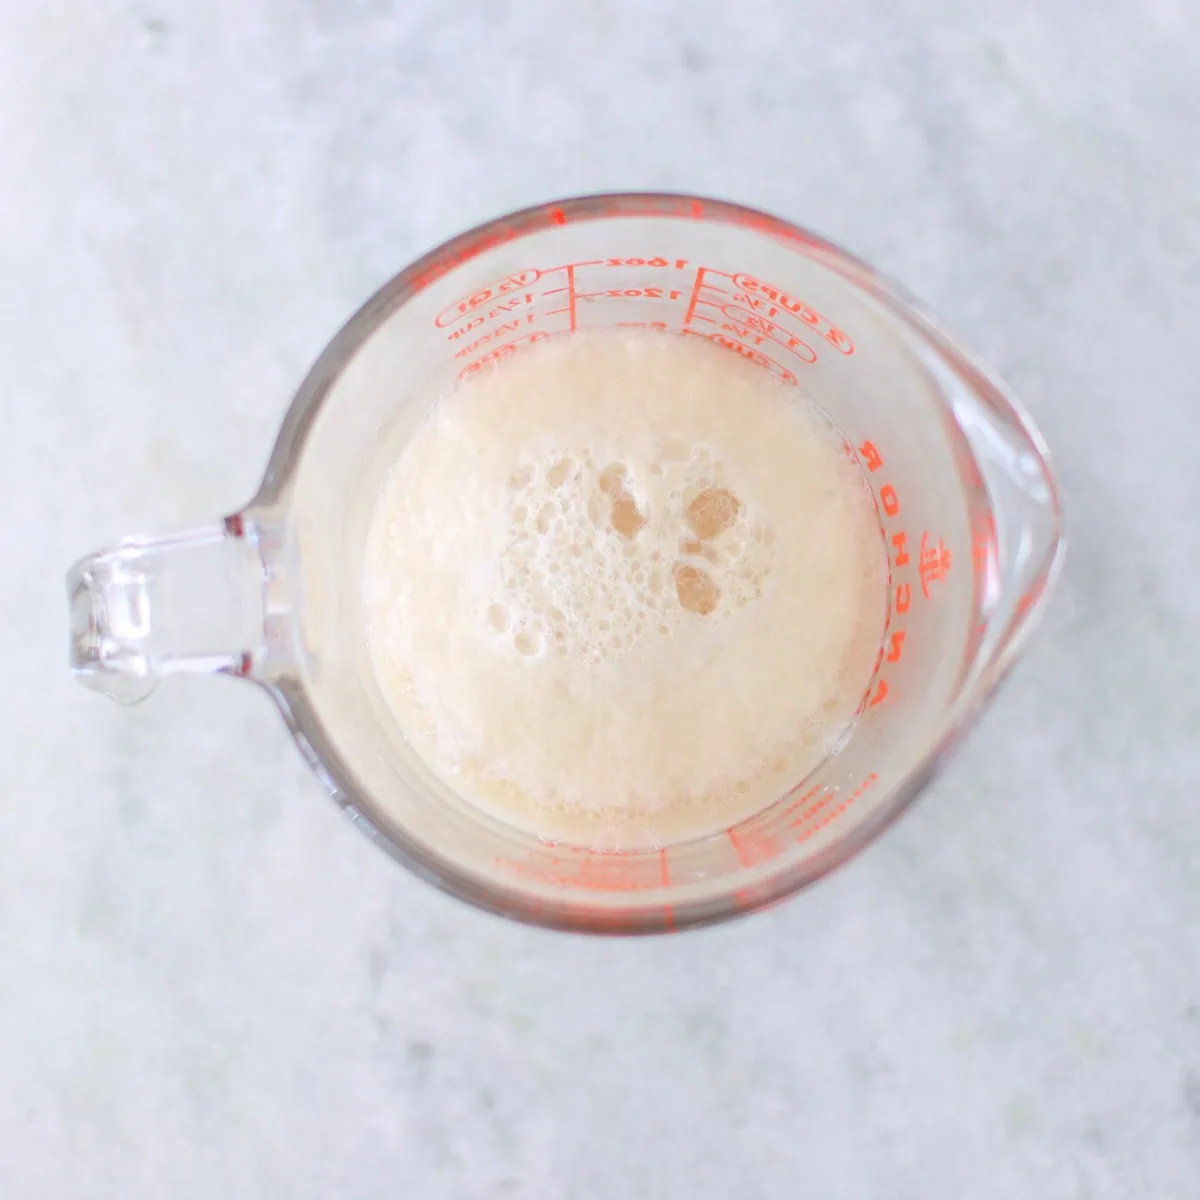
- Dissolve the yeast in the warm water with half of the sugar. (If you're not sure if your yeast is good, set it aside for about 5 minutes, it should foam up.)
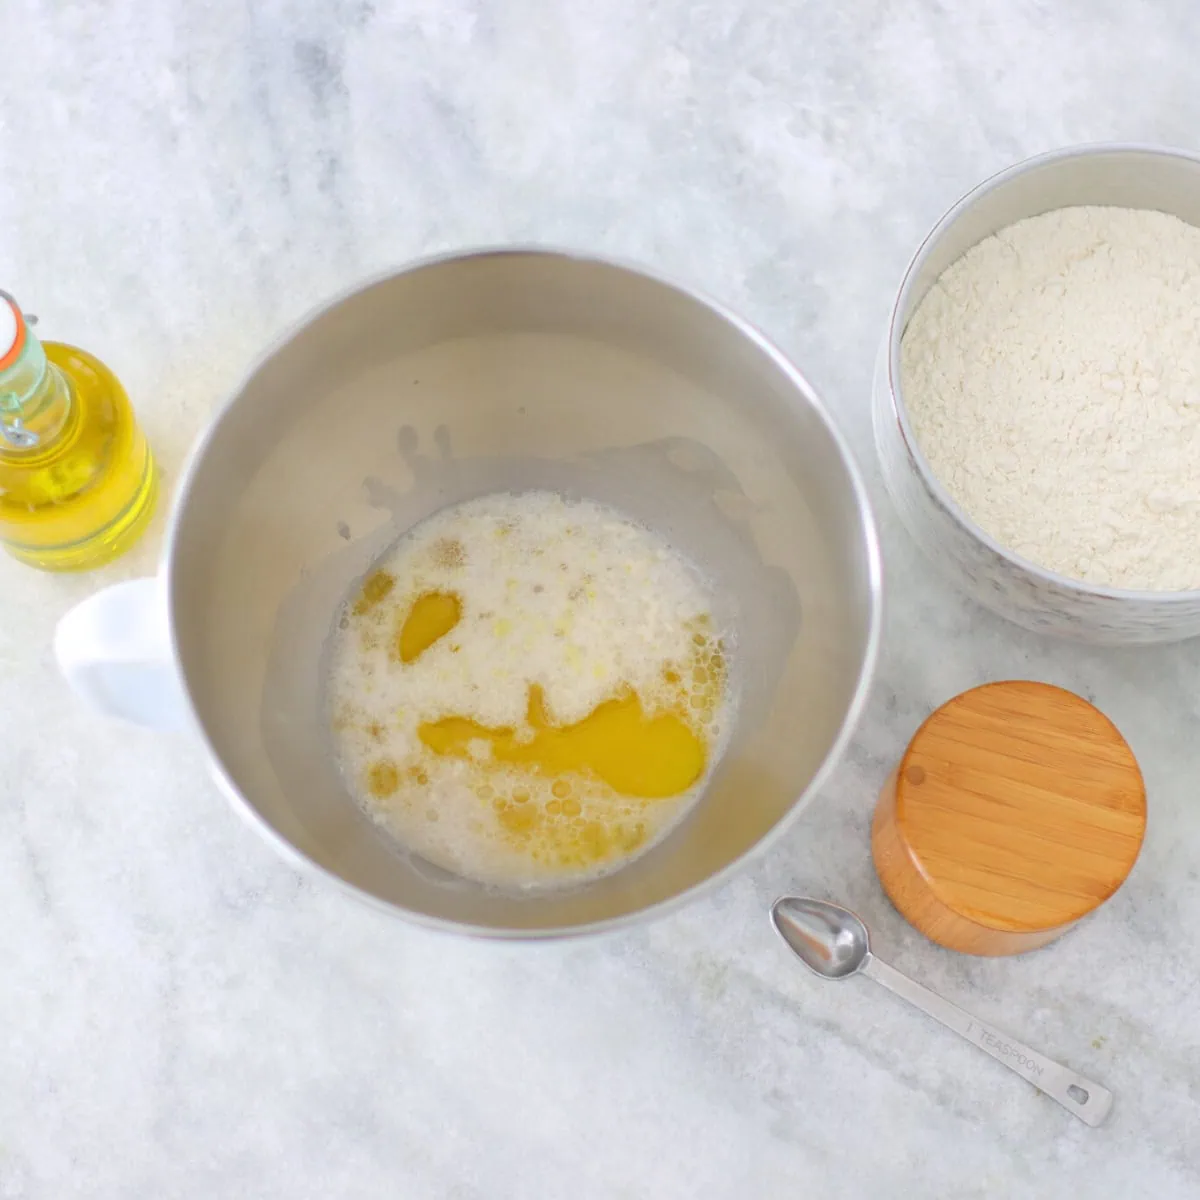
- Mix the liquid ingredients. Pour the water with yeast into a large bowl of a stand mixer. Add the rest of the sugar and the oil.
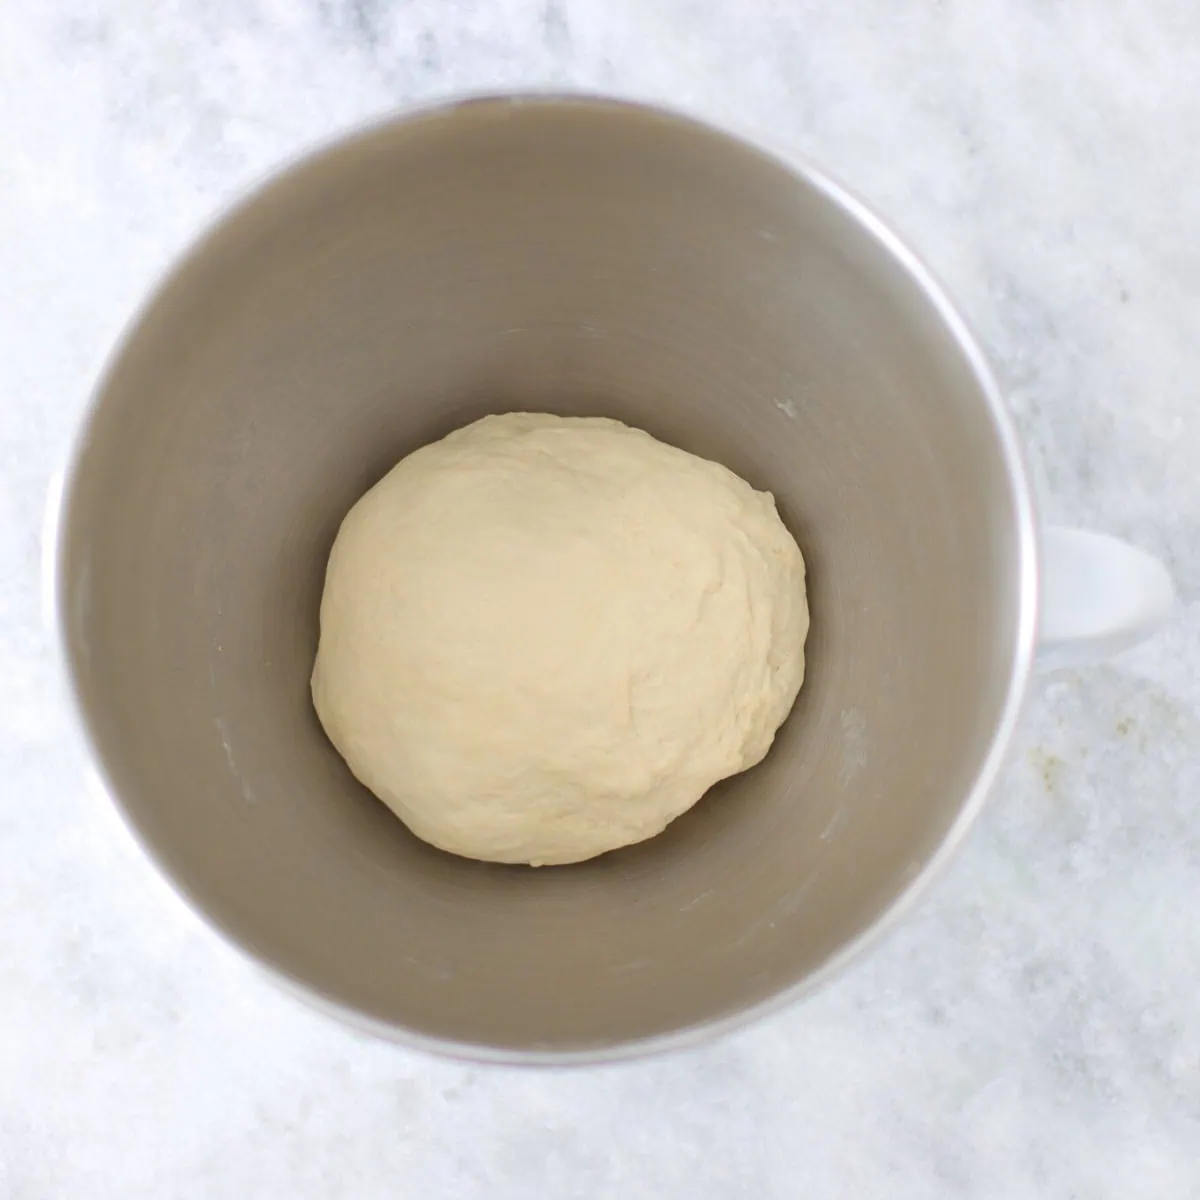
- Add the dry ingredients. Mix in half of the flour, starting on low speed until it’s well combined. Gradually add the remaining flour and salt, continuing to mix until all the flour is fully incorporated. Knead the dough for at least 5 minutes, up to 10 minutes, if you're doing it by hand.
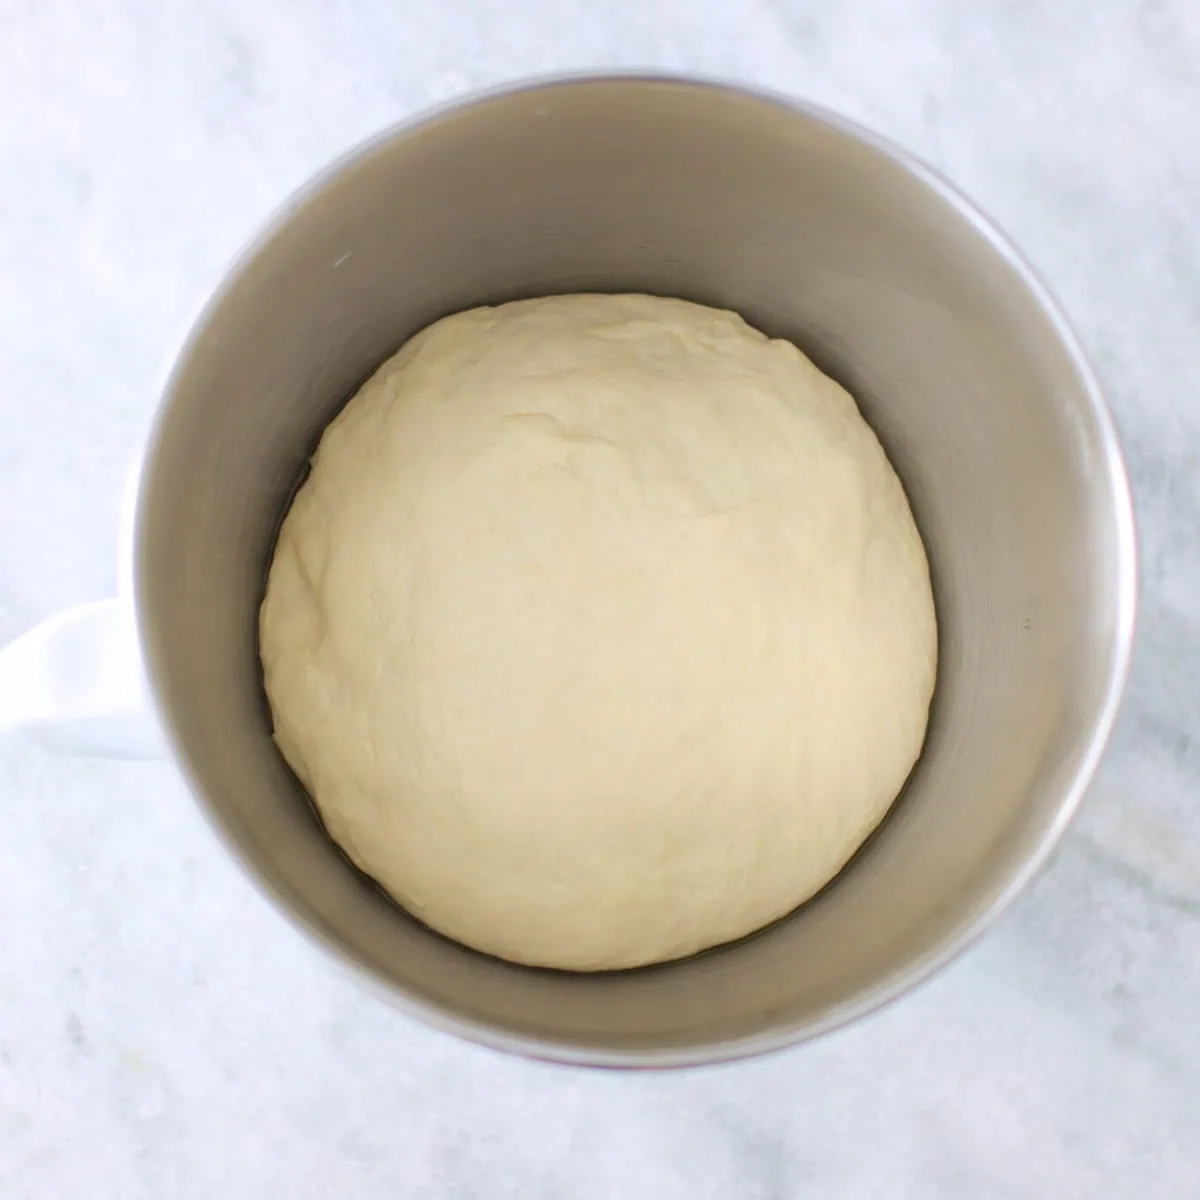
- Set the dough aside to rise until doubled in size, anywhere from 30 minutes to 1 hour, depending on the temperature in your home. Meanwhile, preheat the oven to 375 degrees Fahrenheit.
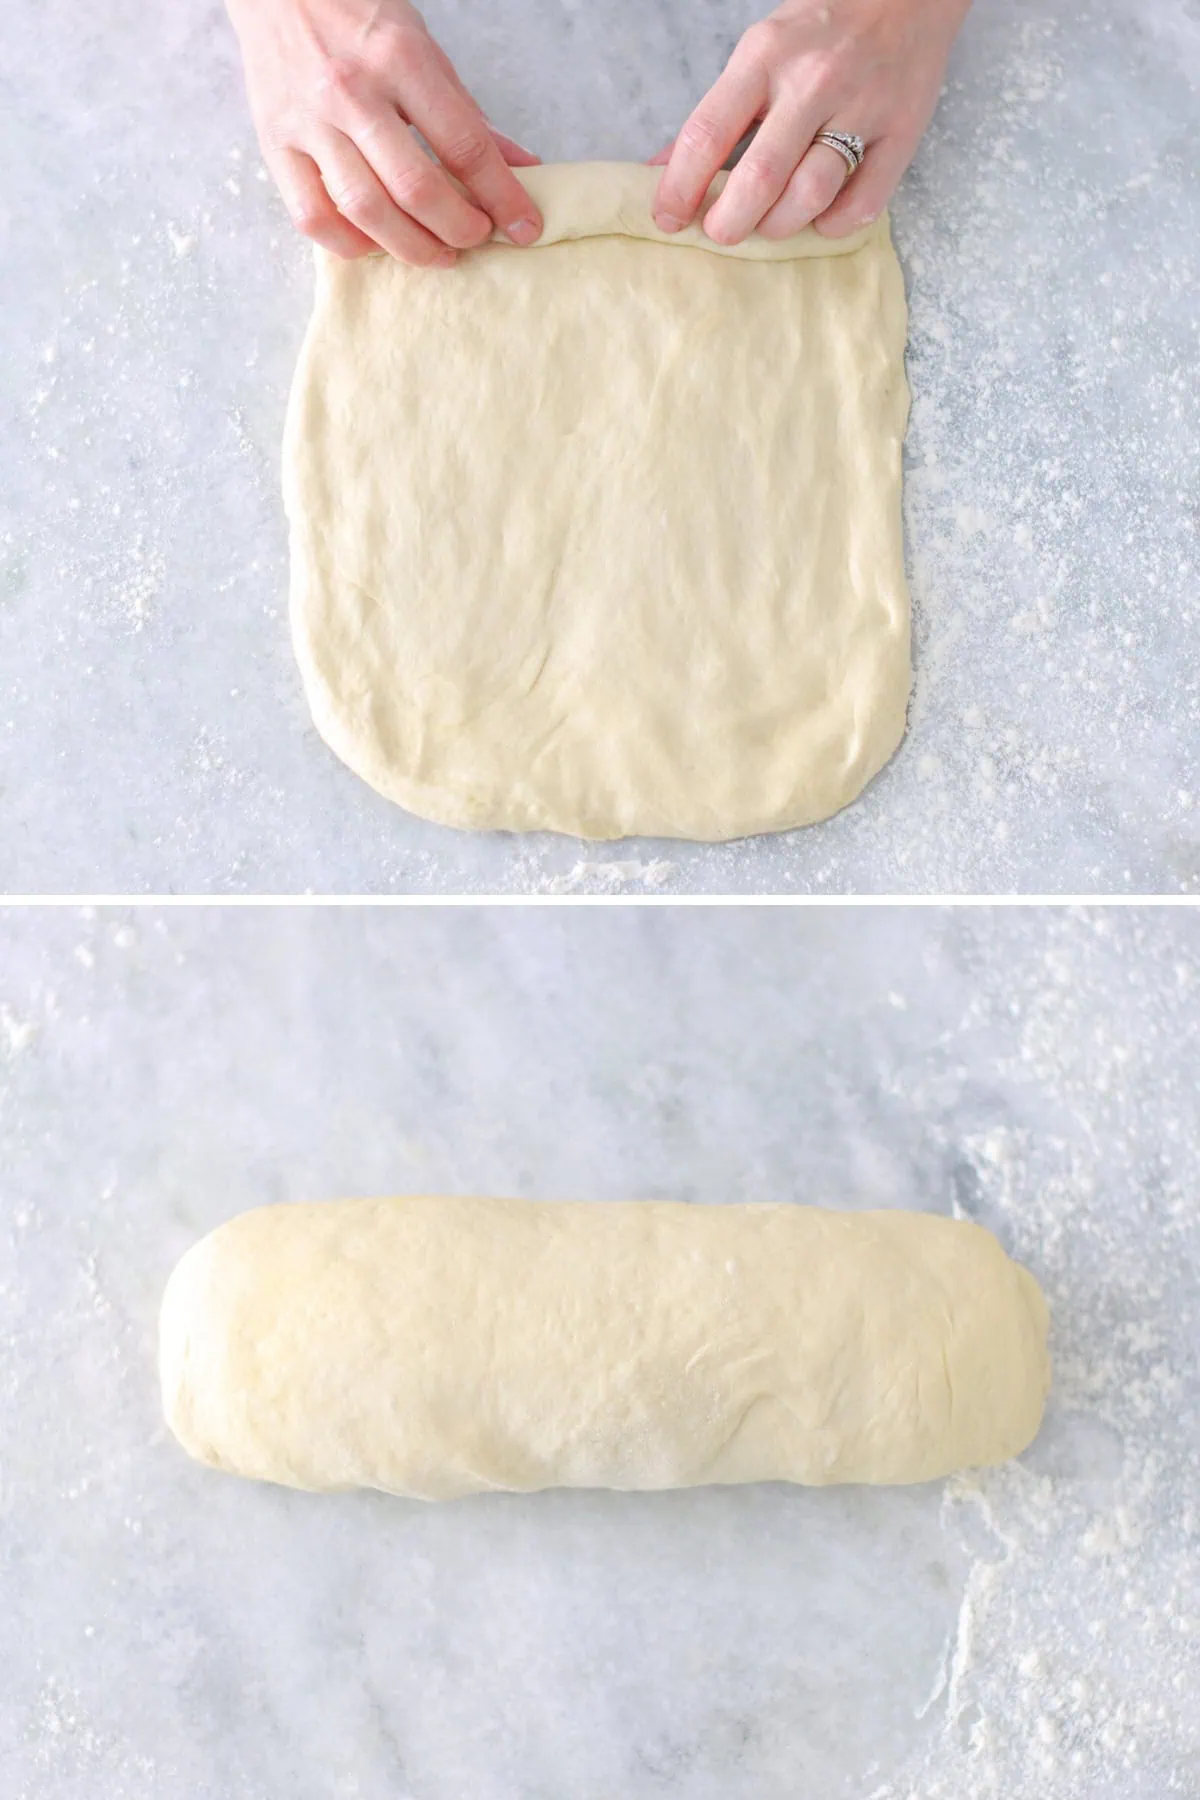
- Shape the dough. When the dough has doubled, place the dough on the counter and shape it into a rectangle. It should be roughly the width of your bread pan. Roll it up tightly, starting with the short side until you have a neat loaf. Place it seam side down into your bread pan. (Mine is about 9 X 5 inches)
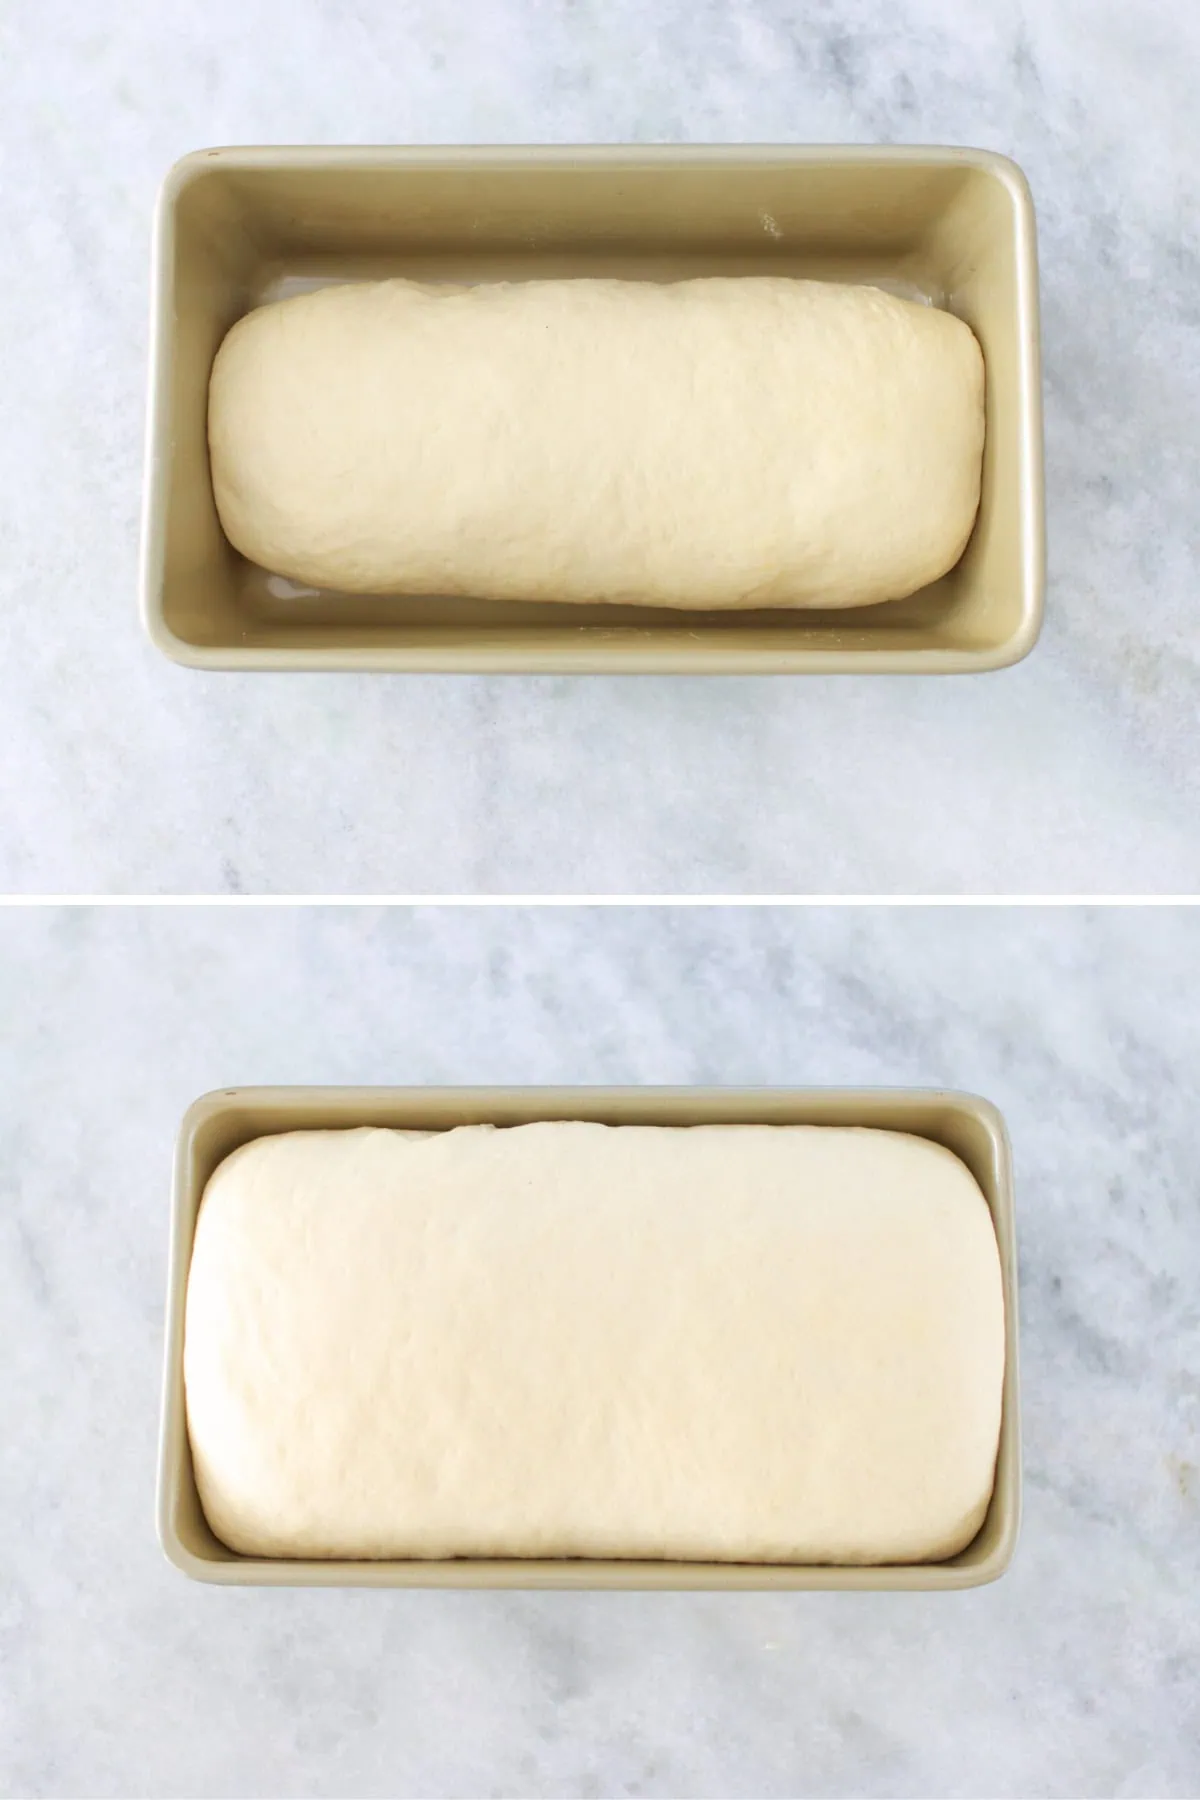
- Set aside to rise until doubled again. The dough should rise slightly over the edges of the bread pan.
- Bake in the preheated oven for 23-25 minutes. Enjoy!
Expert Tips
Here are a few tips that make this easy bread recipe even more simple and perfect.
Oil the bowl: Before setting your dough to rise, brush a little oil on the bottom and sides of the bowl. This helps the dough come out easily once it’s risen, making the process much smoother.
Cover it up: Use plastic wrap (or a shower cap) to cover the bowl. This will keep the dough from drying out and create a nice, moist environment for it to rise properly.
Roll up the bread dough before placing it in the bread pan to rise. While it may seem like an extra step, rolling the dough helps create better structure. Dough that’s simply plopped into the pan tends to be denser and lacks the structure needed for a light, airy loaf. By flattening the dough into a rectangle and rolling it tightly, you’ll achieve a neater shape, a more tender crumb, and a loaf with better structure.
When you get the bread out of the oven, brush the top with butter. It will be even more delicious, but will also make the bread have a glossy finish and will make the crust softer.
Quick Ways to Speed Up Dough Rising
Want your dough to rise faster? Here are a couple of my secret tricks to speed up the process ☺️.
- Use a Heated Blanket: Wrap your dough bowl in a heated blanket. This creates a cozy, warm environment that helps activate the yeast, so your dough rises faster.
- Use a Warm Garage or Laundry Room: A warm garage or small laundry room can work wonders for dough rising. These spaces often stay cozy and warm, providing the perfect environment for the yeast to activate and help your dough rise faster.
- Try the Instant Pot for Faster Rising: If you have an Instant Pot, place the dough inside the inner chamber and set it to the yogurt setting. The warm temperature (around 100°F) creates the perfect environment for your dough to rise in about half the usual time. It’s a quick and efficient way to speed up the process.
Frequently Asked Questions
Cover the bowl and the bread pan with plastic wrap. You can also brush the top of the dough with oil for extra insurance.
Homemade bread doesn't have any preservatives in it like store bought bread, so it will not stay fresh as long. (This is never a problem in our family - it's so delicious, it gets eaten much faster!)
Store the bread in a paper bag or wrapped in a clean kitchen towel if you don't want it to get softer. It will last at room temperature for a few days.
If you want to keep it fresh longer than 3-4 days, store it in the refrigerator for 7-9 days.
Yes! Bread freezes really well. Make an extra loaf and freeze it, or, cut a loaf in half if you have a smaller family. Make sure the bread is wrapped tightly, preferably in multiple layer. Freeze for 1-3 months. Here's a detailed post all about how to freeze bread.
Thaw at room temperature. (Remove the bread from the bag/container, wrap it in a towel while thawing, so it absorbs any condensation.)
If your bread has big air pockets or gaping holes, it’s likely that the dough wasn’t rolled up tightly enough. Make sure to roll the dough snugly when shaping it before placing it in the pan. This helps eliminate large air pockets and ensures a more even crumb, giving you a soft, uniform texture.
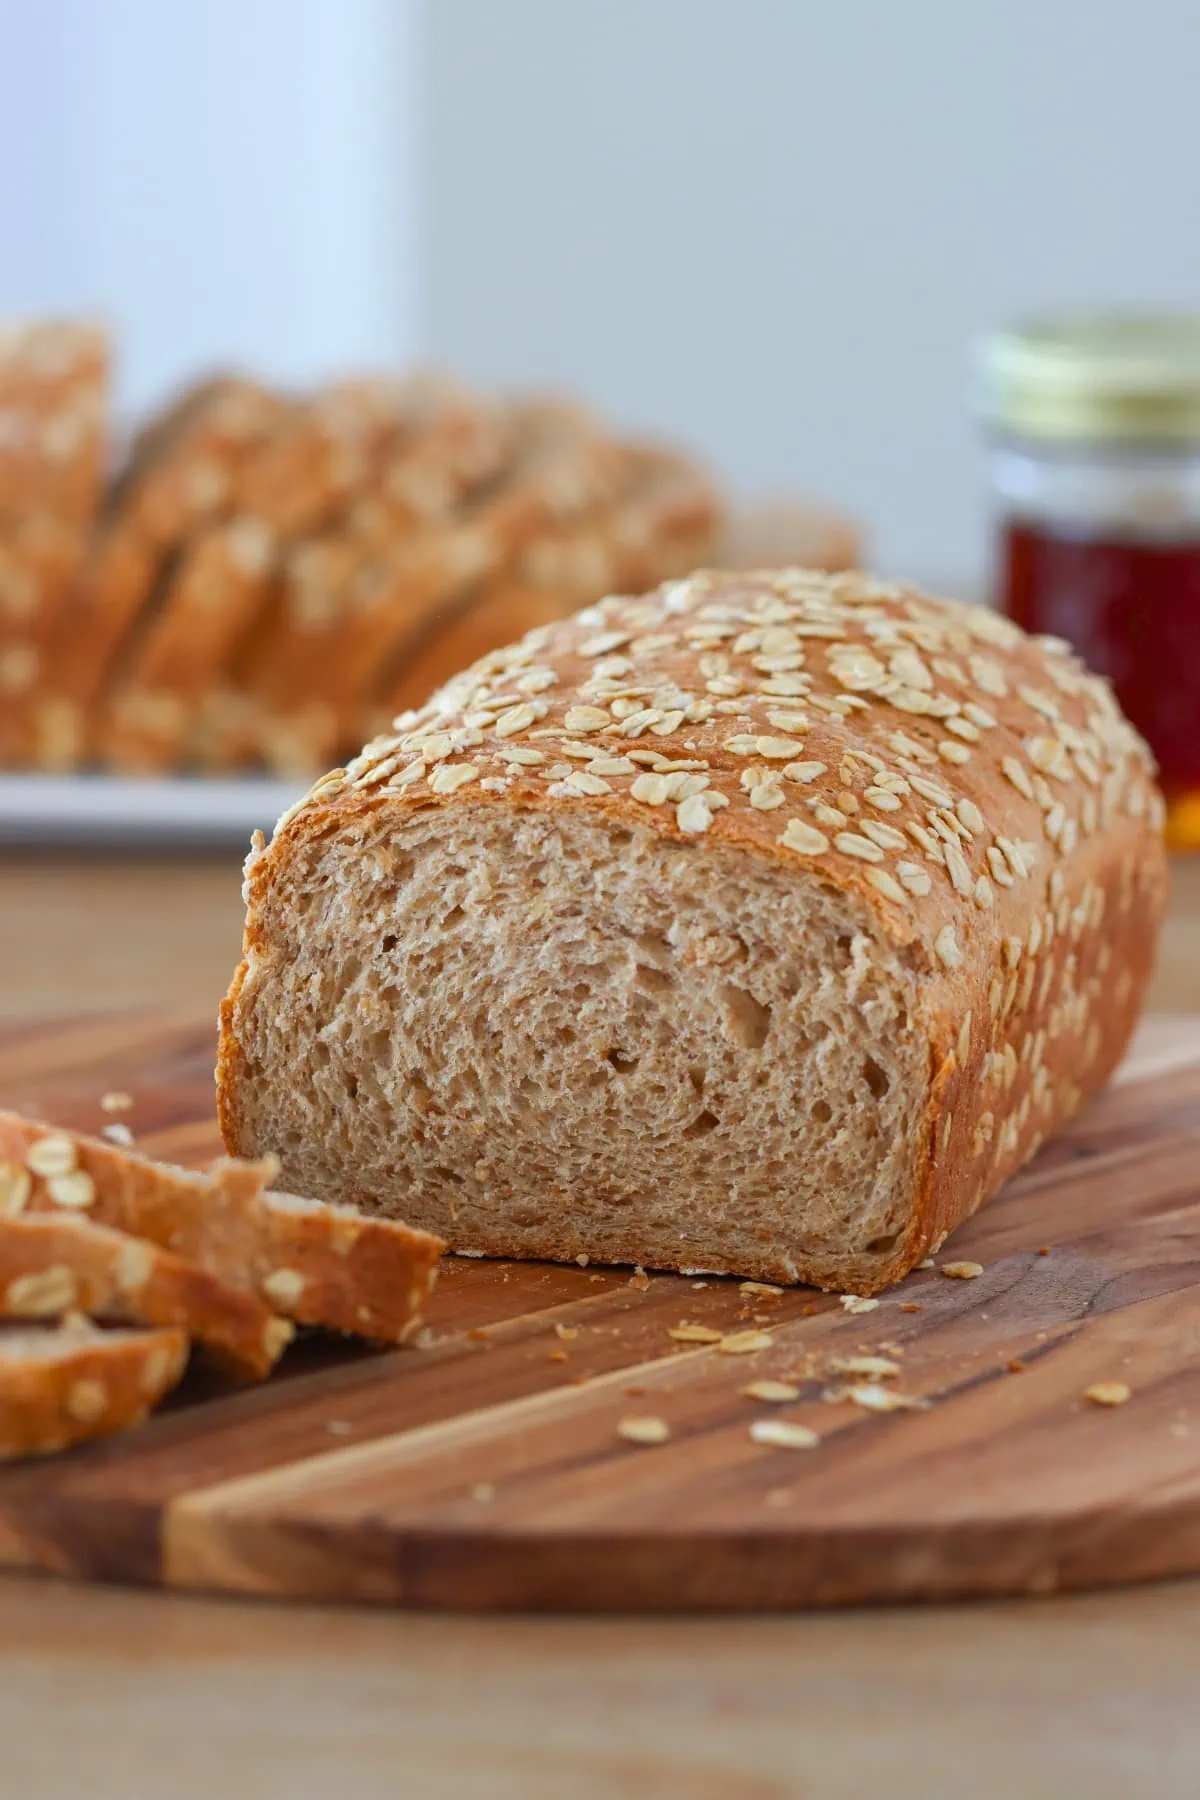
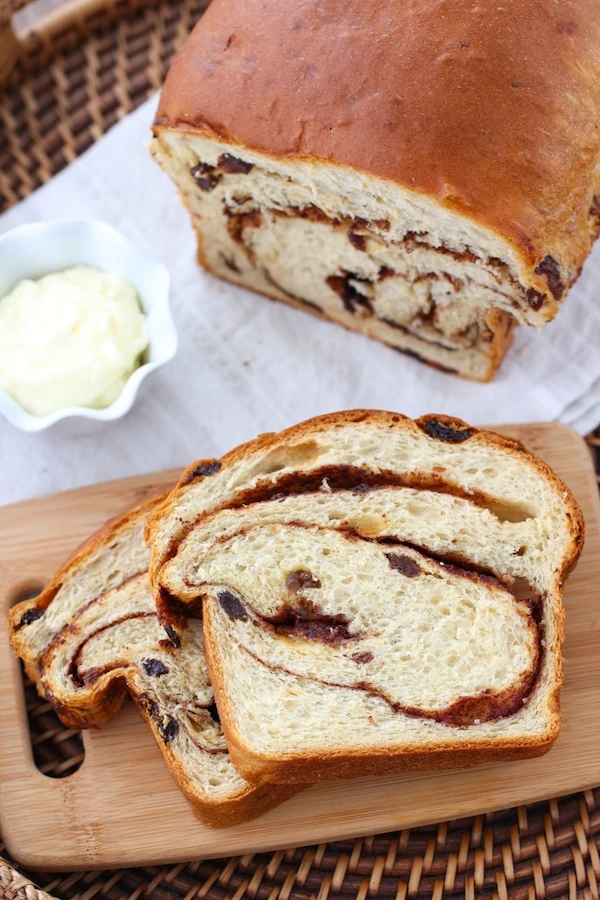
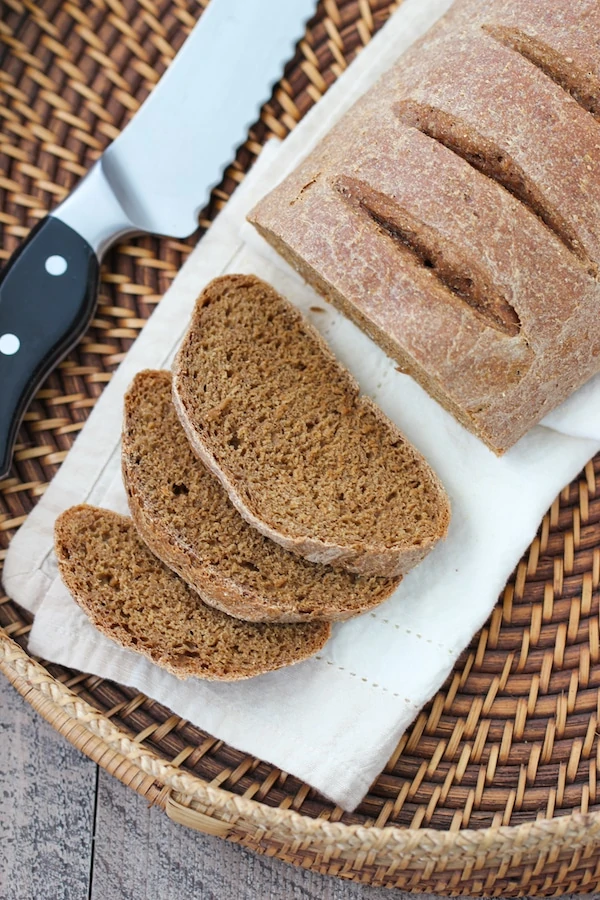
More Delicious Bread Recipes You Will Love
Easy Homemade Bread Recipe
Ingredients
- 1 cup warm water (110-115 degrees F)
- 2 ¼ teaspoon dry yeast
- 2 Tablespoons sugar or honey
- 2 Tablespoons oil olive oil, avocado oil (any neutral oil will work)
- 3 - 3 ¼ cups flour bread flour or unbleached all purpose flour
- 1 teaspoon salt
- butter optional, for brushing on top of bread
Instructions
- Warm up the water until it's a nice, bath water temperature. (See note.) Sprinkle in the yeast and half the sugar. Mix it until the yeast and sugar dissolve. The yeast should get foamy within a few minutes.
- Pour all the liquid ingredients (water, yeast, sugar and oil) into a large bowl of a stand mixer and mix to combine.
- Add half the flour to the bowl and start on low speed and mix the dough with a dough hook attachment, until the it comes together. Add the remaining flour and salt, gradually increasing the speed and knead the dough for 5-10 minutes.
- Brush the bowl and coat the dough in a little bit of oil, cover the bowl with plastic wrap and set aside to rise until it doubles in size 30-90 min.
- Preheat the oven to 375 degrees.
- When the dough has doubled, place the dough on the counter and shape it into a rectangle. It should be about the width of your bread pan. (I use a 9 X 5 inch bread pan.)
- Roll it up tightly, starting with the short side and then place it seam side down into a greased loaf pan.
- Cover loosely with plastic wrap or a towel and set aside until the dough doubles once again, 30 minutes to an hour.
- Bake in the preheated oven for 23-27 minutes.
- Take the bread out of the bread pan within 5 minutes and let it cool on a rack. Brush the top of the bread with butter to make it more glossy and to make the crust softer.
- Store the bread, wrapped or in a bag, at room temperature, for 3-4 days. Store in the refrigerator if you need it to last 5-9 days. Bread can also be frozen for 1-3 months.
Notes
- Water Temperature: The water should be between 110-115°F. This is the ideal range for activating the yeast without killing it. If it’s too hot (above 120°F), it could kill the yeast; too cold, and it won’t activate properly. You can check the temperature with a kitchen thermometer or test it by dipping your finger in—it should feel warm but not hot.
- Bread Flour vs. All-Purpose Flour: Bread flour has a higher protein content, which gives the bread its chewy, airy texture. If you don’t have bread flour, all-purpose flour will work just fine, though the loaf might be a little softer. If you have access to it, I recommend using bread flour for the best results.
- Sweeteners: You can substitute honey for sugar in this recipe if you prefer. Honey adds a subtle sweetness and can give the bread a slightly richer flavor.
- Optional Step - Brush with Oil: Before baking, you can brush or spray the top of the dough with a little oil. This will help create a more golden crust and prevent the dough from sticking to the plastic wrap.


I made this for my first time making bread I used honey instead of sugar and it turned out perfect amazing this will be my third loaf. I’m making now tonight. Love the recipe.
Hello Olga my name is Dianne Taylor and this will be my first time making homemade bread. I'm getting started for the setup, wish me luck.
Thank you,
i don't know what i did wrong, but this bread came out very dense and chewy. i followed the instructions exactly, my yeast was very active and bubbly. i let it rise for 3 total hours (2 in the bowl, 1 in the pan). maybe i'm just not cut out for making sandwich bread
Hi Edwin my personal opinion is that your yeast over proofed the dough 3 hrs is a bit much. 1 hr for each process and it should be much better
Mine came out the same way but it's still good lol. Could be good for biscuits and gravy if you want something a way denser to chew.
can i use only half the amount of sugar?
Absolutely, Linda. You can also use honey instead of sugar.
This is my first time making homemade bride.It turned out amazing, awesome recipe.Thank you !
Beautiful loaf. Easy to work dough. Great texture. Definitely a keeper.
Hi Olga,
This is my first time making bread. It turned out fantastic and made great BLAT sandwiches. Making the bread was as easy as you described! Thanks for the great recipe, I’m looking forward to trying other recipes of yours