
 These popular Russian pastries are typically made around the holidays. Their cuteness wins them the center of attention.
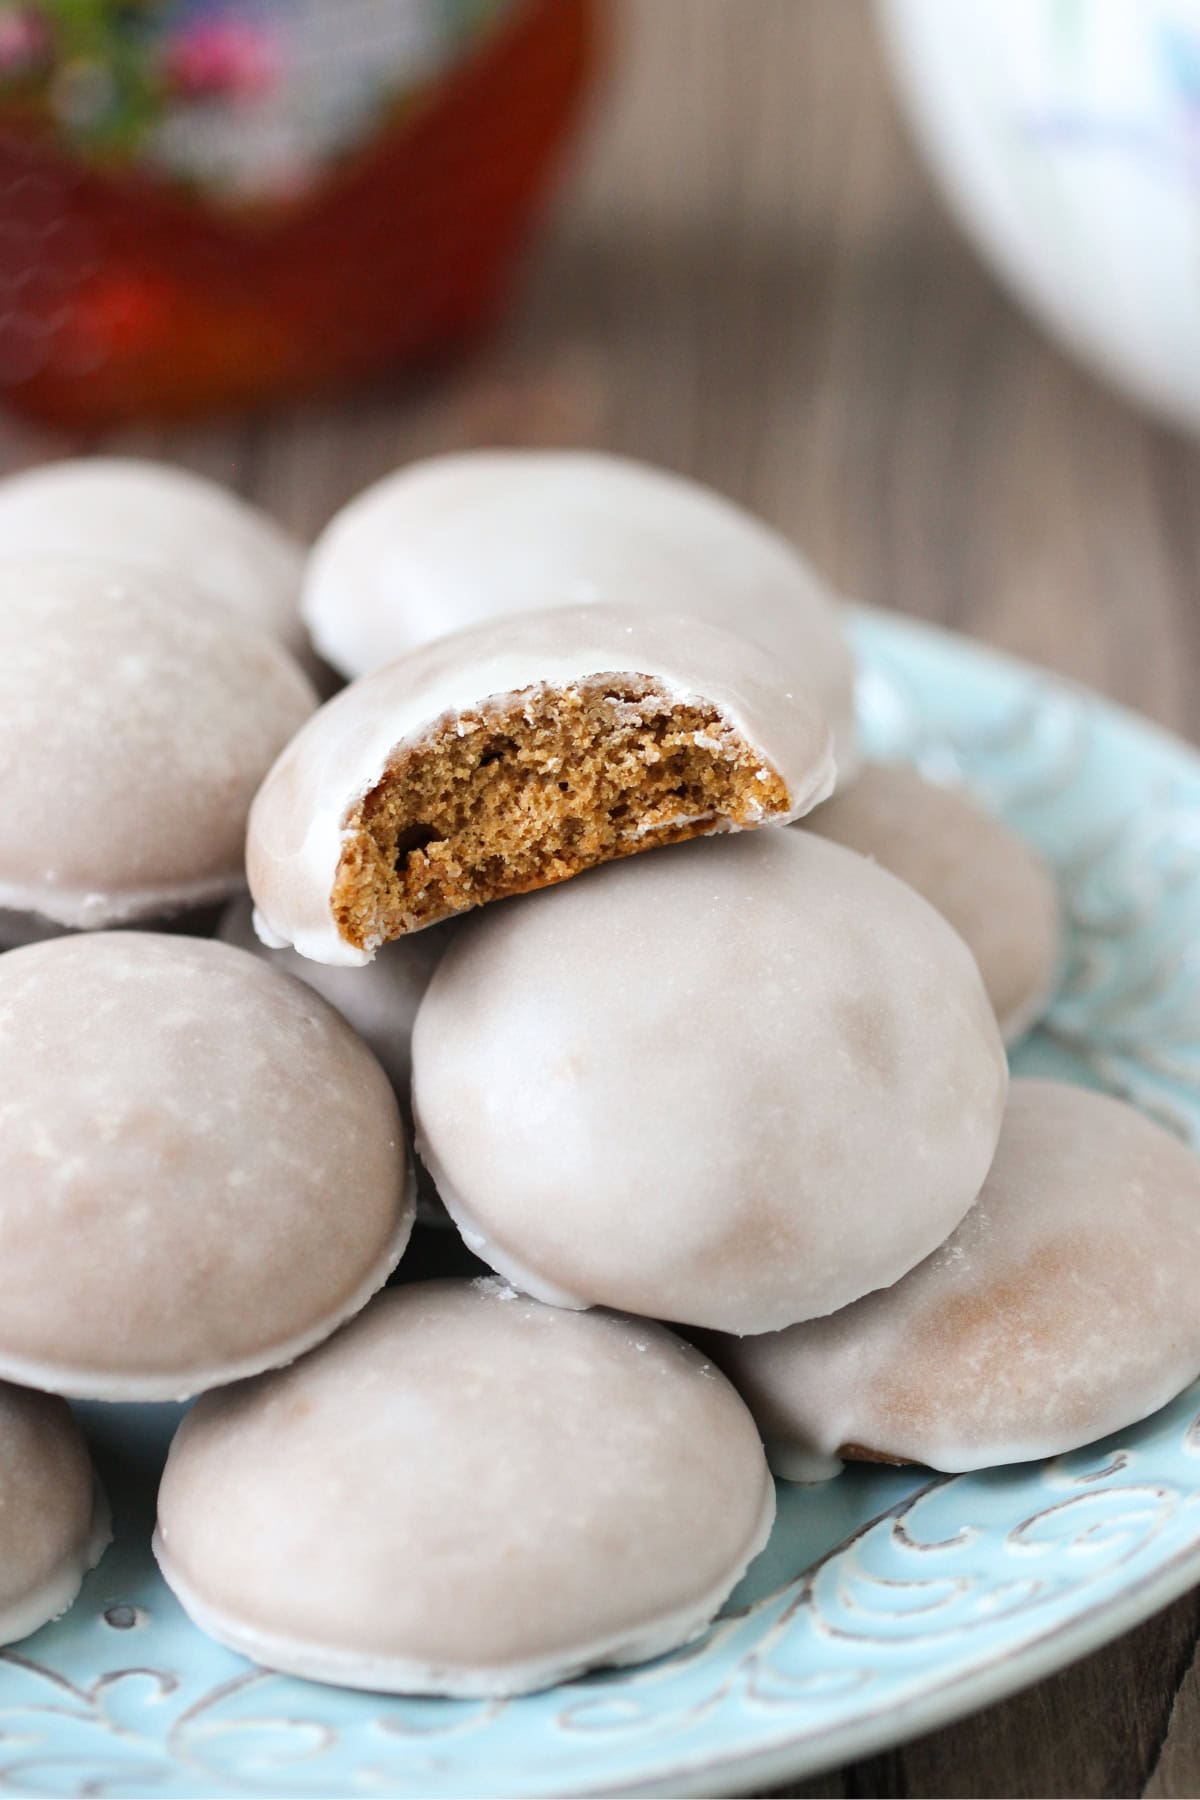
Even though they look like tiny little peaches, they don't taste like peaches at all. The cookie itself is a tender and perfectly crumbly when you bite into it. The cream cheese dulce de leche filling is made with a bit of rum for flavor and some cookie crumbs. This combination is absolutely delicious. I would eat it just like that. However, dipping the cookie into dyed milk and sugar transforms this pastry into a dainty, fuzzy peach and a small mint leaf in the center gives it a finished look. Enjoy. I was actually surprised how simple it was to make these pastries, so don't be afraid to give these a try.
For the cookies:
Preheat the oven to 350 degrees. Line a rimmed baking sheet with parchment paper.
Cream the butter and sugar in a bowl with the paddle attachment on a standing mixer or using a hand mixer until fluffy. 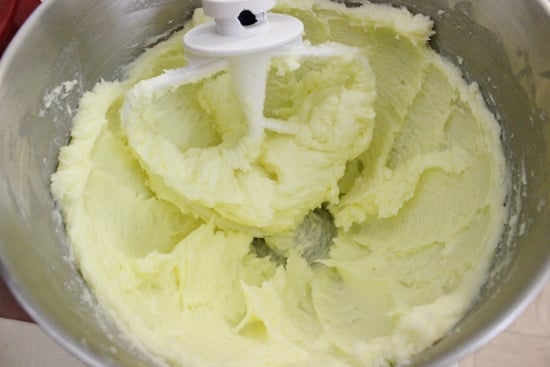 Add eggs and vanilla and mix until combined.
 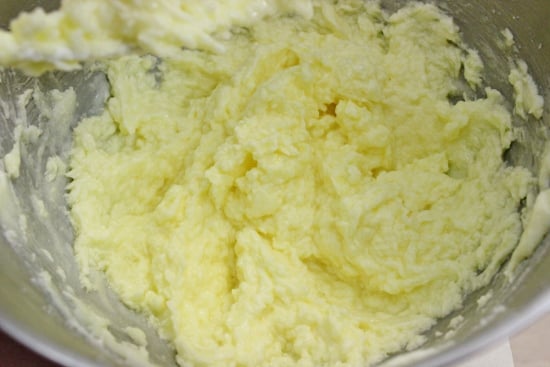 Whisk the flour and baking powder in a small bowl until mixed. Add to the cookie batter and mix just until incorporated.
 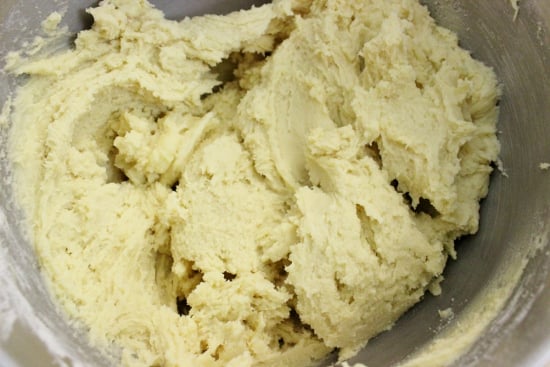 Form balls about 1 Tablespoon each and place about 1 ½ inches apart on the prepared baking sheet.
 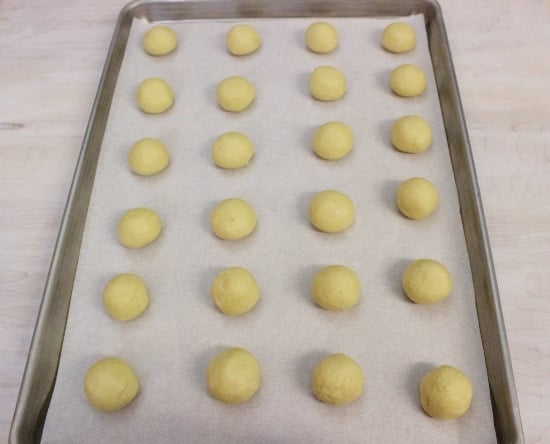 Bake for about 11 minutes. Cool.
 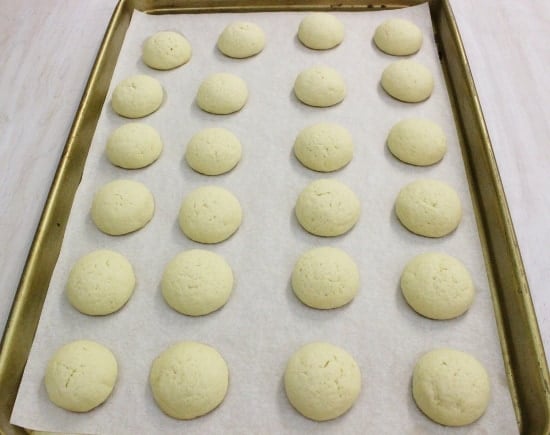 Using a small paring knife or a butter knife, cut out a circle from the center of the bottom of the cookie, leaving a small border on the outside.
 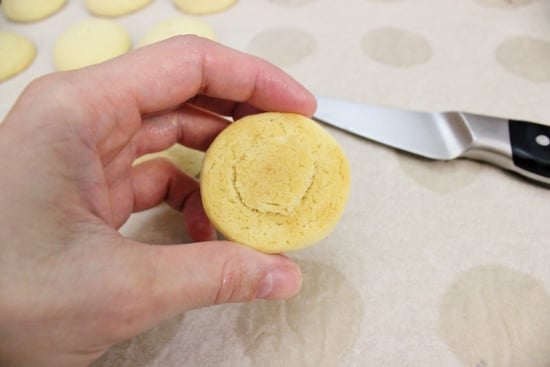 Scoop out the center. Be very gentle when doing this since the cookie is very fragile and may break if you're not careful.
 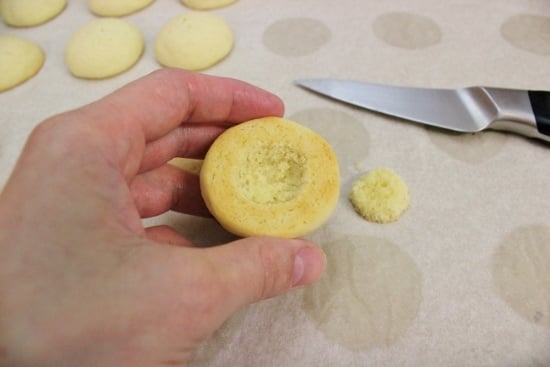 Save the cookie scraps, you will need them later.
For the filling:
Mix the cream cheese and dulce de leche until well mixed. 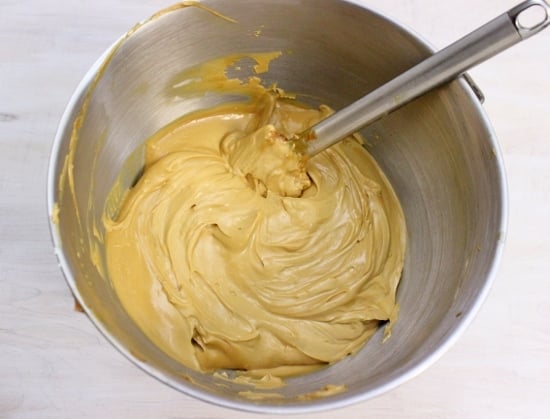 Add the rum and mix. Crumble the reserved cookie crumbs and scraps with your hands.
 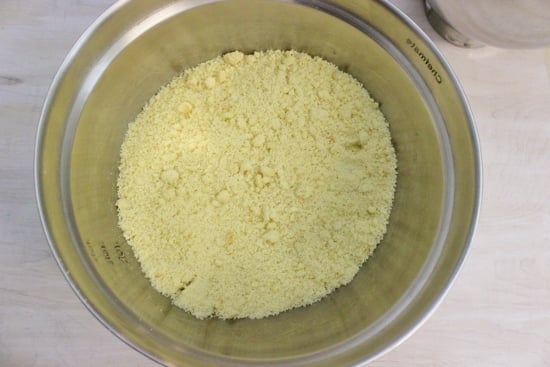 Add the cookie crumbs to the filling and mix to combine.
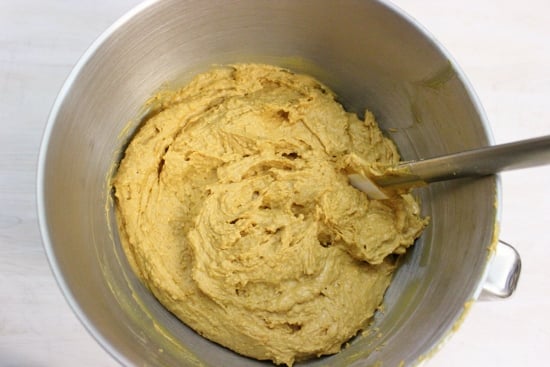 To assemble:
Fill the scooped out center of the cookie with the filling using a small spoon or a butter knife, spreading a thin layer of the filling on the rim of the cookie too. 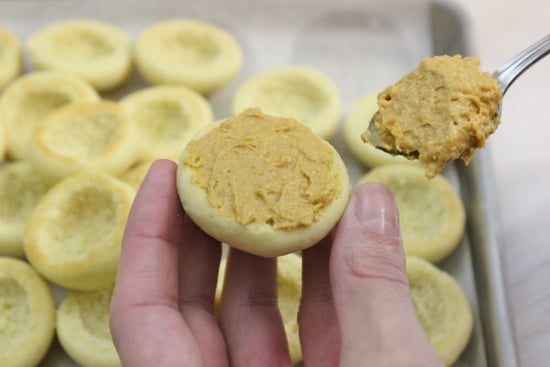 Place two of the cookies filling side together and gently press together.
 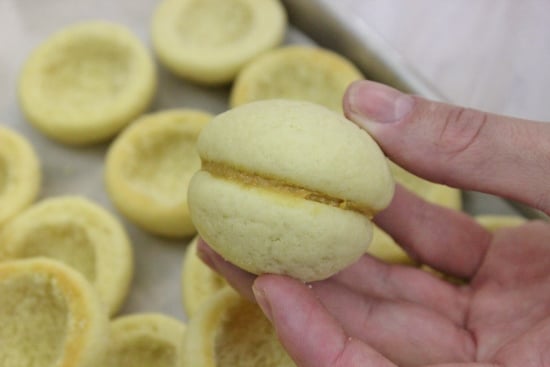 Take 3 small bowls and fill one with sugar and the other two with the dyed milk. Use your own judgement as to the color that you want the pastries to be. I counted how many drops of dye I used, but you can make it brighter if you'd like.
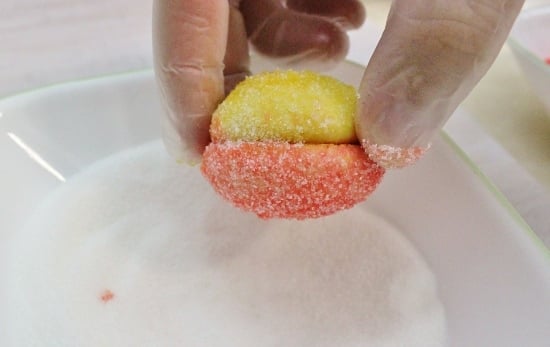
If you'd rather use a natural dye, use freshly squeezed carrot juice and beet juice instead of the dyed milk. 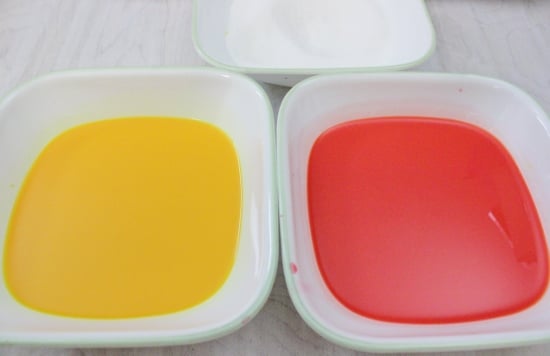 Dip half of the pastry in the Orange/Yellow liquid and coat in the sugar.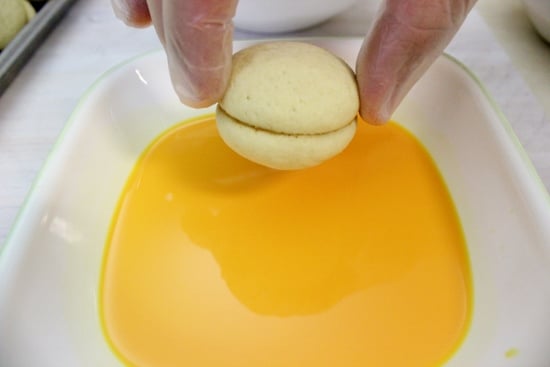
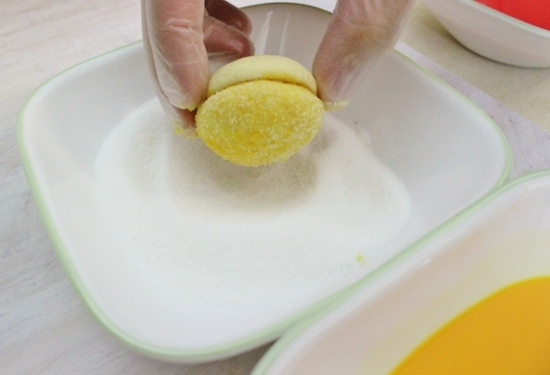 Dip the other side of the pastry in the Red/Orange liquid and also dip in the sugar.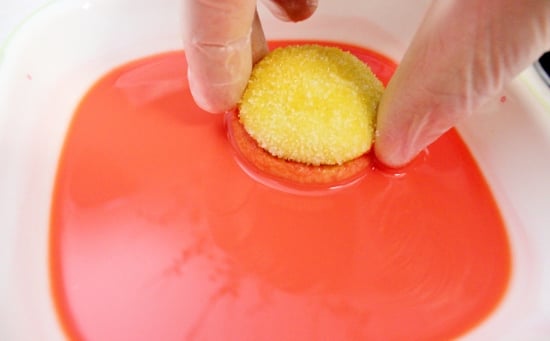
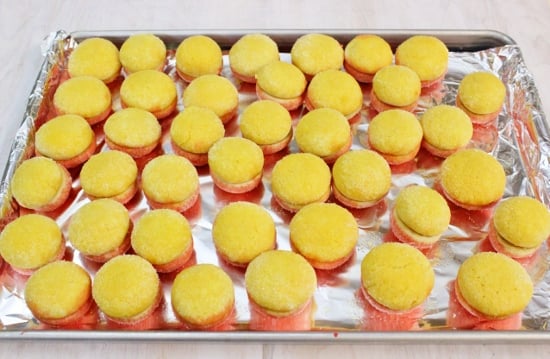
 Place the pastries on an aluminum lined cookie sheet and dry for at least 1 hour. The color will become more bright and pronounced as the pastries dry.
 Right before serving, place a mint leaf in the center of some of the pastries.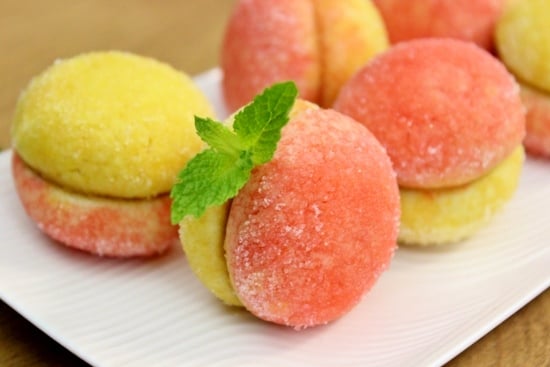

Peach Pastries With Dulce de Leche Filling
Ingredients
Cookies:
- 4 ½ sticks butter softened
- 1 ½ cups sugar
- 4 eggs room temperature
- 1 teaspoon vanilla
- 6 cups flour
- 2 teaspoons baking powder
Filling:
- 1 8 oz package cream cheese, softened
- 1 can dulce de leche
- ½ Tablespoon rum
- 1 ½ cups cookie crumbs
Topping:
- 1-2 cups sugar
- mint for garnishing
Yellow/Orange:
- 1 cup milk
- 50 drops yellow food coloring
- 2 drops red
Red/Orange:
- 1 cup milk
- 20 drops yellow food coloring
- 60 drops red food coloring
Instructions
For the cookies:
- Preheat the oven to 350 degrees. Line a rimmed baking sheet with parchment paper.
- Cream the butter and sugar in a bowl with the paddle attachment on a standing mixer or using a hand mixer until fluffy.
- Add eggs and vanilla and mix until combined.
- Whisk the flour and baking powder in a small bowl until mixed. Add to the cookie batter and mix just until incorporated.
- Form balls about 1 Tablespoon each and place about 1 ½ inches apart on the prepared baking sheet.
- Bake for about 11 minutes. Cool.
- Using a small paring knife or a butter knife, cut out a circle from the center of the bottom of the cookie, leaving a small border on the outside. Scoop out the center. Be very gentle when doing this since the cookie is very fragile and may break if you're not careful.
- Save the cookie scraps, you will need them later.
For the filling:
- Mix the cream cheese and dulce de leche until well mixed.
- Add the rum and mix. Crumble the reserved cookie crumbs and scraps with your hands. Add the cookie crumbs to the filling and mix to combine.
To assemble:
- Fill the scooped out center of the cookie with the filling using a small spoon or a butter knife, spreading a thin layer of the filling on the rim of the cookie too.
- Place two of the cookies filling side together and gently press together.
- Take 3 small bowls and fill one with sugar and the other two with the dyed milk. Dip half of the pastry in the Orange/Yellow liquid and coat in the sugar.
- Dip the other side of the pastry in the Red/Orange liquid and also dip in the sugar.
- Place the pastries on an aluminum lined cookie sheet and dry for at least 1 hour. Right before serving, place a mint leaf in the center of some of the pastries.
I'm making them as we speak, are the cookies supposed to be soft? I haven't filled them yet of made the cream. Just wondering if I'm doing the right thing.
Hi Tanya,
Yes, the cookies will be soft. As long as they are baked through, it should be the correct consistency. They are much more tender than any other peach pastries that I've tried. We created this recipe specifically to have a softer texture. They are delicate, so be gentle with them when you fill them.
I made them, my bro and sis liked them and said they tasted much better than the ones they've tried before. Good thing I checked back because I forgot about the last step of leaving them out to dry. Hope it's not too late hehe. And I have a feeling they will be gone by the time Thanksgiving comes around. Need to find a better hiding spot 🙂
To tell you the truth, I was a bit skeptical at first. All that butter scared me. Then somehow it all turned out. And I tried the cookies on their own, they didn't even taste buttery. Thank you so much for posting this recipe.
Hi Olga,
how long do you boil the condensed milk in water for a recipe like this? If boiling two cans, one can to use later. ??
4 hours in the slow cooker, set on high.
if I make these a day before, where do I store them? fridge or on the counter in closed container?
I would just store them at room temperature in a sealed container. If you'd rather store them in the refrigerator, they may become a little damp from the condensation.
hi olga!! Thank you for all your work! I always wanted to know how to make these peaches! You seriously dip the peaches into colored milk?? i never knew that..
Hi Olga,
Yep, you dip the cookies into dyed milk. However, as I wrote in the post, you can use carrot juice and beet juice instead if you want a more natural approach.
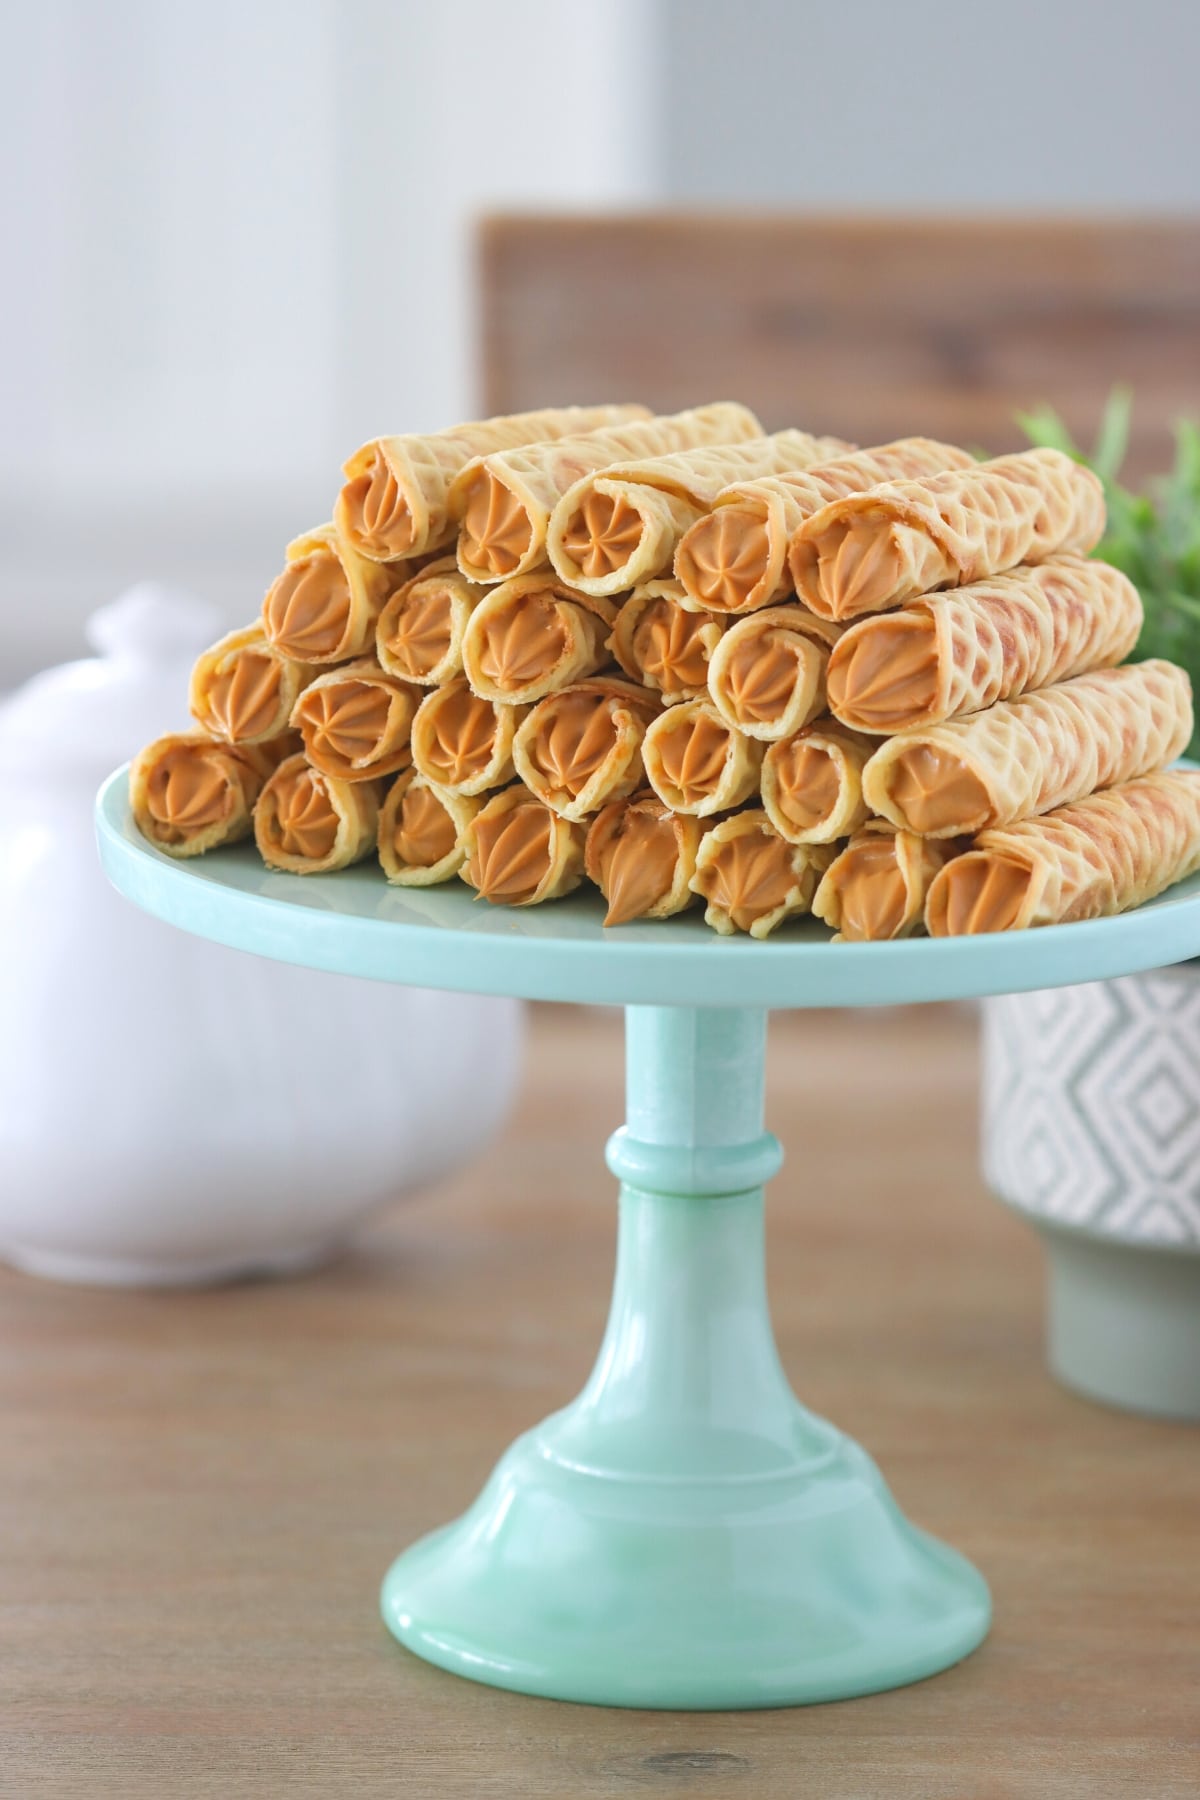
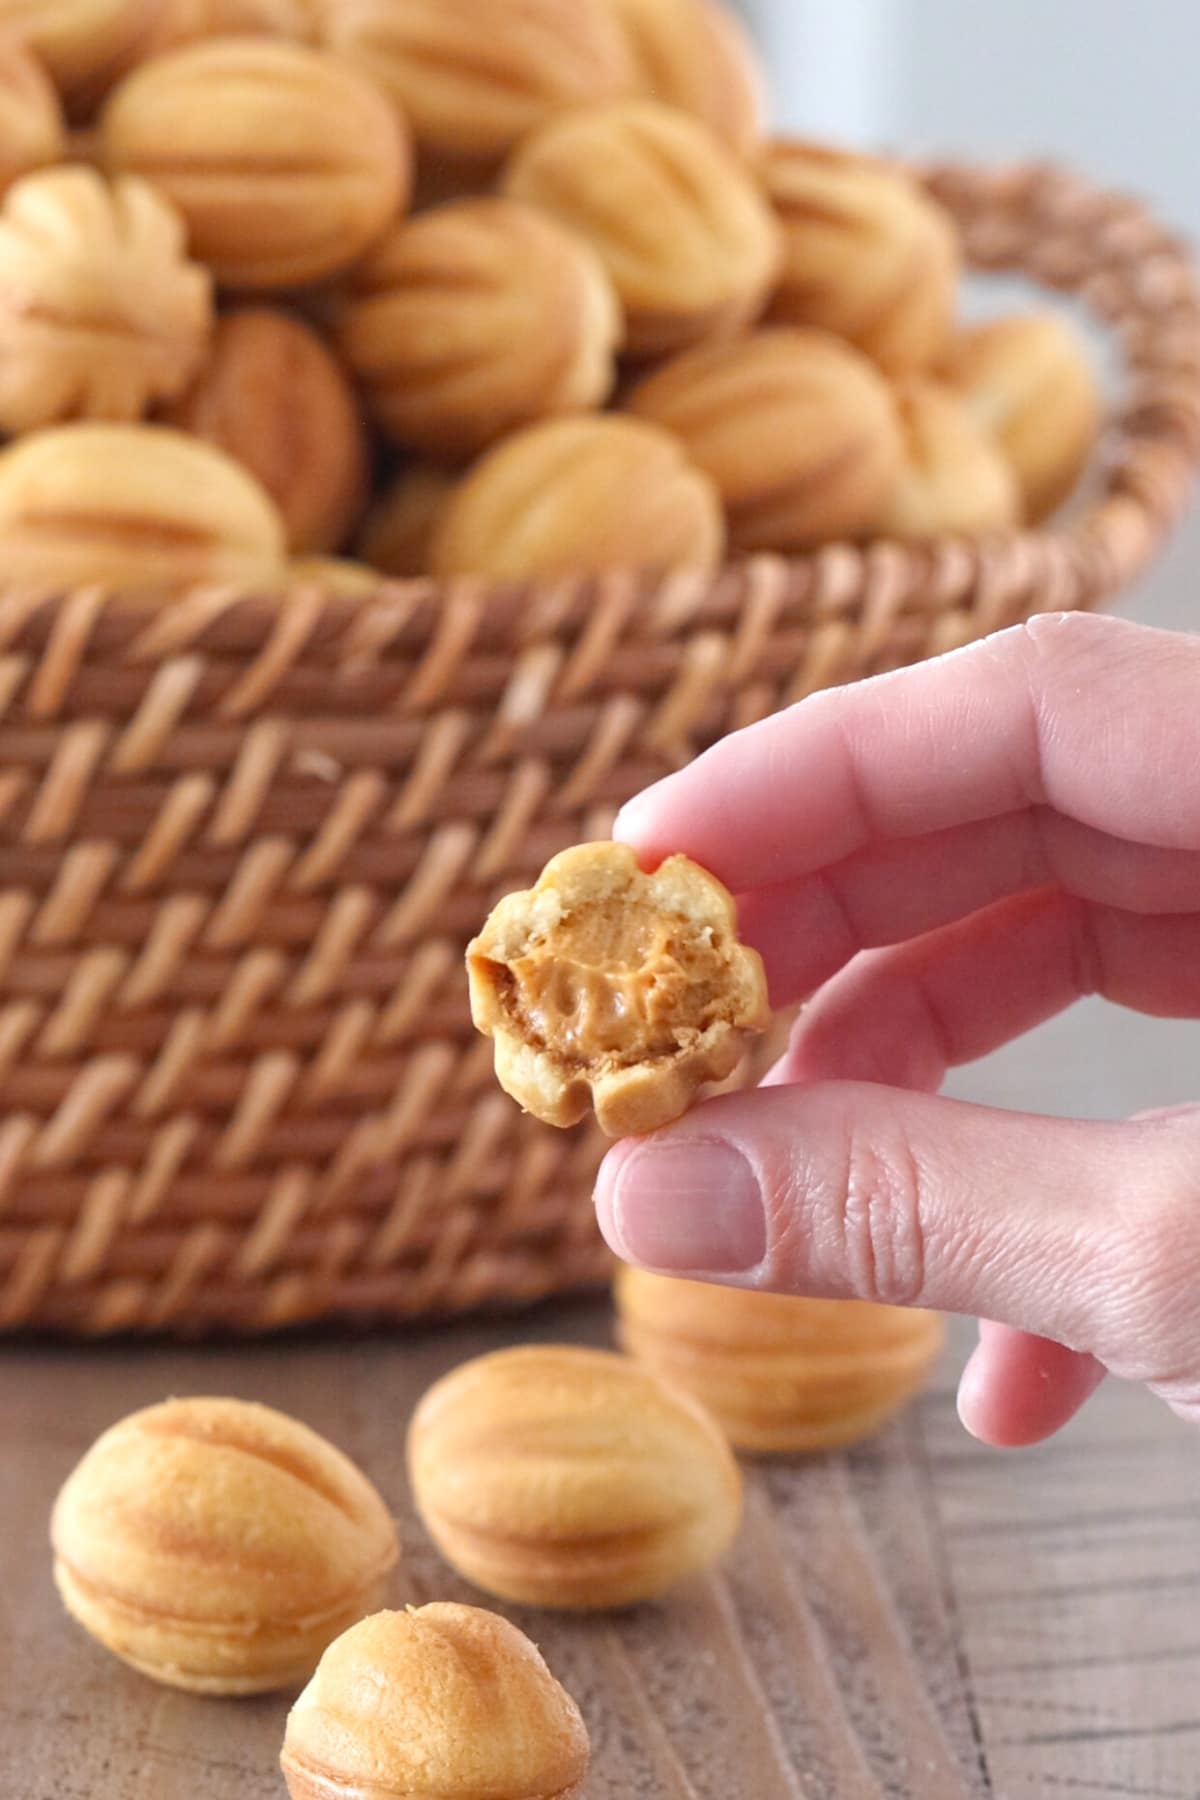
Hi Olga, I grew up with these little peaches, thank you so much for reminding me to make them again. My mom also used to make some walnut-shape cookies but she had a special form to make them. Was a round one and she "baked" them on the gaz stove. No way to get that form here, but I saw some electric forms on-line or in the Russian stores. Do you make walnut cookis as well? If so, I would realy appreciate if you could post them one day.Thank you so much for your blog. It's one of my favourite food blogs.Adi
Hi Adi,
Thanks so much for your kind words:).
I do have a recipe for the "Oreshki", walnut shaped cookies. I'll post it sometime in the future.
I was super excited to see these pop up on your blog! Thank you for posting them. Finishing them right now, came out really nice looking and super yummy. The only thing is, it took me much longer then 1 hr 45 minutes to make them (you are truly a super cook to make them that fast!) Planning to make them for Thanksgiving! Love your blog, thank you for all the yummy recipes, keep posting more please! God bless you for all the wonderful work you do!
Made these yesterday 🙂 They were yummy. Thanks so much for sharing the recipe . GOD BLESS YOU !!
wonderful are 🙂
These look so cute. My favorite.
This is genius! Well done Olga!
They look perfevt for the holidays:)))))))
Ohh my these look so pretty 🙂 and I'm sure very delicious....Ahh I got something new to make for my kids birthday party's:). Thanks Olga!
I was jumping when i saw this recipe. My mom makes them but l live in different state and really never learned how to make them. She did send them to me once when i was in college and i passed them around in my girls dorms and they were gone in minutes. I am so excited to learn how to make them with your wonderful instructions and pictures. Thank you so much olga!
Hi Angelina,
I'm so glad you like these pastries and you'll be able to make them yourself now. I jump when I find a recipe I've been looking for too:).
Olga, how many days in advance can you make these?
Thanks!
Hi Alla,
I've never made them more than a few days in advance, so I can't say for sure, but you can certainly make them a few days before you're planning on serving them.
Dear Olga
I was trying to bake those today and didn't come out correctly
In oven all balls roztopilis ;(((
Mozhet eto iz za to much butter ?
I'm sorry to hear that it didn't work out for you. I'm not sure what the issue might be.
The cookies are supposed to spread out just a bit as they bake. That's why they will have the shape of a peach when you put them together, however they shouldn't spread out too much.
Hi Olga! I'm so excited to read this post. I stumbled upon this type of recipe about a year ago and have been meaning to make it since. I used this site as inspiration and am so glad the recipe is similar to yours. http://cafechocolada.blogspot.com/2008/02/peaches-breskvice.html (I hope you don't mind me posting a link on your blog :))