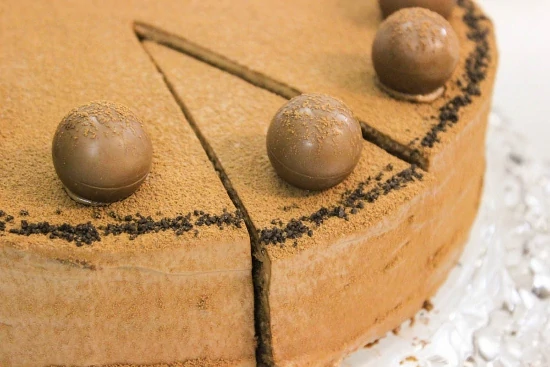
I was in the mood for a chocolate cake, which happens once every few years, and finally got around to making it. I don't usually get a hankering for chocolate cake, so I wanted to make it right in every way.
I started out with adding chocolate to the cake batter, since I noticed that most chocolate cake recipes rely only on cocoa which doesn't make it taste very chocolaty at all. I used a chocolate liquer based syrup to soak into the cake layers and made a chocolate cream cheese frosting. It turned out just the way I imagined it - moist, chocolaty, and reminded me of a creamy chocolate truffle. Try this for your next special occasion.
For the cake:
Preheat the oven to 350 degrees. Spray a 10 inch round cake pan with baking spray, or brush it with melted butter and then sprinkle with flour. Line the bottom of the pan with parchment paper and spray it with baking spray too. 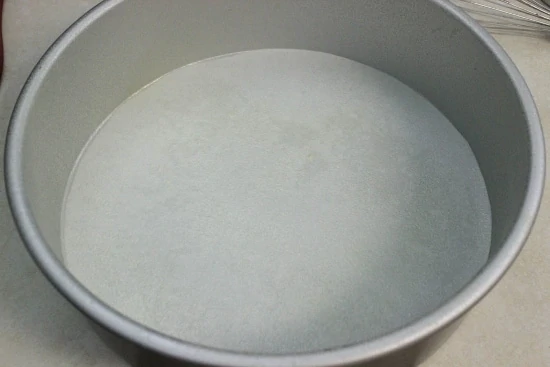

For the syrup:
In a small saucepan, combine the water, sugar and chocolate liquer and cook over medium-hot heat until the sugar melts. Cool.

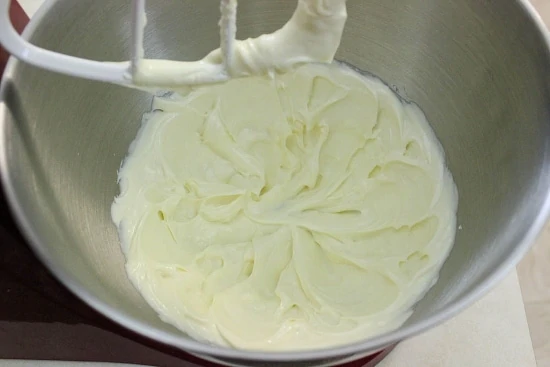
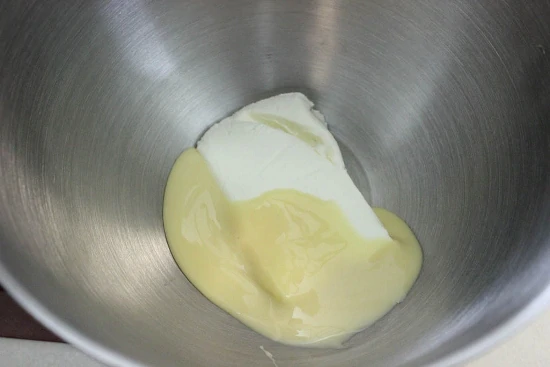
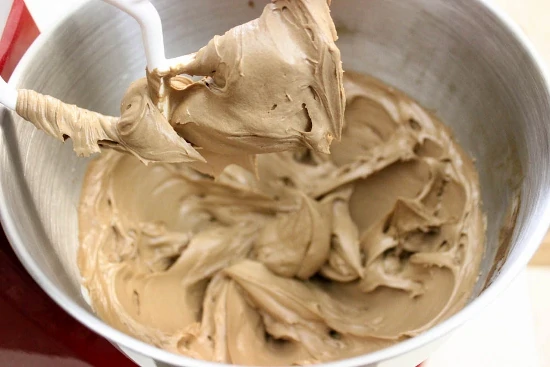
Cream the cream cheese and condensed milk in a standing mixer with a paddle attachment.
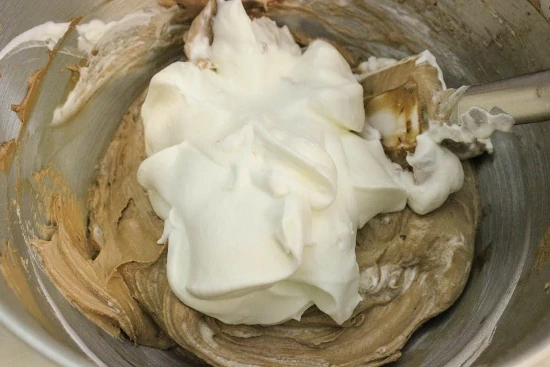
In another chilled bowl and whisk attachment, whisk the heavy cream until peaks form. 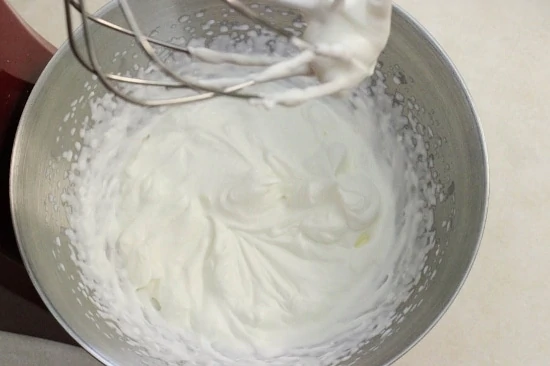
Assembling the cake:
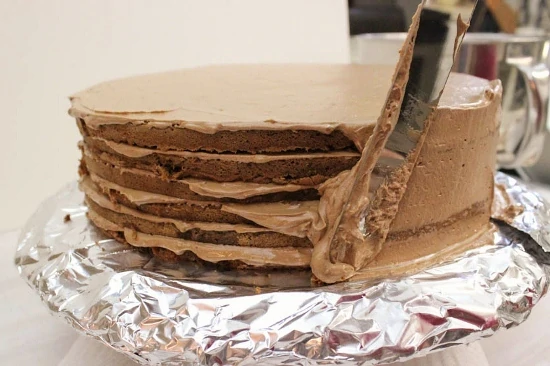
Line the edges of a round cake platter with aluminum foil or parchment paper. 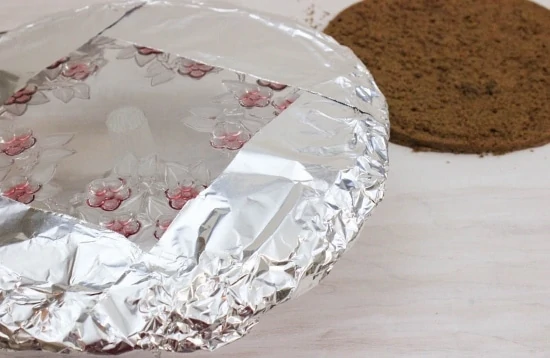



Chocolate Truffle Cake
Ingredients
Cake:
- 14 Tablespoons butter softened
- 7 oz chocolate
- 8 eggs
- ¾ cup sugar
- 1 ½ cups flour 200 GRAMS
- 2 teaspoons baking powder
Frosting:
- 6 oz chocolate
- 8 oz cream cheese
- ¾-1 can condensed milk
- 1-2 Tablespoons chocolate liquer
- 1 cup heavy cream
Syrup
- ½ cup water
- ⅓ cup sugar
- ½ cup chocolate liquer
- cocoa for dusting the cake
- chocolate truffles for decorating the cake
Instructions
For the cake:
- Preheat the oven to 350 degrees. Spray a 10 inch round cake pan with baking spray, or brush it with melted butter and then sprinkle with flour. Line the bottom of the pan with parchment paper and spray it with baking spray too.
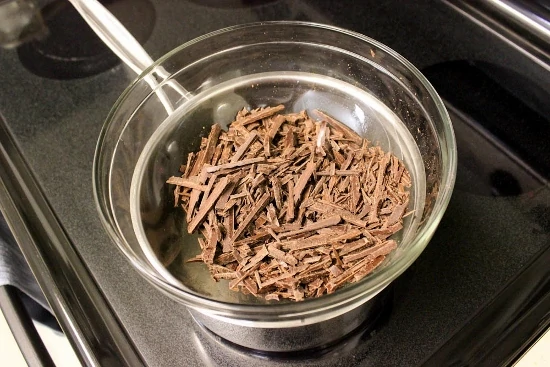
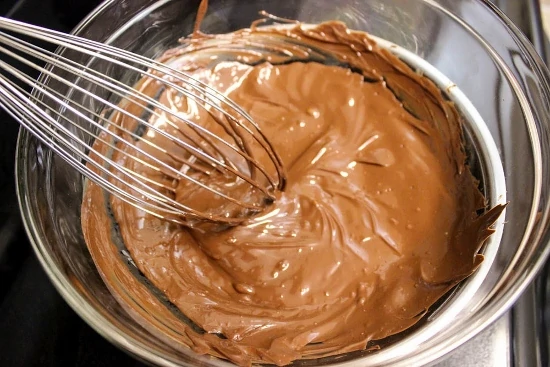
- Melt the chocolate for both the cake and the frosting over a double boiler. Set aside to cool.
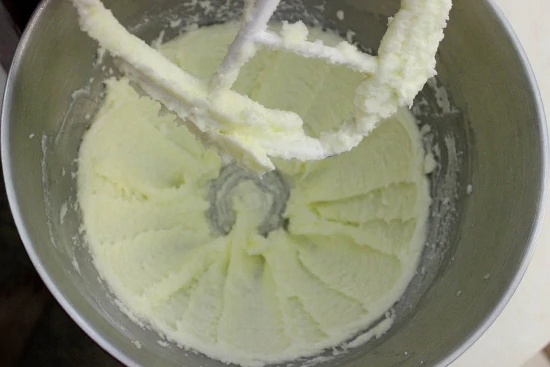
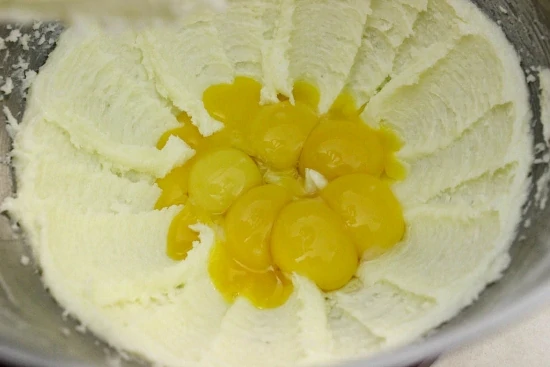
- Cream butter and half the sugar in a standing mixer with a paddle attachment or a hand mixer until light and fluffy.
- Add the egg yolks. Mix until combined.
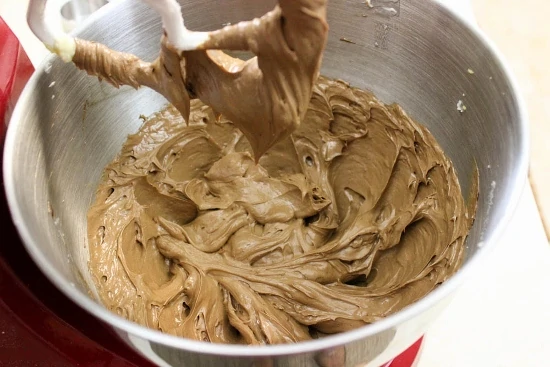
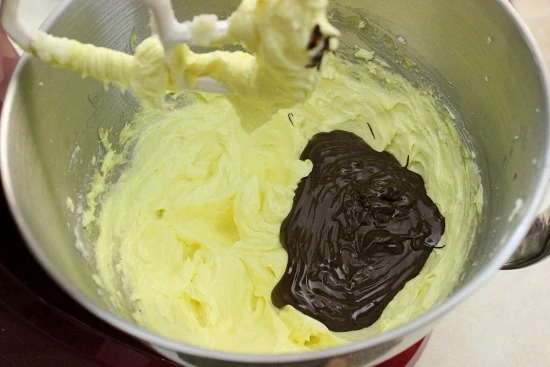
- Add half the melted chocolate and mix until combined.
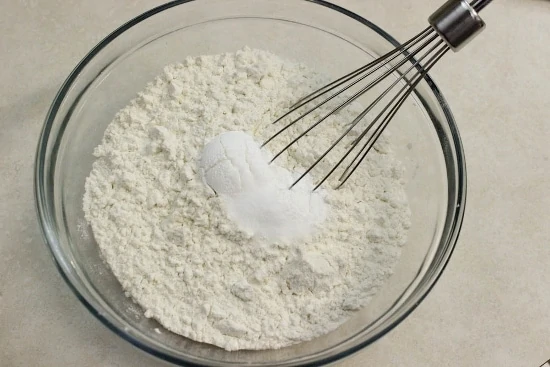
- Meanwhile whisk the flour with the baking powder.
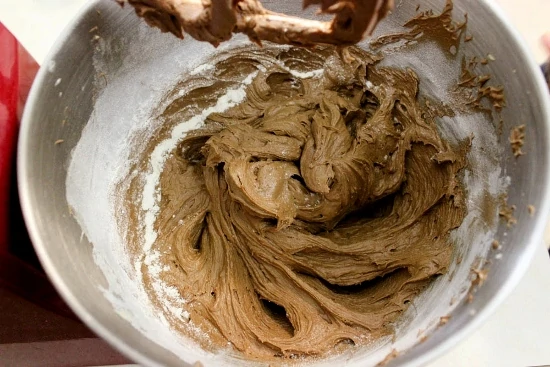
- Add the dry ingredients to the cake batter and mix just until it's combined. It's ok if there are a few streaks of flour left. You can finish mixing it later with a rubber spatula.
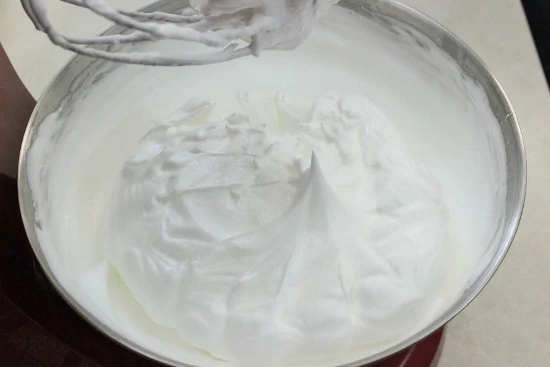
- Whisk the egg whites in a standing mixer until they are foamy, gradually add the remaining sugar. Keep whisking until stiff peaks form.
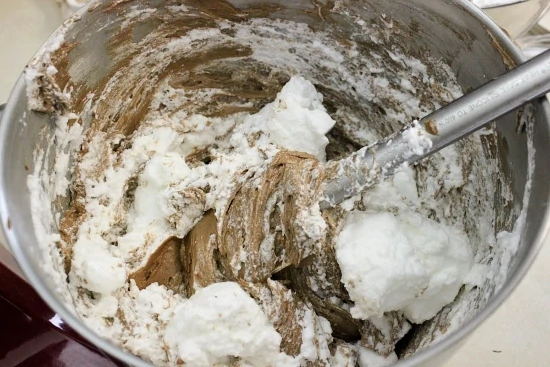
- Gently fold it into the cake batter. Be careful not to deflate the batter too much.
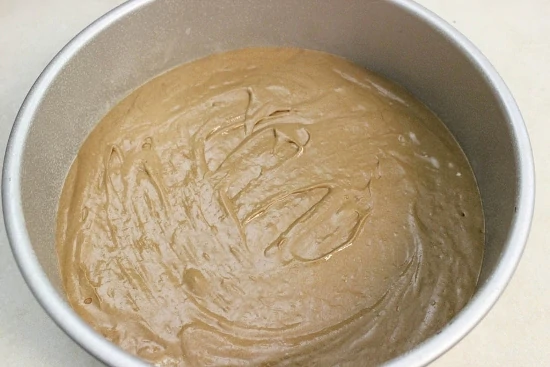
- Pour ⅓ of the batter into the prepared cake pan.
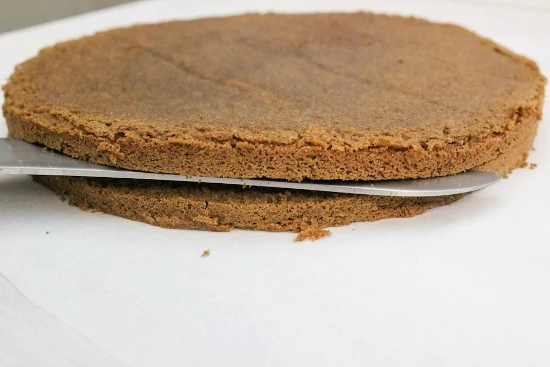
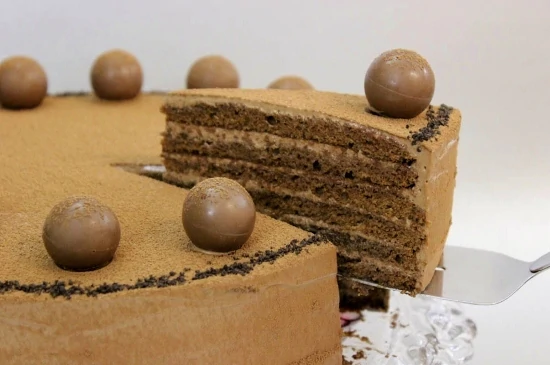
- Bake for 15 minutes, or until the cake is nice and springy when you touch it, or when a toothpick comes out clean. Bake the other two cake layers. Cool. Slice each cake in half horizontally.
For the syrup:
- In a small saucepan, combine the water, sugar and chocolate liquer and cook over medium-hot heat until the sugar melts. Cool.
For the frosting:
- Cream the cream cheese and condensed milk in a standing mixer with a paddle attachment.
- Add the other half of the melted chocolate and chocolate liquer. Mix until well combined.
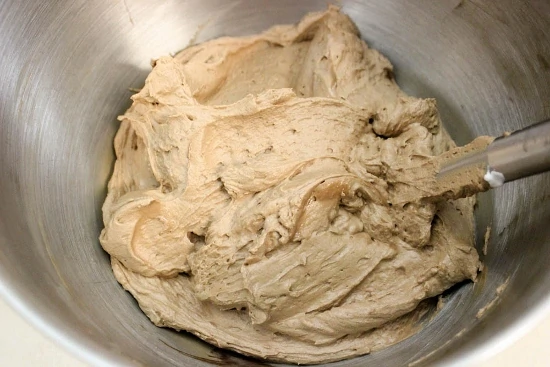
- In another chilled bowl and whisk attachment, whisk the heavy cream until peaks form. Gently fold it into the rest of the frosting.
Assembling the cake:
- Line the edges of a round cake platter with aluminum foil or parchment paper.
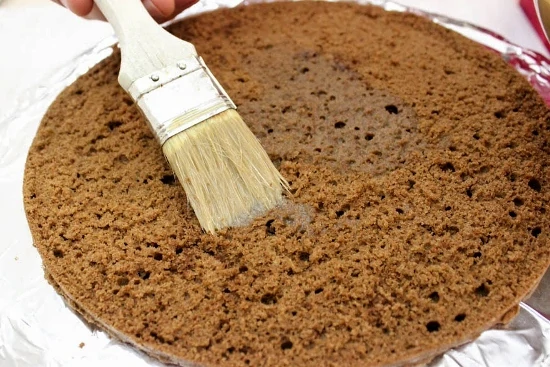
- Brush the top of each cake layer with the syrup.
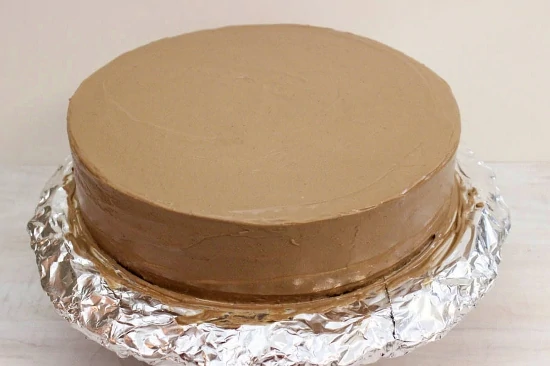
- Spread the frosting on each of the cake layers. Smooth the frosting over the sides and top of the cake.
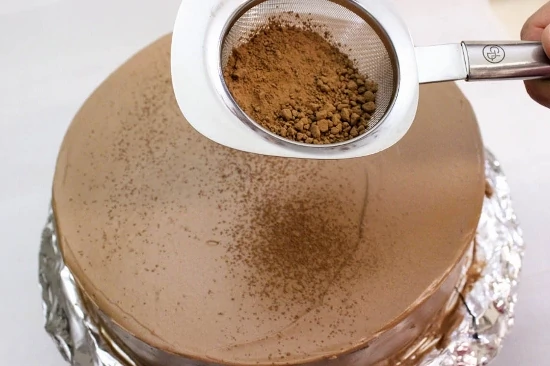
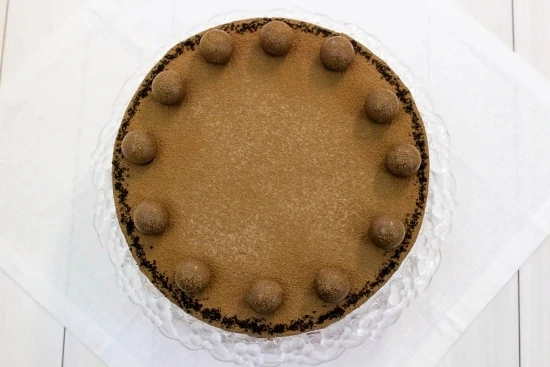
- Dust surface of the cake with cocoa and place the truffles around the edges of the cake.

Hi Olga, is the cake sponge-like? I’m planning on making a chocolate cake and want it extra chocolatey.
I think it has a sponge like texture, Tanya. It does taste very chocolatey. I hope you enjoy it.
Hi Olga, I was wondering if i can use rum instead of chocolate liquer.
Yes, you can use rum, Lily.
Hi Olga, thanks for the recipe. Already made this cake a few times. I was wondering if its absolutely necessary to separate the egg yokes from egg whites for the cake? Does it make a huge difference?
Yes, for this recipe I would definitely recommend separating the eggs, Irina. They give the cake a lot of lift, so I imagine that the cake will be a lot flatter and denser if you skip this step.
Hi Olga, we really liked the cake. God Bless you, keep it up. Everything looks so good here.
Thanks of taking the time to write, Olga. It means a lot to me.
Hi Olga, i was wondering what I can use instead of butter for the cake.? i'm not a fan of butter but not sure what i can substitute it with to still make the cake taste great.
Hi Natasha,
For this particular cake, you will need to use butter. Is there any specific reason why you don't want to use butter? Taste, calories, etc? Are you opposed to using oil? If not, there are many chocolate cakes that use oil instead of butter; you can try one of those cakes. Here's another chocolate cake on my blog that you can try, which uses oil instead of butter.
hi Olga I just wanted to let you know that I made this cake this Saturday and we ate it on Sunday and Monday! absolutely amazing my husband is a big time chocolate lover and he couldn't get enough of this cake! I had a little problem with the frosting cream, I followed your recipe step by step, but for some reason it still turned out a little bit too runny into the layers of the cake it from sliding down,
Super! I'm thrilled to know that you were happy with the results of the cake.
Something that I've experienced in the past is that if you whip the cream cheese too long, it will become too runny and soft. The secret is to start mixing it when it's at room temperature and mix it just long enough to combine.
Hi Olga! How do you make that shaved chocolate perimeter around the cake? I can't figure out how to make that decoration. It is the circle of shaved chocolate outside the truffles. Would love to hear how you do that.
Thanks.
Mariana
Mariana, I just sprinkled it in a circle around the perimeter of the cake with my fingers.