
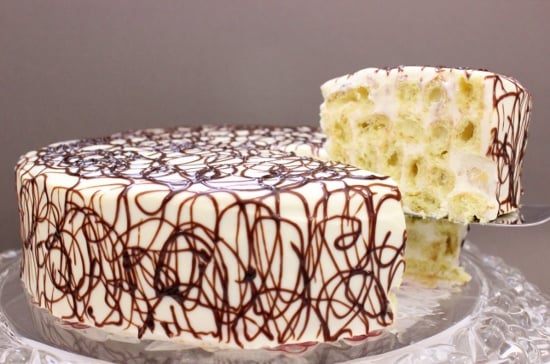
 I finished nursing school a month before our wedding and then moved to Florida to join my new husband. I had to fly back to New York to take my State Boards a few months later. When I came back home, relieved to have it over with but and still nervously awaiting the results, I was met at the airport by my new husband, who was late. When he brought me home instead of taking me out for dinner, I found out that he had made dinner himself, which was the reason for his tardiness.
Serge isn't one of those guys who cooks, even though he always lends a hand in the prep work. (He's kind of like a sous chef.) But that day he had put in a full day of work, shopped for groceries and made dinner. Ah... the things we do for love. I also found two bikes on the back patio, which we later frequently took to the beach to enjoy relaxing evening rides. The grandiose finale of the evening was a gorgeous cake that he had created. As you can see, this cake always brings me back to that beautiful evening of newlywed sweetness.
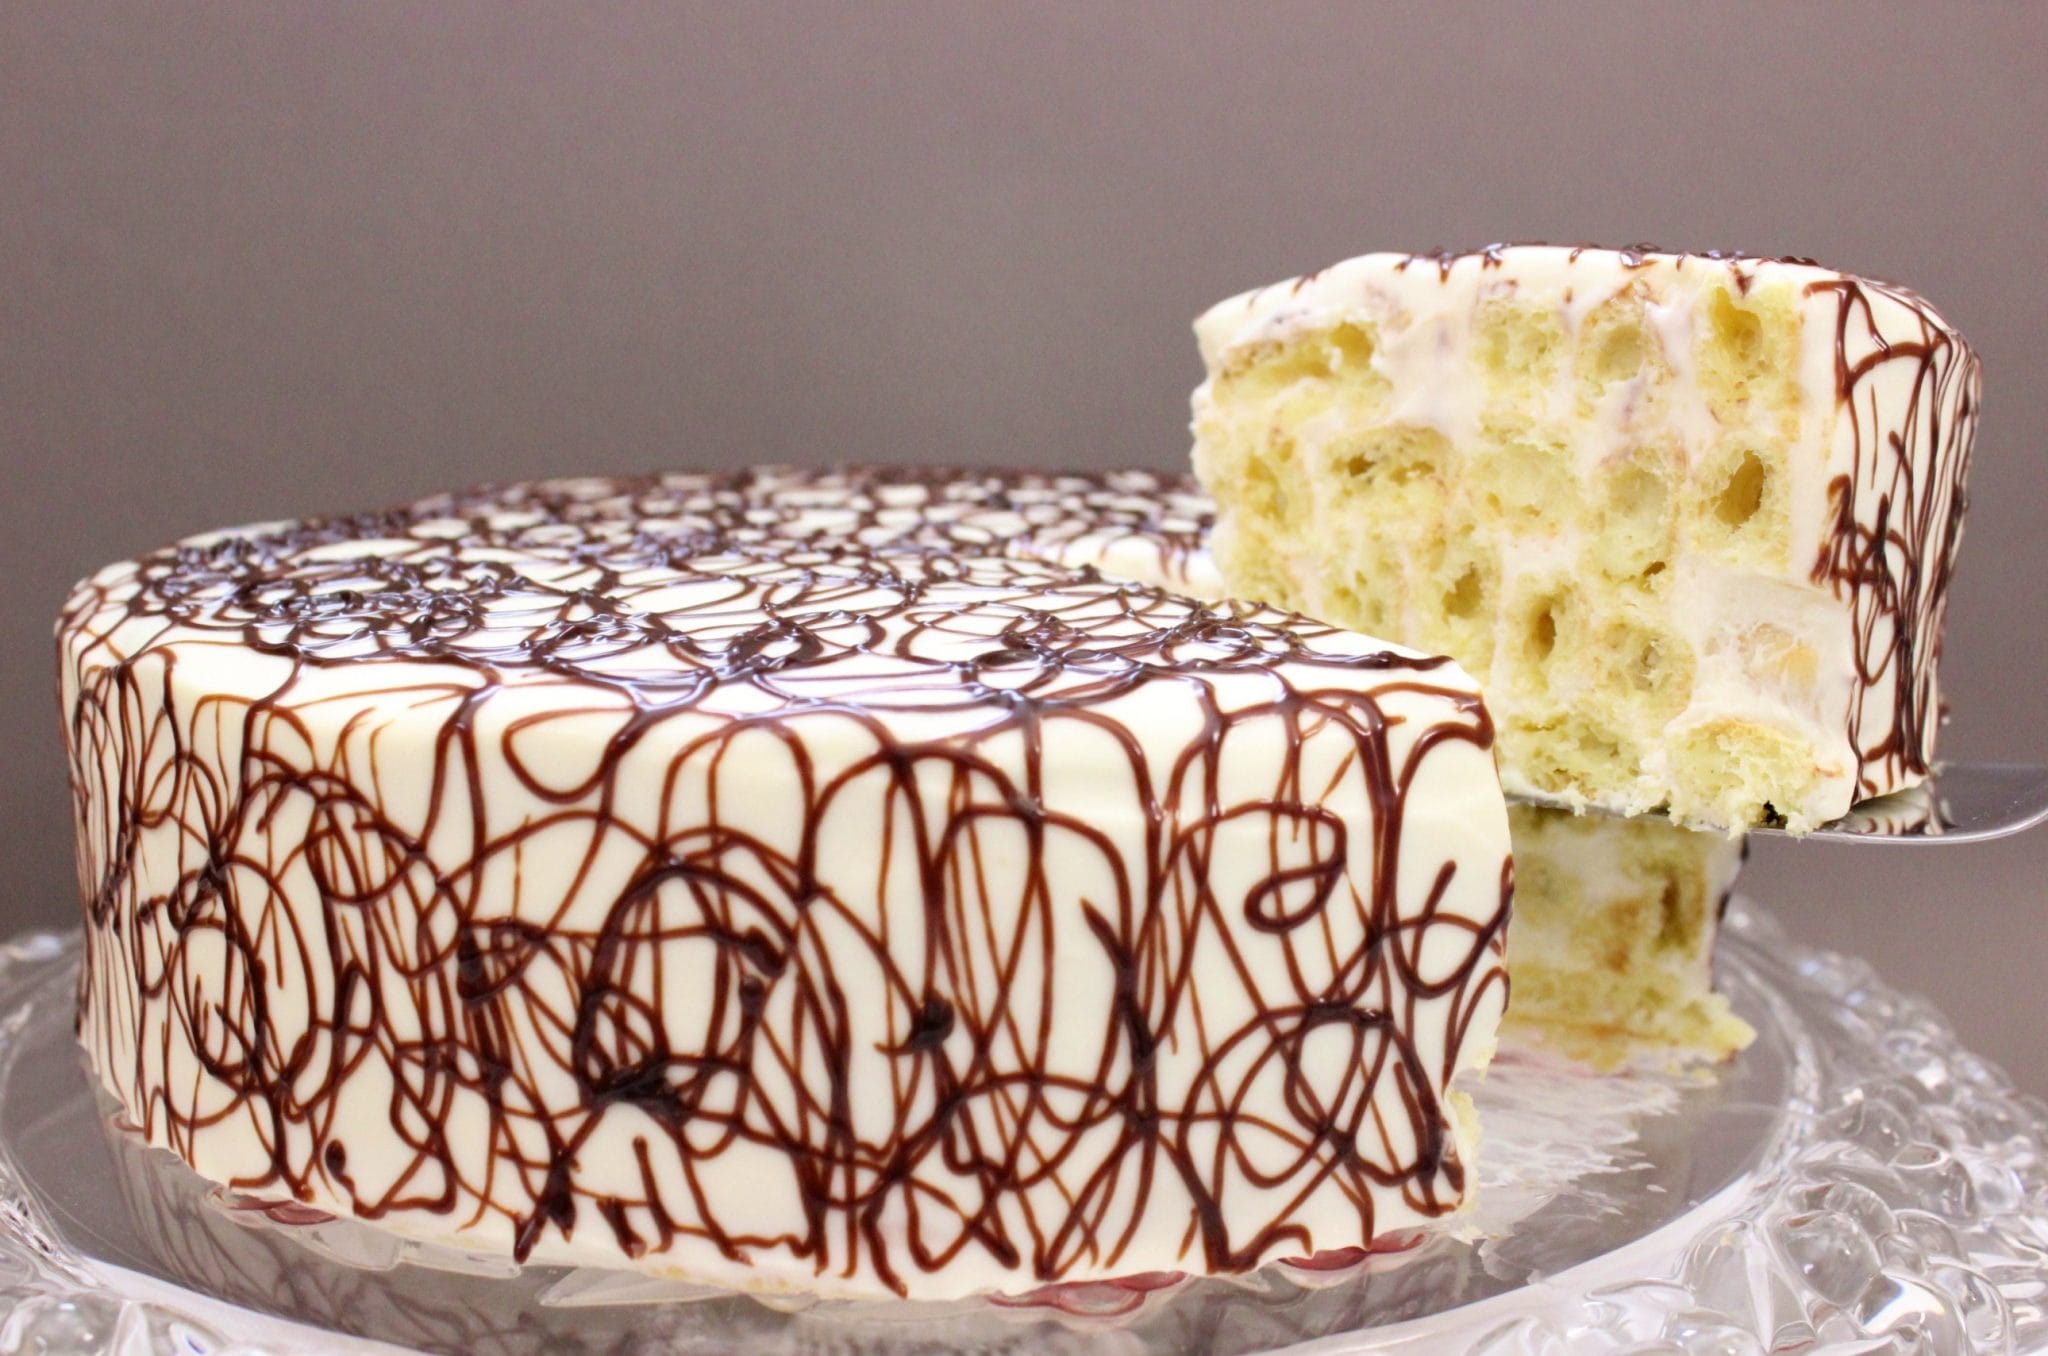
This cake is assembled from “lady fingers” made from pate choux dough (заварное тесто), the same one that you use to make cream puffs or eclaires. This gives it such a unique flavor and texture but is so simple to put together. I also include a recipe for chocolate glaze that we use all the time. When using melted chocolate to decorate a cake, it will harden in the refrigerator but this glaze still continues to have a perfect texture that melts in your mouth. The flavor is so delicious, deep, intense and chocolaty.Yields: 1 cake
Ingredients:
Pate choux batter for lady fingers:
1 ½ cups water
1 ½ sticks of butter
⅛ teaspoon salt
1 ½ cups flour
6 eggs
Frosting:
2 (16 oz.) containers sour cream
1 cup heavy cream
2 teaspoons vanilla
1 (14 oz) can sweetened condensed milk
½ cup powdered sugar
Chocolate glaze:
2-3 Tablespoons cocoa powder
4 Tablespoons sour cream
6 Tablespoons sugar
2 Tablespoons butter
Preheat oven to 400 degrees.
Lady Fingers:
Preheat the oven to 400 degrees. Line a rimmed baking sheet with parchment paper.
Bring the water, butter and salt to a boil in a medium saucepan. Add flour all at once. 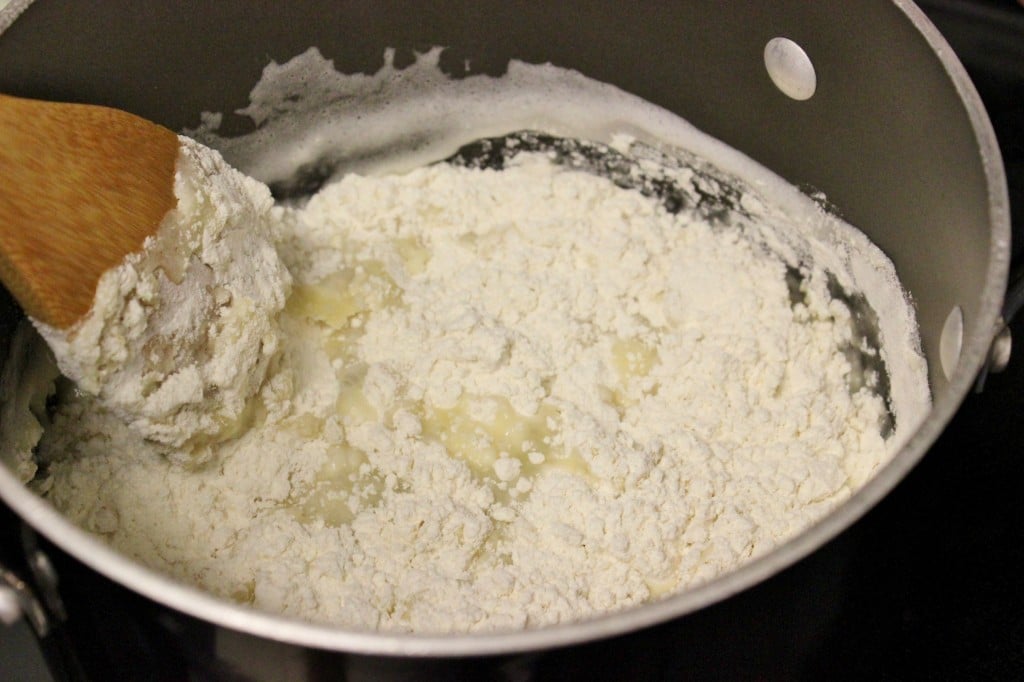 Mix with a wooden spoon until it forms a ball and the flour is mixed in thoroughly.
 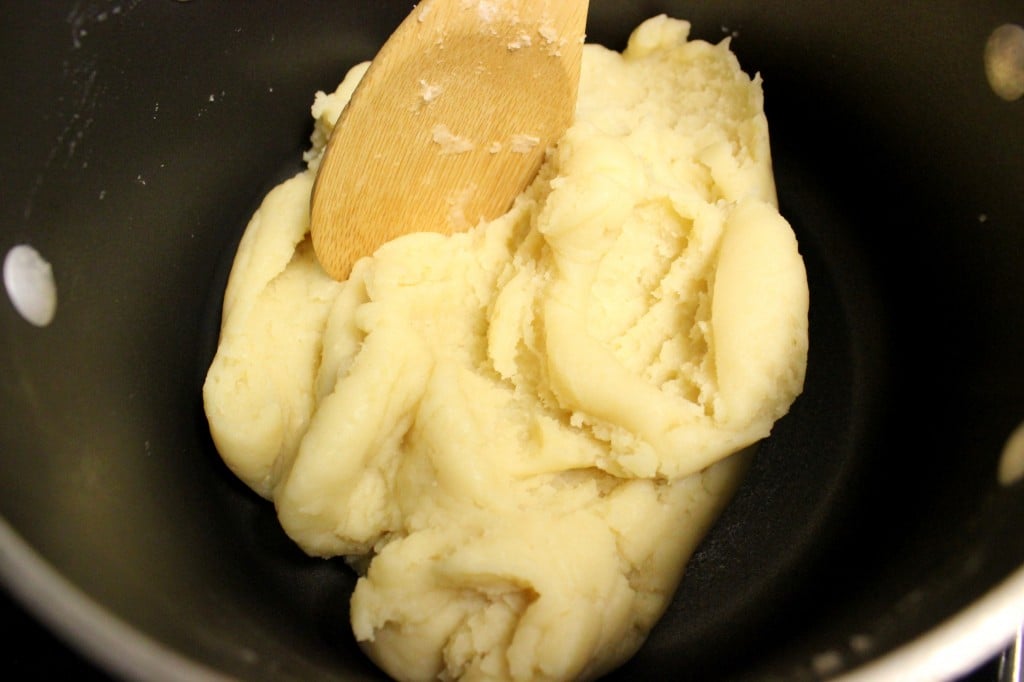 Cool for about 5 minutes or mix with a paddle attachment in a standing mixer or with a hand mixer until steam is no longer rising. Add eggs one at a time.
 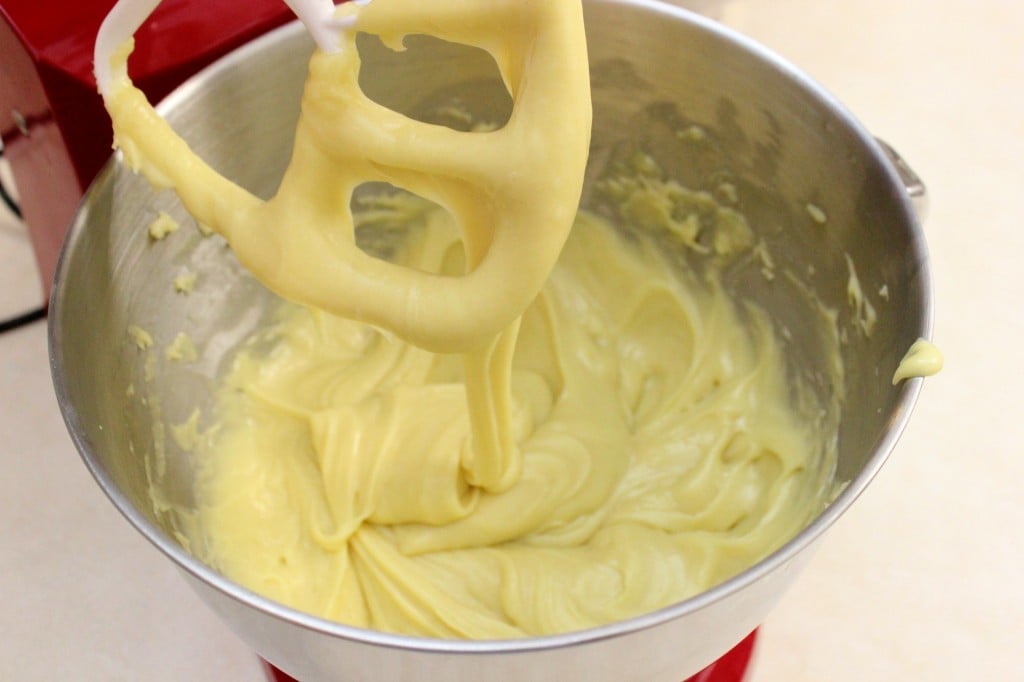 Transfer the batter to a large ziptop bag or a pastry bag and pipe 2-3 inch long strips, about 1 cm thick onto the prepared baking sheet.
 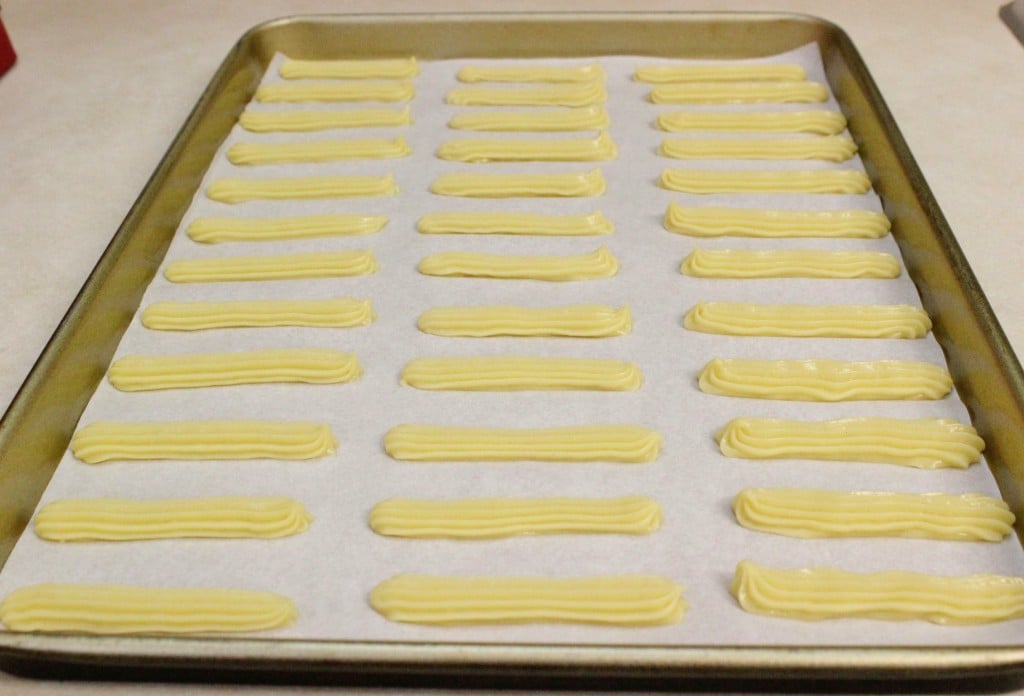 Bake for 15-20 minutes in the preheated oven.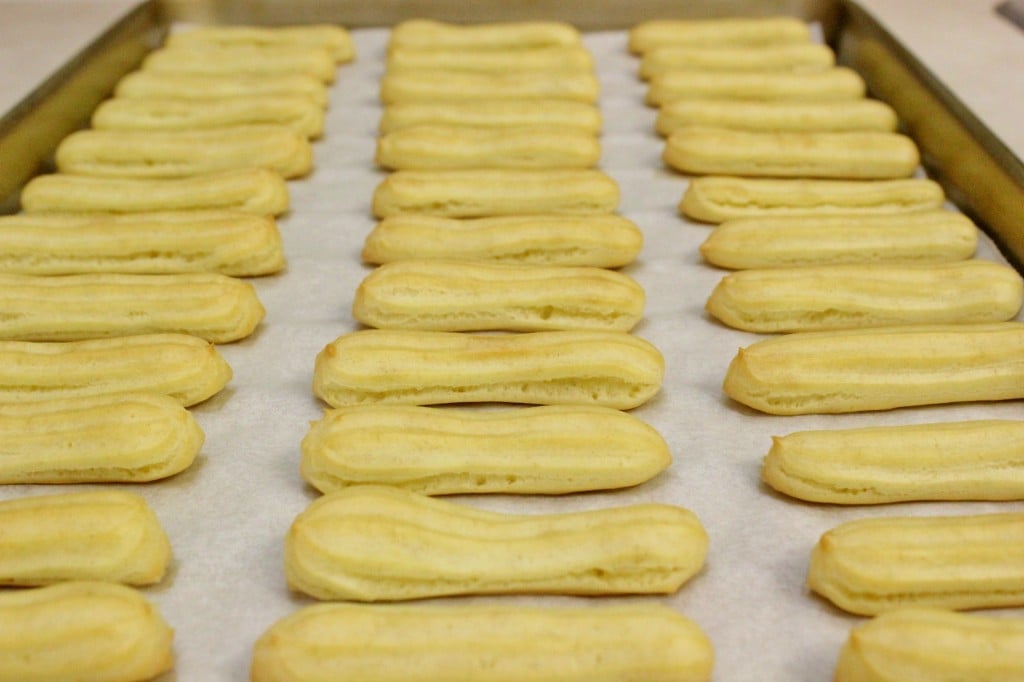
Frosting:
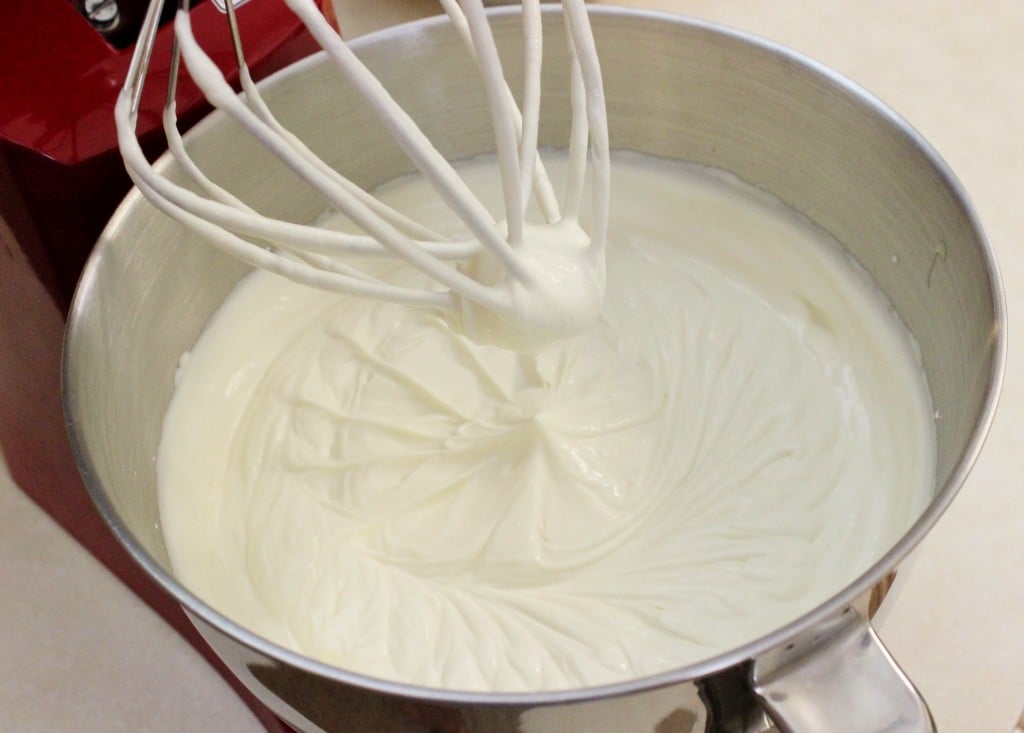
Combine the sour cream, condensed milk, powdered sugar and vanilla in a standing mixer using the whisk attachment. Add the heavy cream and continue whisking until frosting thickens. (This way, you are actually whipping the cream right in the sour cream mixture. Cool, huh?)
Chill the bowl and the whisk attachment to help the frosting whip up better. I usually place the bowl and whisk attachment in the freezer for about 10 minutes. Also, use very cold sour cream and heavy cream. The frosting will not be as thick as butter cream, but it will certainly thicken as you mix it.
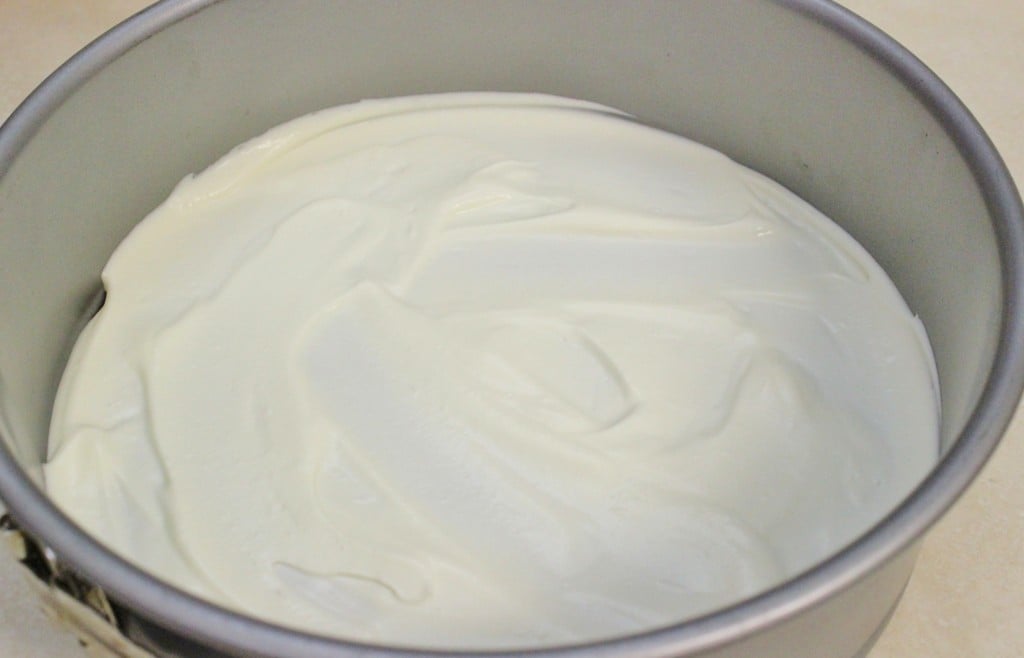
 In a 9 inch spring form pan, spread some frosting, about ¼ of a cup, on the bottom of the pan.
 Dip the lady fingers in the frosting.
 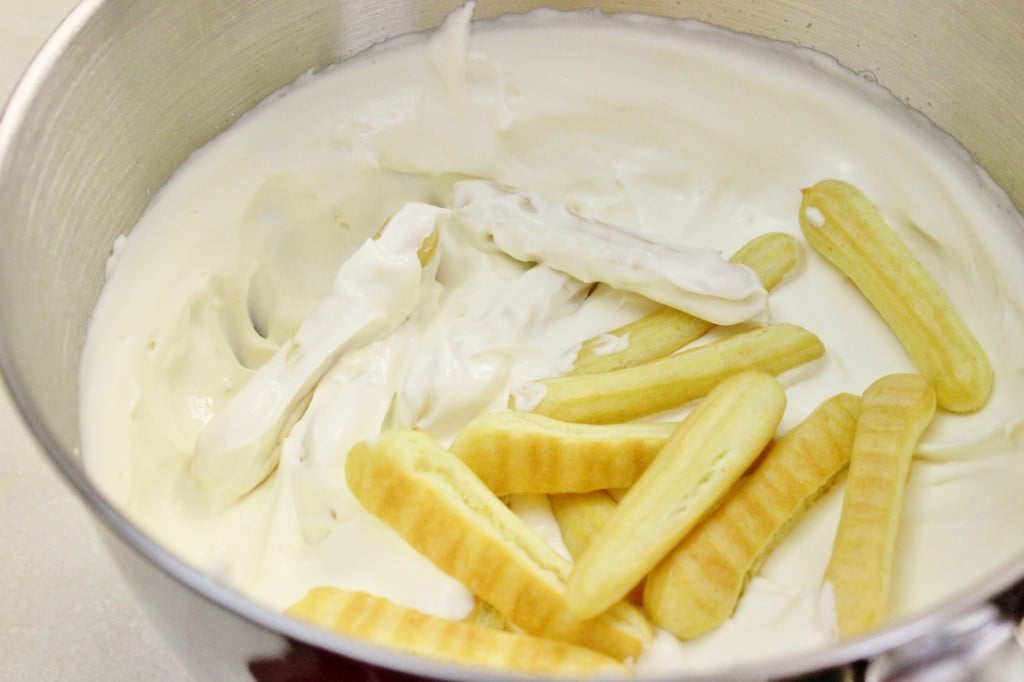 Starting at the rim, arrange the lady fingers in a circle in multiple layers to fill the pan all the way to the top.
 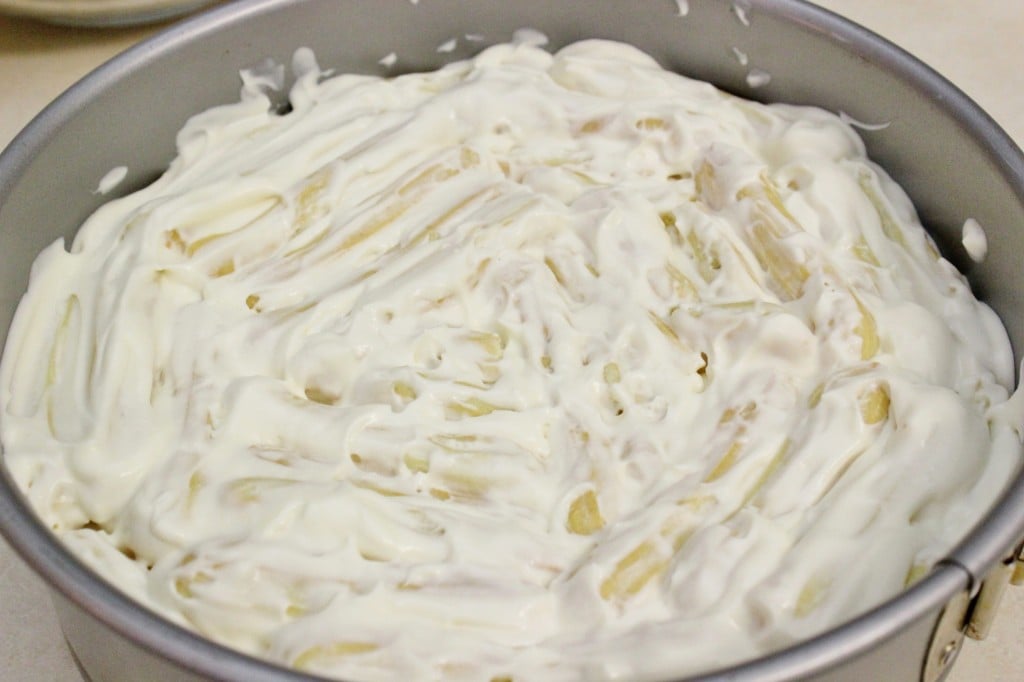 Make sure to arrange the day fingers tightly, with no spaces in between them. If you have little gaps, break the lady fingers into the size that you need.
 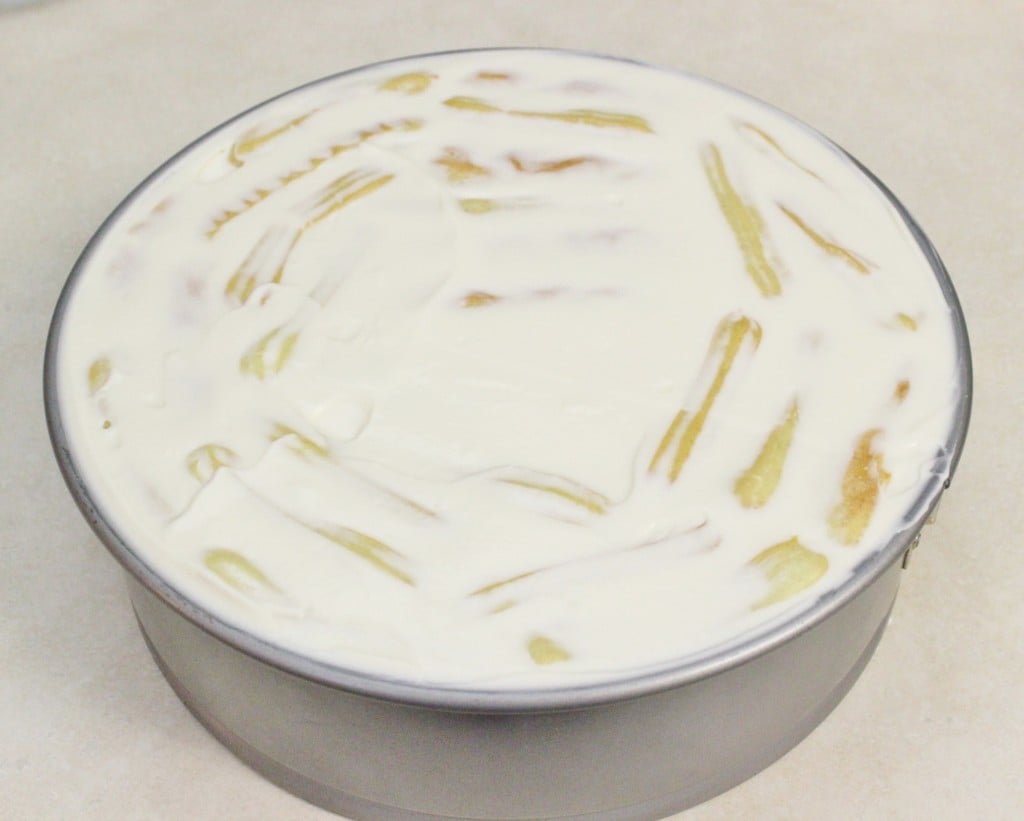 Reserve the leftover frosting in a small bowl.
Refrigerate the cake for at least a few hours. I usually keep it refrigerated overnight. It's very important to give the cake time to set and chill, otherwise it will fall apart when you take it out of the springform pan.
Line the edges of a cake stand or plate with aluminum foil. (This is to facilitate easy clean up later.) 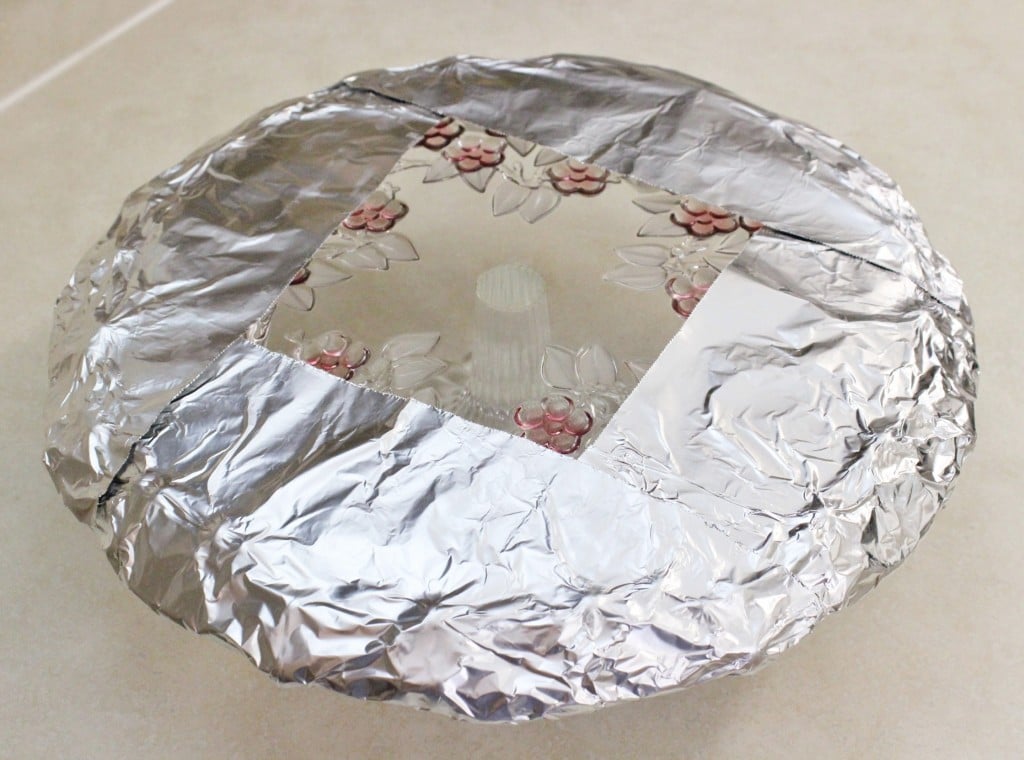 Run a knife or spatula around the edges of the cake.
 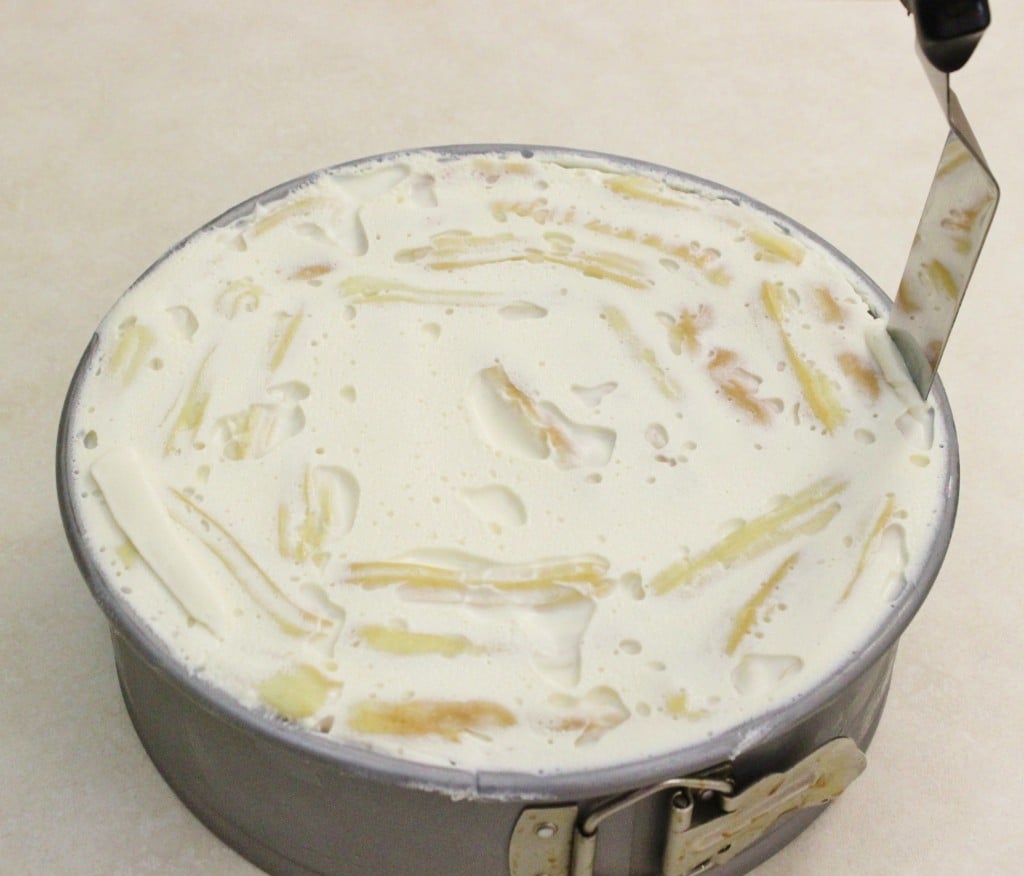 Invert the cake onto the center of the platter and take it out of the spring form pan.
 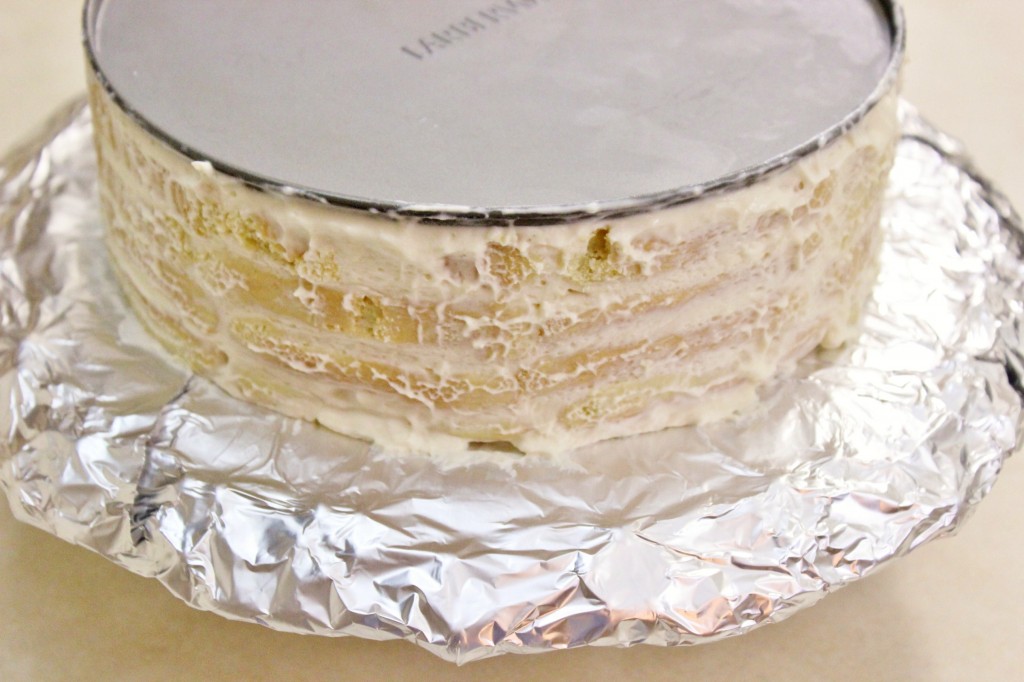 Cover the top and sides with the reserved frosting.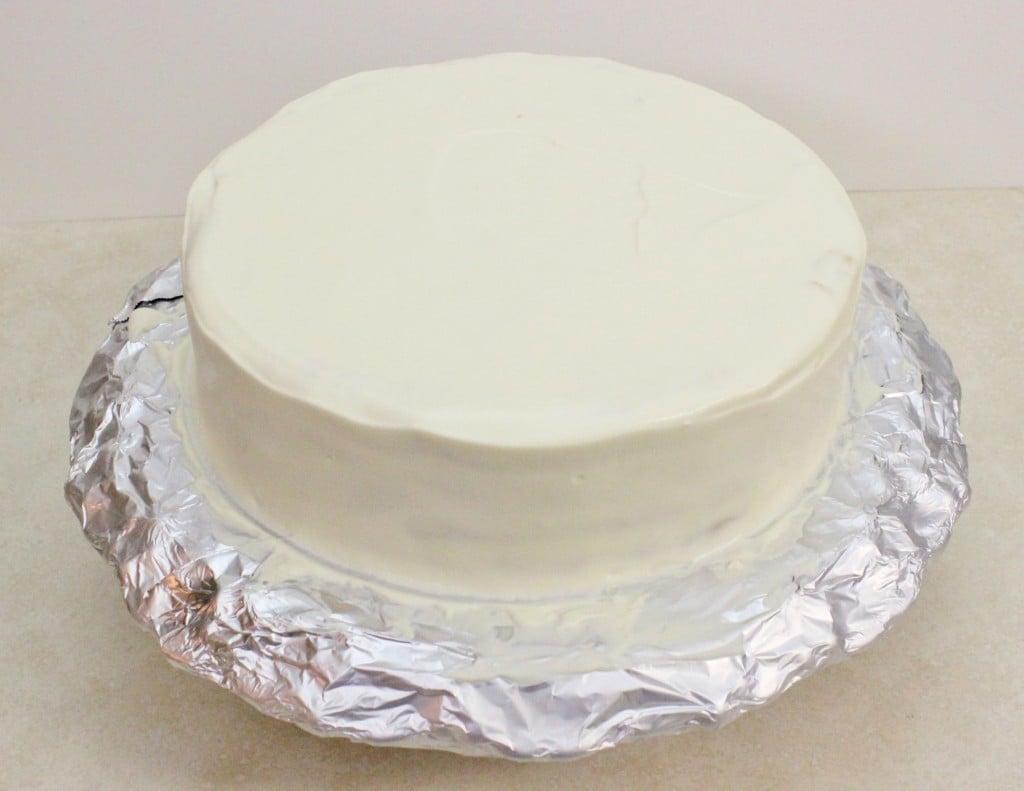
Chocolate glaze:
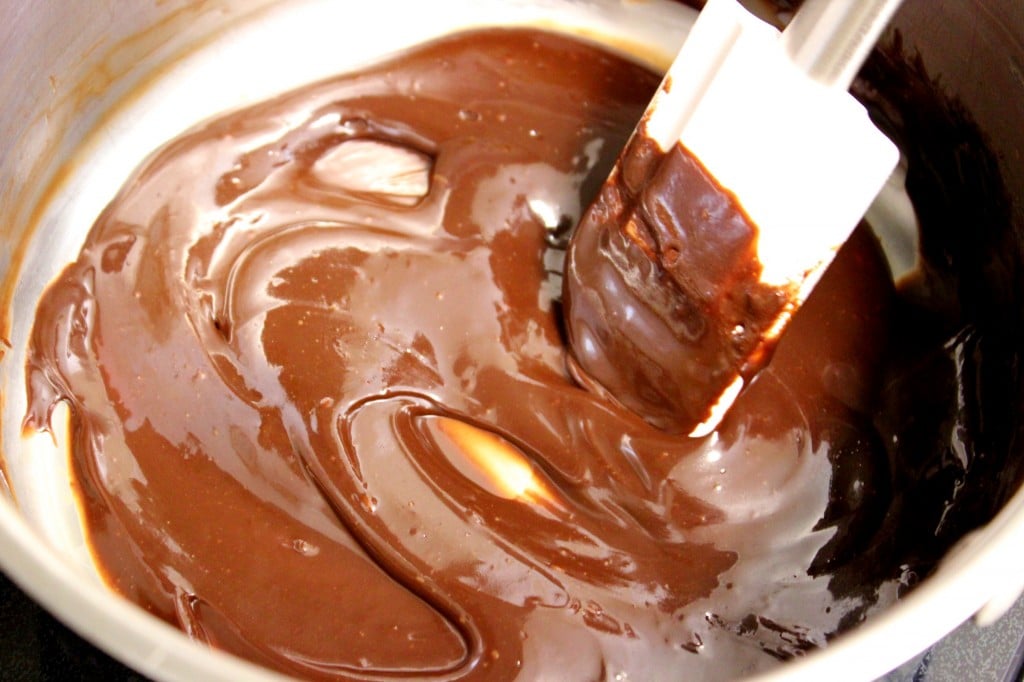
In a small saucepan, whisk together all the ingredients EXCEPT the butter, while they are still cold. 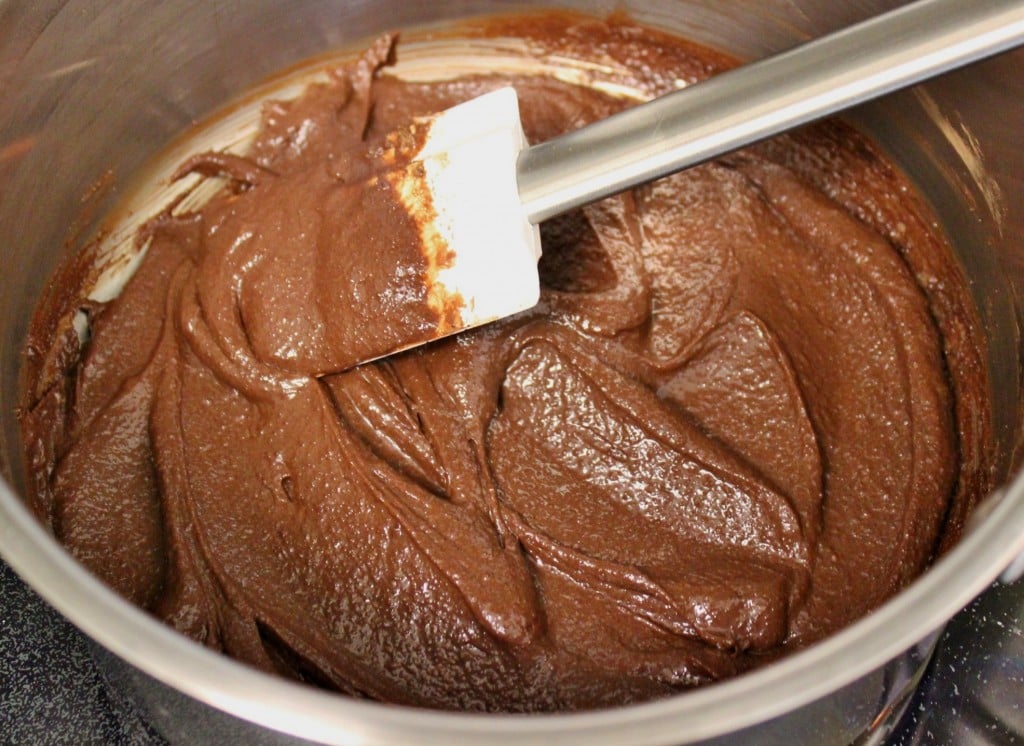 Cook over medium heat until it comes to a boil, simmer for a few minutes, until sugar dissolves and the glaze thins out to a syrupy consistency.Whisk in the butter.
  Make a pastry bag from parchment paper or regular printer paper, by taking the edges of the paper and bringing them together to form a thin point.
 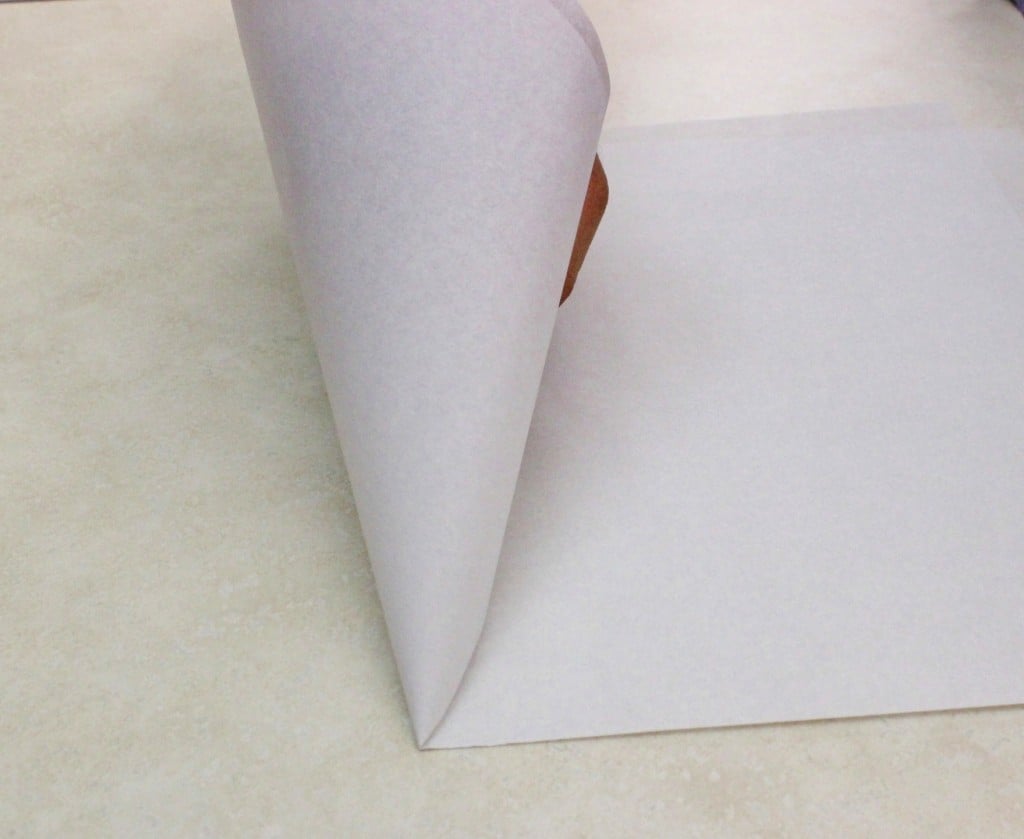 It will be a triangular/cone shape.
 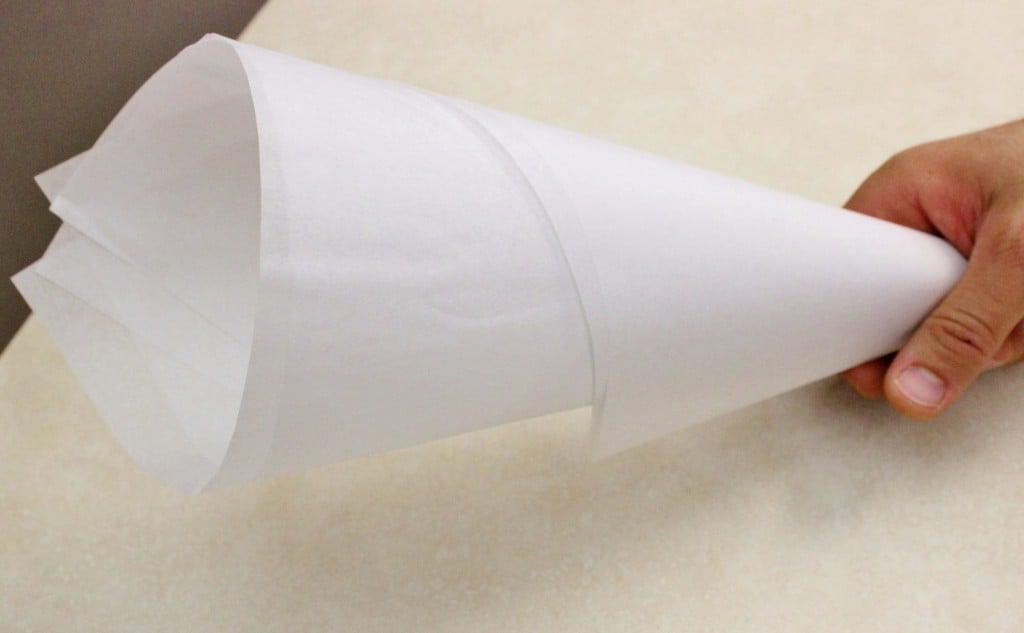 Pour the hot glaze in, snip off a small hole in the tip of the paper and decorate the cake.
You need to work quickly, since the glaze will harden as it cools. (You can always return the hardened glaze to the saucepan and reheat it.)
Carefully remove the aluminum foil. 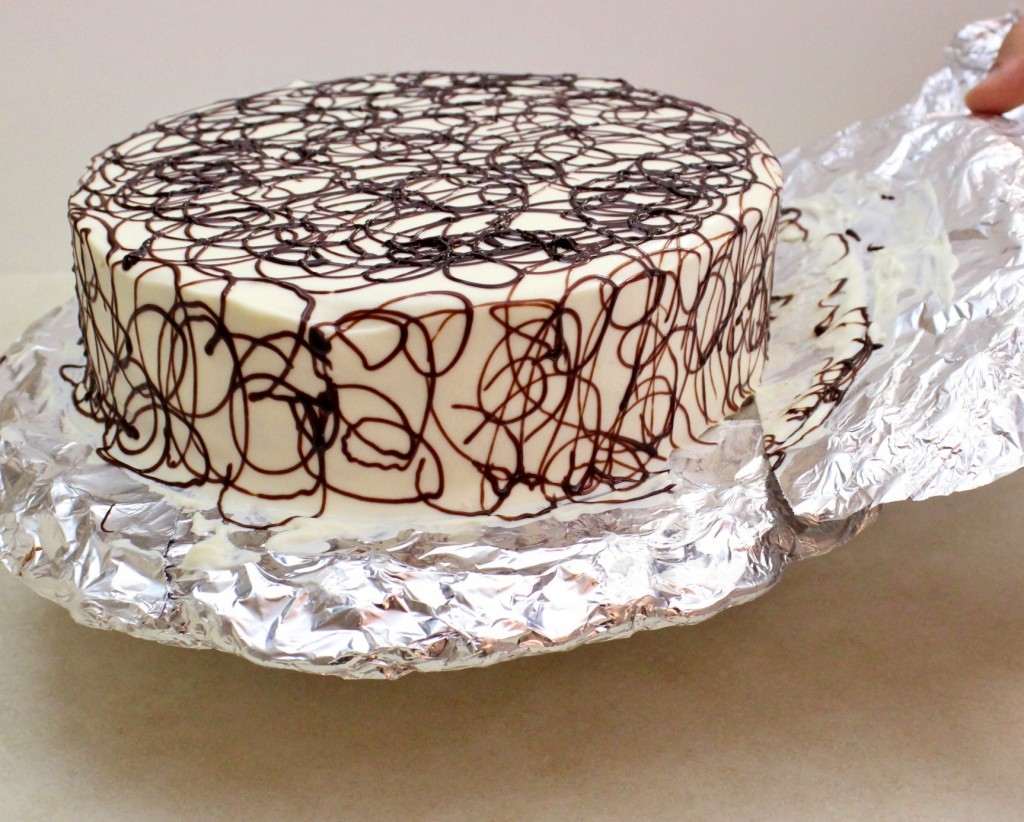 Isn't this a great trick to keeping the frosting and chocolate of the plate? Notice how clean and neat the plate is.
 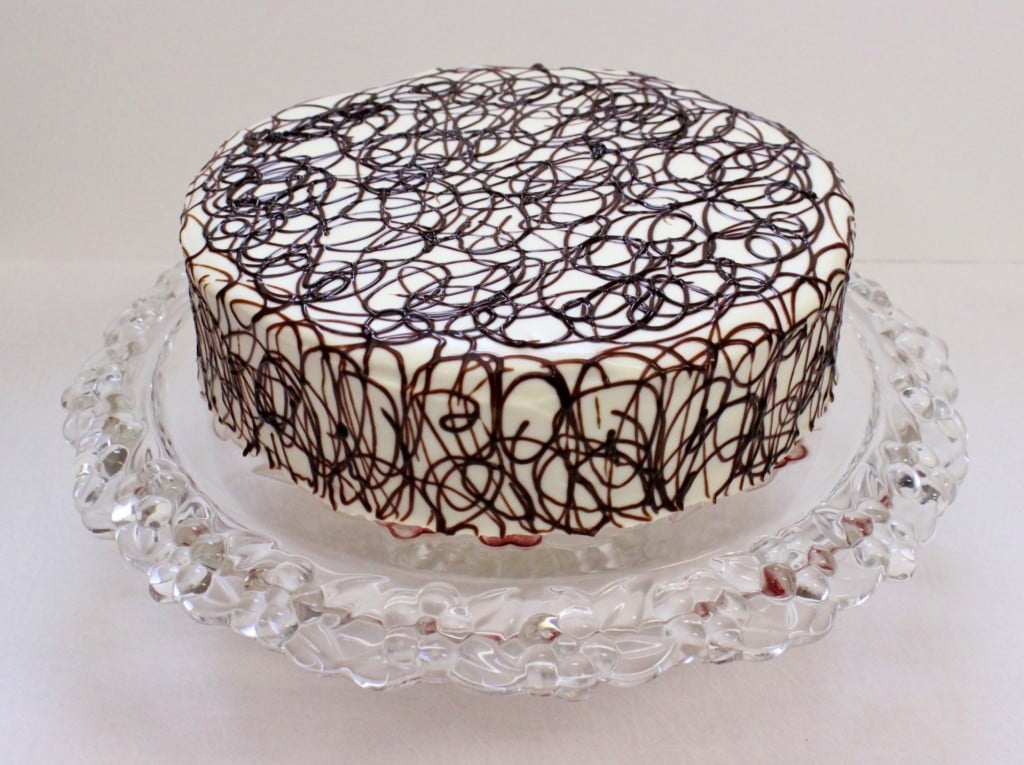 Of course, you can decorate the cake any way you like. Use your imagination and enjoy.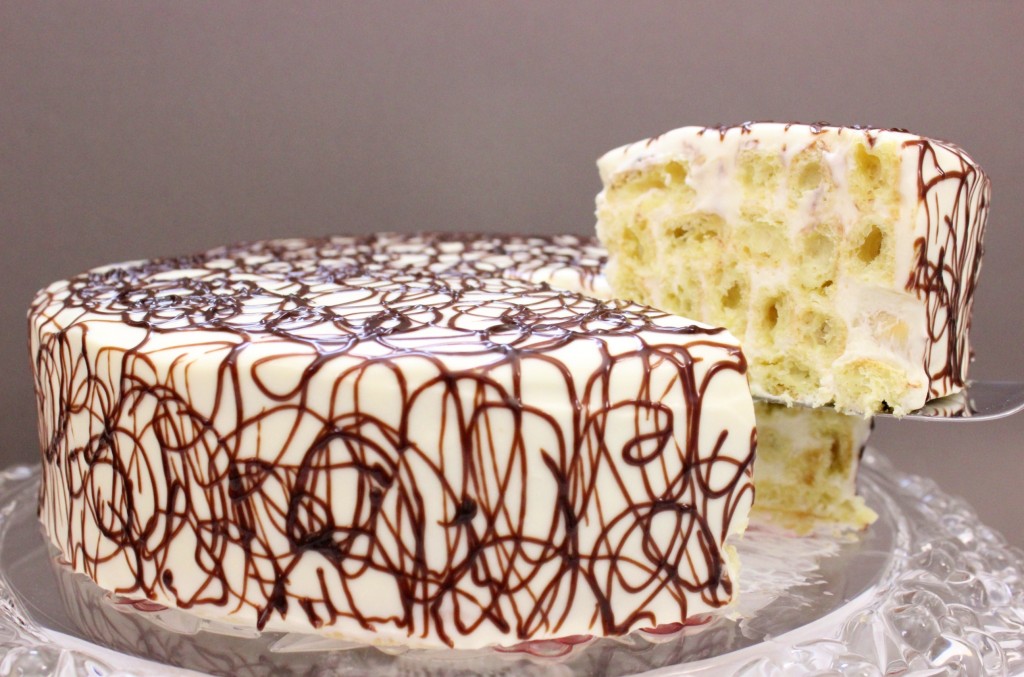
Lady Fingers Cake (Торт "Дамские Пальчики")
- Prep Time: 25 mins
- Cook Time: 20 mins
- Total Time: 45 mins
- Yield: 1 cake 1x
Ingredients
Pate choux batter for lady fingers:
- 1 ½ cups water
- 1 ½ sticks of butter
- ⅛ teaspoon salt
- 1 ½ cups flour
- 6 eggs
Frosting:
- 2 (16 oz.) containers sour cream
- 1 cup heavy cream
- 2 teaspoons vanilla
- 1 (14 oz) can sweetened condensed milk
- ½ cup powdered sugar
Chocolate glaze:
- 2-3 Tablespoons cocoa powder
- 4 Tablespoons sour cream
- 6 Tablespoons sugar
- 2 Tablespoons butter
Instructions
Lady Fingers:
- Preheat the oven to 400 degrees. Line a rimmed baking sheet with parchment paper.
- Bring the water, butter and salt to a boil in a medium saucepan.
- Add flour all at once. Mix with a wooden spoon until it forms a ball and the flour is mixed in thoroughly.
- Cool for about 5 minutes or mix with a paddle attachment in a standing mixer or with a hand mixer until steam is no longer rising.
- Add eggs one at a time.
- Transfer the batter to a large ziptop bag or a pastry bag and pipe 2-3 inch long strips, about 1 cm thick onto the prepared baking sheet.
- Bake for 15-20 minutes in the preheated oven.
Frosting:
- Combine the sour cream, condensed milk, powdered sugar and vanilla in a standing mixer using the whisk attachment.
- Add the heavy cream and continue whisking until frosting thickens.
- Chill the bowl and the whisk attachment to help the frosting whip up better. I usually place the bowl and whisk attachment in the freezer for about 10 minutes. Also, use very cold sour cream and heavy cream. The frosting will not be as thick as butter cream, but it will certainly thicken as you mix it.
Assembly:
- In a 9 inch spring form pan, spread some frosting, about ¼ of a cup, on the bottom of the pan.
- Dip the lady fingers in the frosting. Starting at the rim, arrange the lady fingers in a circle in multiple layers to fill the pan all the way to the top.
- Make sure to arrange the day fingers tightly, with no spaces in between them. If you have little gaps, break the lady fingers into the size that you need.
- Reserve the left over frosting in a small bowl.
- Refrigerate the cake for at least a few hours. I usually keep it refrigerated overnight. It's very important to give the cake time to set and chill, otherwise it will fall apart when you take it out of the springform pan.
- Line the edges of a cake stand or plate with aluminum foil. (This is to facilitate easy clean up later.)
- Run a knife or spatula around the edges of the cake.
- Invert the cake onto the center of the platter and take it out of the spring form pan. Cover the top and sides with the reserved frosting.
Chocolate glaze:
- In a small saucepan, whisk together all the ingredients EXCEPT the butter, while they are still cold.
- Cook over medium heat until it comes to a boil, simmer for a few minutes, until sugar dissolves and the glaze thins out to a syrupy consistency.Whisk in the butter.
- Make a pastry bag from parchment paper or regular printer paper, by taking the edges of the paper and bringing them together to form a thin point. It will be a triangular/cone shape.
- Pour the hot glaze in, snip off a small hole in the tip of the paper and decorate the cake.
- You need to work quickly, since the glaze will harden as it cools. (You can always return the hardened glaze to the saucepan and reheat it.)
- Carefully remove the aluminum foil. Of course, you can decorate the cake any way you like. Use your imagination and enjoy.

I made this cake yesterday for my daughter's birthday. It is delicious however the frosting was too runny. My question is do you put back the cake in fridge after chocolate glaze to set more? i had guests so i served right away but the frosting was dripping everywhere.
Mila,
I suspect you didn't mix the frosting long enough. If you look at the picture that I have of the frosting, it is pretty thick. I've never had any issues with this cake being runny. I usually do put the cake back in the refrigerator after putting the chocolate glaze on it, but by that time, it should be firm enough and you could serve it right away if you wanted to.
The original recipe for this cake is sour cream and sugar. That's it. It's very thin. With my version, it becomes much thicker and easier to work with.
Whenever making this frosting, I chill the bowl and the whisk attachment in the freezer for about 10 minutes. I also use very sour cream and heavy cream. You also have to make sure to mix it long enough and at a high enough speed until it thickens.
Thank you for explaining.
I am curious if I can use store bought lady fingers?
Mila, No. You can't use store bought lady fingers. These lady fingers are made from a pate choux dough, so they taste kind of like cream puffs. The store bought lady fingers are completely different; they are either soft sponge cake like or harder Italian style sponge cake lady fingers. If you do use store bought lady fingers, it will be a completely different cake.
1 1/2 sticks of butter
How many grams?
Approximately 150 grams.
Ok!!! Thank you!!!
This cake is being made almost for every special occasion in our family! My mom is always using the original frosting which is sour cream and sugar, and I think I'm the only one who doesn't like this frosting so I will bake the lady fingers and try your version of frosting.
Hi, can u tell me what size of pan did you use, the cake looks pretty high, want to make it for my daughters birthday, wanted to make sure it will be big enough. Thanks!
It's a 9 inch springform pan, Leyla.
I made this for Thanksgiving day. It turned out absolutely delicious, everybody loved it. Thank you for sharing the recipe. 🙂
So I finally finished with this cake for my Son's 4th birthday party tomorrow and I tried a little bit of a ladyfingers with the cream and OHHH my it's so delicious :))) Can't wait to have a full piece tomorrow. Thanks Olga 🙂
Can I make the lady fingers a day in advance?
Thanks 🙂
I decided to make these anyways and the dought for lady fingers is sticky and dosent look as runny :(. Will they still be ok? What did I do wrong?
Nadia, the dough is supposed to be sticky. That is why you put it inside a pastry bag and pipe them out on the baking sheet. Unfortunately, I'm not able to look into your kitchen to see what you were doing, so it's hard for me to answer what you did wrong, or if you even did anything wrong:(.
Yes, Nadia, you can make the lady fingers in advance. You can even make the whole cake in advance. It's just like most other cakes and can be made a day or two ahead of time.
Oh we'll I guess I'll just have to redo them...thanks for your reply 🙂
Hi Olga, I was wondering if you can clear things up on the parchment paper roll-up. I have never done that method and want to be sure I will do it right. The printer paper will be on the outside and the parment paper on the inside, correct? I hope I am not stating the obvious...:) Thanks, and by the way, I am absolutely in love with your blog!
Hi Lena,
You would use one or the other, not both of them.
Made this cake yesterday for today's Anniversary(5 years since I met my husband). It turned out delicious!!! I used only one sour cream(didnt have more) and so glad that it was enough for the cake filling. Also I noticed that whipping the cream for a bit longer will make the filling thicker and not runny (as many have mentioned above). This way the cake was propitaniy as well as some dryness was in. Absolutely loved it=)) Thank You Olga.
Thank You Olga for taking your time and answering my questions. You are awesome and so are your recepies. Thank You so much for sharing them with us=)
oh and also. Does sgychonka have to be cooked or not?
Lidiya,
The condensed milk does not need to be cooked. You can use it straight from the can.
Olga, if I only use one tub of sour cream will it turn out bad?
Hi Lidiya,
If you use only one container of sour cream instead of two, you won't have enough frosting.
Hi, I made this cake and cream was runny, I want to make sure that I did it right it was 32 oz of sour creme right? Also for some reason the eclairs went flat after being taken out of over, are they supposed to do that? Thanks for you recipe!
Hi Launa. The lady fingers will deflate some when you take them out of the oven. That's normal. The cream is not supposed to be the consistency of butter cream or Cool Whip. As I already explained in the instructions, it's supposed to be on the thin side, since the lady fingers need to be well soaked in the cream. In the original recipe, the cream consists of only sour cream and sugar. As you can imagine, it's even thinner than my variation. If you don't like it make your own favorite frosting and use it instead. However, if the frosting is too thick, the cake will not be moist but on the dry side.