
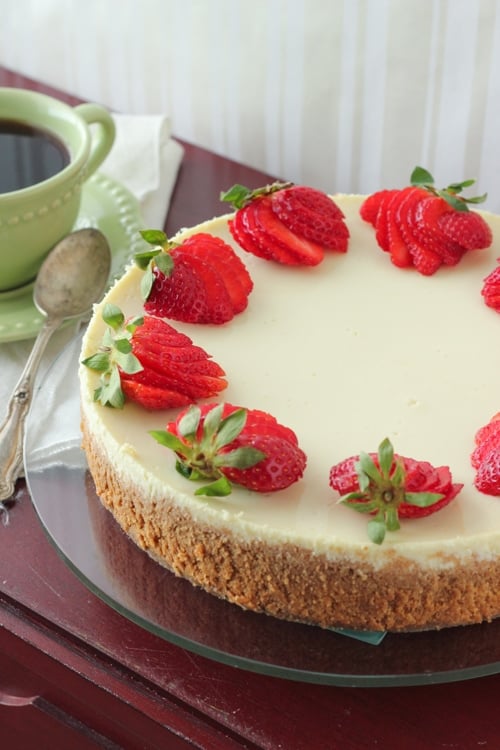
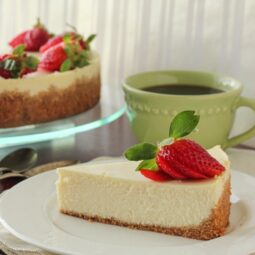
This Ricotta Cheesecake with fresh strawberries is the perfect combination of creamy and fluffy, with a light texture that’s still rich and decadent. A simple yet indulgent dessert that’s sure to satisfy your sweet tooth.
If you're anything like me, cheesecake is one of those desserts that never gets old. Whether it's the rich, creamy texture or the endless flavor variations, there's always room for cheesecake in my life. From Raspberry Cheesecake Bars to Pumpkin Cheesecake, I think I’ve tried them all, but there’s one that I keep coming back to again and again: Ricotta Cheesecake.
This cheesecake is everything you want in a dessert—creamy, luscious, and rich—but with a twist. The magic of ricotta combined with cream cheese gives it a unique texture that’s unlike any other cheesecake. It's fluffier than the traditional cream cheese version, but still has that satisfying, sturdy structure that holds together perfectly when sliced. It’s a happy middle ground between light and dense, and that’s what makes it so irresistible.
And of course, the fresh strawberries on top add the perfect touch. Sweet, juicy, and a little tart, they balance out the richness of the cheesecake, making every bite feel like a little celebration. The beauty of this recipe is that it’s super easy to make—no complicated steps or hours of preparation. It’s one of those desserts that tastes like it came from a bakery, but you can whip it up at home with just a few ingredients.
Whether you're serving it at a special occasion or just because, this cheesecake will always be a crowd-pleaser. Plus, with that fluffy texture and creamy filling, it’s a showstopper every time.
Ingredients:
Crust:
5 oz graham crackers (about 10 crackers)
1 Tablespoon sugar
4 Tablespoons butter, melted
Cheesecake:
2 ½ cups ricotta cheese
2 packages (8 oz each) cream cheese
¾ cups sugar
¼ teaspoon salt
4 eggs
2 teaspoons vanilla
2 Tablespoons flour
How To Make Ricotta Cheesecake
Preheat the oven to 325 degrees Fahrenheit. Brush a 9 inch springform pan with 1-2 teaspoons of the melted butter. Pulse the graham crackers with the remaining melted butter and the sugar until you have uniform crumbs. 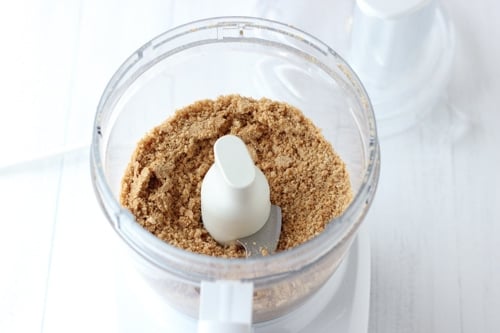 Press the crumbs into the prepared springform pan.
 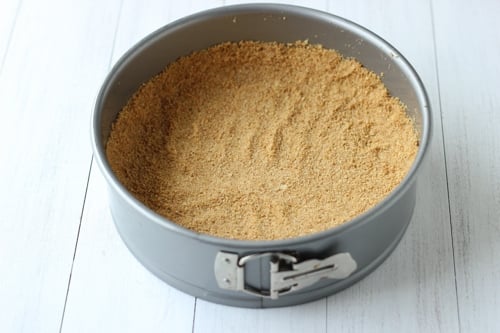 Bake for about 12 minutes. Cool the crust for 10 minutes.
Wipe out the food processor and place all the ingredients for the cheesecake into the food processor. 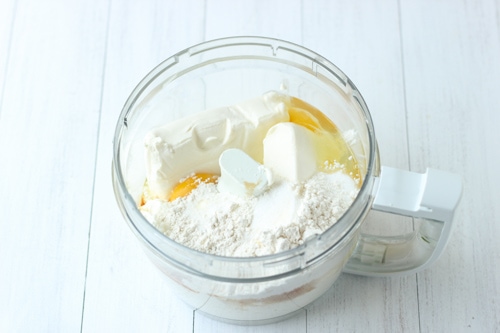 Pulse to combine until you have an even consistency. You can also use a standing mixer or a hand held mixer to mix the batter.
 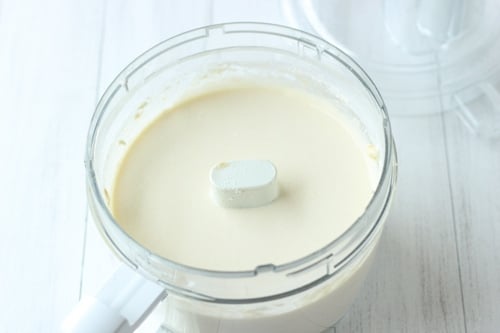 Pour the cheesecake batter into crust.
 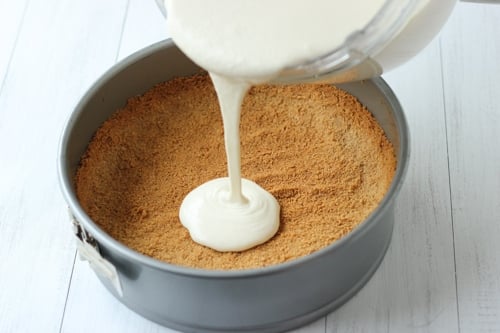 Wrap the outside of the springform pan in several layers of aluminum foil and place it inside a large roasting pan and pour in about an inch of water. This step isn't necessary, but it will help to keep the top of the cheesecake from cracking.
 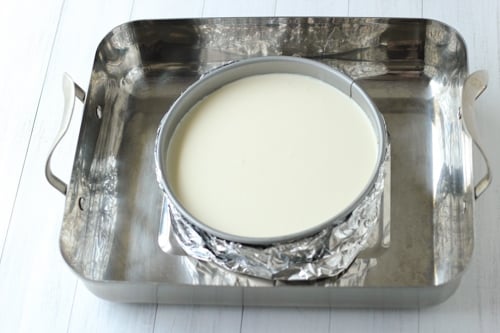 Bake the cheesecake for an hour and 15-30 minutes. Cool the cheesecake, preferably refrigerate overnight.
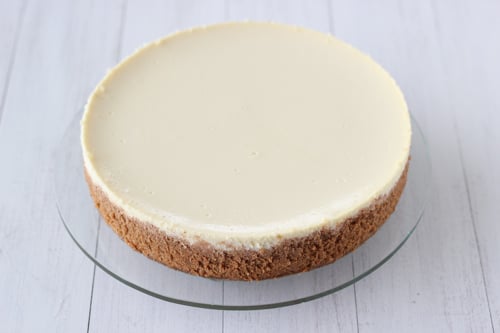 Top with your choice of toppings.
Ricotta Cheesecake
Ingredients
- Crust:
- 5 oz graham crackers about 10 crackers
- 1 Tablespoon sugar
- 4 Tablespoons butter melted
- Cheesecake:
- 2 ½ cups ricotta cheese
- 2 packages 8 oz each cream cheese
- ¾ cups sugar
- ¼ teaspoon salt
- 4 eggs
- 2 teaspoons vanilla
- 2 Tablespoons flour
Instructions
- Preheat the oven to 325 degrees Fahrenheit. Brush a 9 inch springform pan with 1-2 teaspoons of the melted butter.
- Pulse the graham crackers with the remaining melted butter and the sugar until you have uniform crumbs.
- Press the crumbs into the prepared springform pan. Bake for about 12 minutes. Cool the crust for 10 minutes.
- Wipe out the food processor and place all the ingredients for the cheesecake into the food processor. Pulse to combine until you have an even consistency. You can also use a standing mixer or a hand held mixer to mix the batter. Pour the cheesecake batter into crust.
- Wrap the outside of the springform pan in several layers of aluminum foil and place it inside a large roasting pan and pour in about an inch of water. This step isn't necessary, but it will help to keep the top of the cheesecake from cracking.
- Bake the cheesecake for an hour and 15-30 minutes.
- Cool the cheesecake, preferably refrigerate overnight. Top with your choice of toppings.
Olga, thanks for the recipe! This was the first cheesecake I have ever baked and I cooked it live on Periscope! Going to try more of your recipes 😉
Yay! I'm so happy to hear that, Anastasia. Thanks for taking the time to write.
Olga, thank you so much for this recipe! I'm making it the second time right now. Thank you from my entire family 🙂
Cant wait to try it!! Its baking in the oven right now:) I had a question, is it suppose be very firm when its finished? Mine still has 15 min to go and it isn't looking very firm but instead watery. I did the water bath like you suggested so i hope it doesn't crack:)
I made this cheesecake for my mother in laws birthday in January and it was gone within one sitting. I'm so excited to make it for again this week for Easter. Mine cracked on top so I opened a can of cherry pie filling and put it on top. It was delicious 🙂
I'm so glad you enjoyed this cheesecake, Yelena.
Cracks in cheesecakes aren't too big of a deal - nothing some fruit can't fix:).
I made this for Christmas and liked it a lot and so did everybody else. It did brown on top, but our oven is goofy and doesn't work right, so I just cut off the top of the cake with a sharp knife and put lots of cherries on top to cover it up. Will make it again!
Goofy ovens make cooking quite a challenge. I love your attitude, Liza:). I've used fruit many times to cover imperfections and the cake still tastes just as great.
This cheesecake is delicious! I made this for Thanksgiving and the couple who was over left with a recipe to this cheesecake. 🙂
Yay! I'm thrilled to hear that, Anna. Thank you so much for sharing my recipe with your guests.
Hi Olga, do you bake, both the crust and the cheesecake at 325 degrees F? Also, do you wait a few hours/overnight before you take the cheesecake out of the pan?
Hi Tanya,
Yes, I bake both the crust and the cake at 325. I almost always make cheesecake the day before I plan to serve it, so I do wait to take it out of the pan. However, I have taken it out sooner a few times too.
Yum, This cake looks delicious. I want to make it soon. Do you bake the cake in the oven on the middle rack or on the lower rack?
I always bake everything on the middle rack of the oven unless I specify it in the recipe, Dina. Hope that helps.
this is an awesome recipe! i wanna make it again tonight i was wondering how you get your cheesecake to be so white on top? mine started turning brown is there a trick to keep it from happenning?
I'm not sure how to help you. I did everything the way I explained it in the recipe. I don't have any secret tips that I don't share:).
Made your cheesecake today. It was really easy to make and came out perfect.. I cooled it in a fridge for a few hours, but had a hard time sliding it off the springform pan after that. Any tricks? I might just serve it on a bottom part of the pan 😉
Hi Olga! Love your recipes. I'm looking to serve this cheesecake to guests this Thursday. How far in advance can I make the cheesecake? Would you recommend a particular day to make it?
I like to make desserts the day before serving them, but you can also make it 2 days in advance. Just add the berries shortly before serving so they taste as fresh as possible. I hope you enjoy the cheesecake:).
Thank you for the quick response! I made the cheesecake on Wednesday, as you suggested. It didn't look at beautiful as yours, but we really enjoyed it last night! I added lemon zest in the batter and topped with sliced mango instead of berries. Thanks for another awesome recipe, Olga!
Yum! I think adding mangoes and lemon zest is a great idea. (And taste is so much more important than looks!)
Olga, ti takaya molochinka! This is the most perfect cheesecake I have ever seen, no cracks, no spots, and looks absolutely delish! My sister had this cheesecake and said its the best one shes ever tried so I will be making this this weekend, so excited because I have a weak spot when it comes to cheesecake, like a really, really weak spot!
God bless you, you are an inspiration to me!
Thank you, Snow! I'm always thrilled to read such encouraging responses to the recipes I post.
I tried the recipe, it's perfect. Defineletly going to to make it again, and again, and again. It was my first cheesecake and it turned out just the way it suppose to be. Thank you, Olga. To the early post about the curds, I have learned, if you mixed your cream cheese in a mixer, start with just cream cheese, ricotta and sugar until creamy texture, then add eggs and the rest of ingredients.
I'm happy to hear that you liked the cheesecake, Olga!
You're right, the cheeses need to be mixed first separately before adding the eggs if you're using a mixer.
I mixed up all the ingredients and the mixture has little curds! Is that okay? Will they melt as it bakes?
If they are tiny little curds like ricotta cheese normally has, than that's not a problem. They shouldn't be any bigger than they were in the container. However, it could be that your cream cheese wasn't softened enough, and the curds are from the cream cheese. I don't think it will matter after it's baked. The texture might be slightly different, but the taste should still be the same.
Can I substitute your homemade Farmer's cheese for the ricotta cheese in this recipe?
Absolutely, Jan:).