
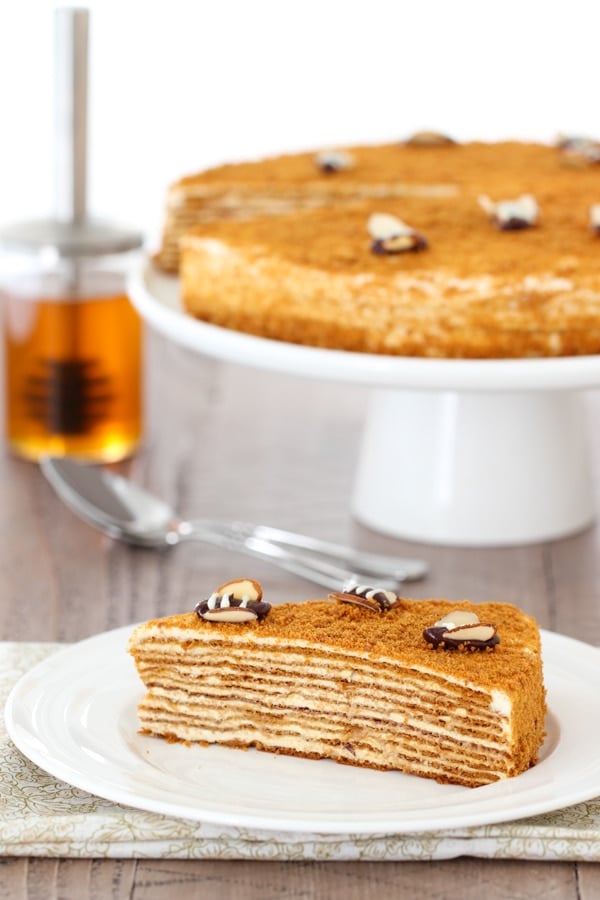
With multiple, thin honey layers and a tangy sour cream frosting, this cake is so tender it just melts in your mouth. It's a classic Russian recipe that has been loved for generations.
Medovik is, hands down, my favorite cake and is totally worth every ounce of effort that it takes to make it. My mom has been making this cake since before I was born. I loved watching her in the kitchen; I was always in awe of how she expertly made beautiful creations right before my very eyes. She made it looks so easy and effortless. As I watched her, it all seemed so magical and I couldn't wait until I made this cake myself.
I was probably about eleven or twelve when I felt confident enough to approach her and plead with her to let me have a try. Mom told me it was a really hard cake to make, really finicky and I wouldn't be able to do it. Well, she didn't forbid me from making it. The next time Mom wasn't home, I rolled up my sleeves and made this cake, from start to finish. When Mom came home, the Medovik was finished and standing proudly as if personifying my victory. (By the way, this is exactly the same thing that happened with Borsch and Napoleon Cake.) Ha ha! I was always a very determined girl:). Love you, Mom!
Instructions:
Making the Cake Layers:
Place the butter and sugar in a large nonstick pot.
If you don't have a nonstick pot, or your pot burns easily, you may wish to use a double boiler. (Just place a metal or glass bowl on top of a pot with about an inch or water in it and keep it simmering, but make sure the bottom on the bowl never touches the simmering water. Add more water if it evaporates.
Cook it just until the butter melts but is still barely warm, NOT HOT. Take it off the heat. Add the eggs, baking soda and honey and mix to combine.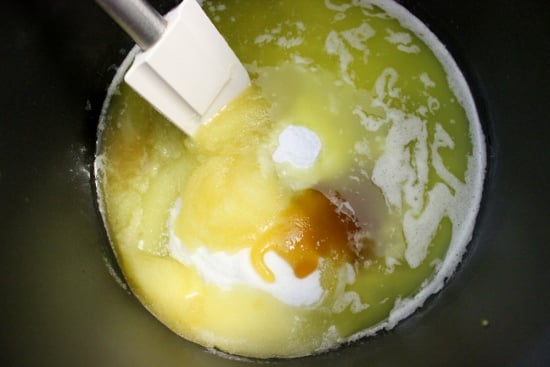
This is important, if you add the eggs to hot butter, it will scramble.
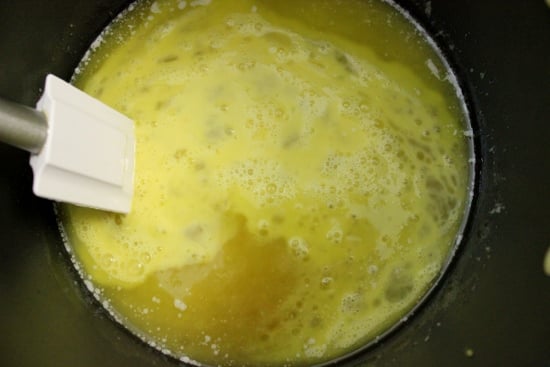
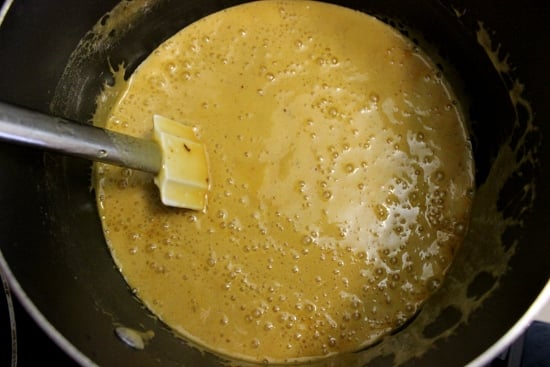
Cook the mixture on medium low heat for about 7 minutes, longer if you're using a double boiler. The batter will puff up and turn a deep caramel color. 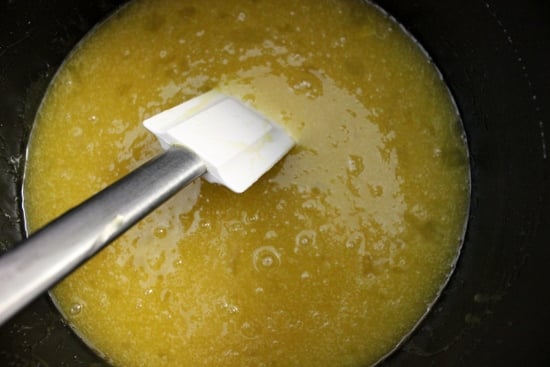
 Add the flour and mix quickly with a wooden spoon.
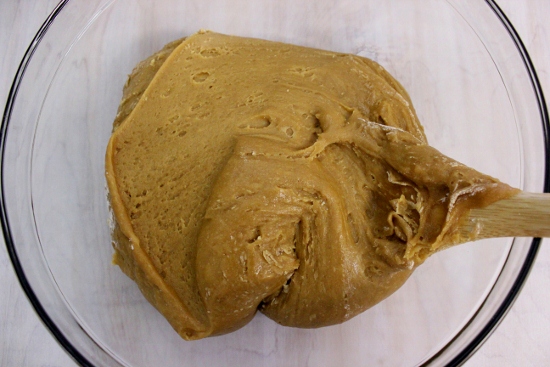
I always add less flour than I need and add more when I'm rolling out the cake layers. If you add too much flour, it will be really hard to roll out.
Preheat the oven to 350 degrees.
On a lightly floured surface, roll out the cake layers.
Take approximately ¼ cup of batter and knead it on your work surface. If it's sticking to your hands and the counter, add more flour. Roll it out thinly into somewhat of a circle. Use the bottom of a cake pan or the bottom of a tart pan to cut around it with a paring knife to make a perfect circle. 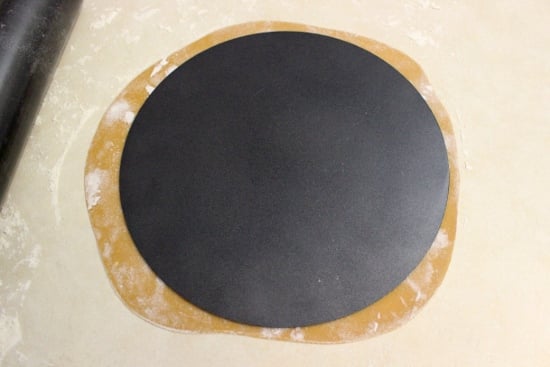
You can save all the scraps just the way you cut them and place them on a baking sheet and then bake. Later, you can crush them into crumbs and sprinkle the sides and top of the cake.
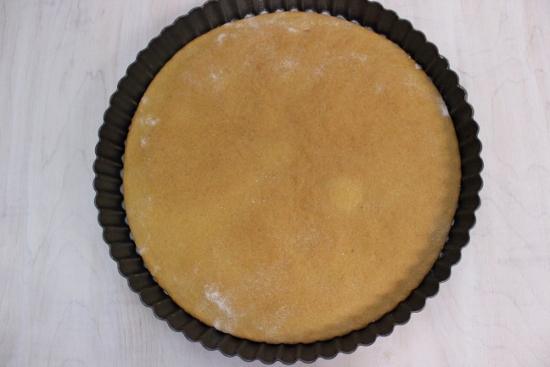
I usually just take the scraps and knead them into the batter as I roll out each new cake layer. It works great. 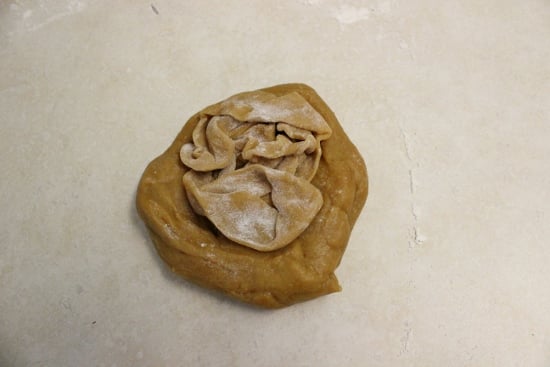 I use 2 (9 inch) round tart pans to bake the cake layers. If you don't have a tart pan, use a rimmed baking sheet, sprinkled with flour or lined with parchment paper.
Sprinkle the bottom of the tart pan with flour and bake the cake layers for about 4 minutes each. 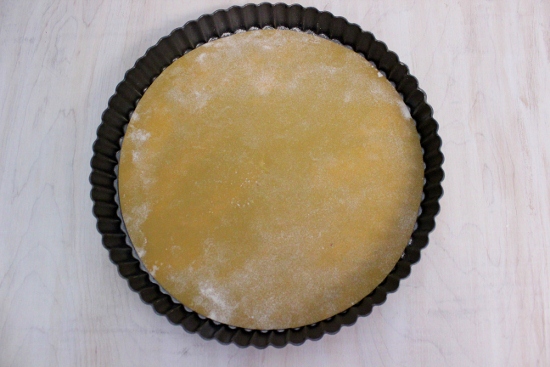
 Take them off the tart pan right away. As the cake layers cool, they will become pretty hard. Work quickly; you can roll out the cake layers and set them aside, waiting to be baked.
You want to roll them all out while the batter is still warm. As the batter cools, it becomes harder and harder to roll out.
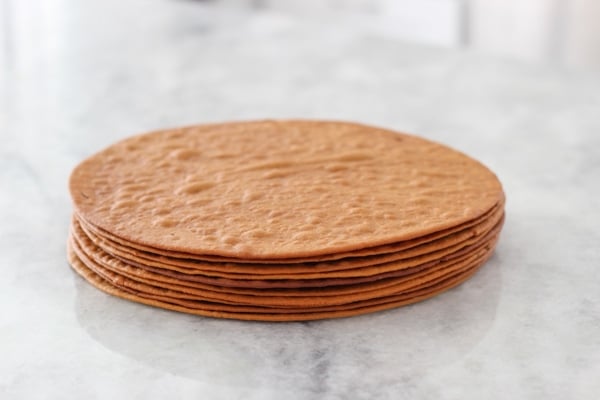
You will end up with about 10-12 layers.
 Making the Frosting:
Cream the softened cream cheese and condensed milk in a standing mixer with a paddle attachment or using a hand mixer until it's well combined. 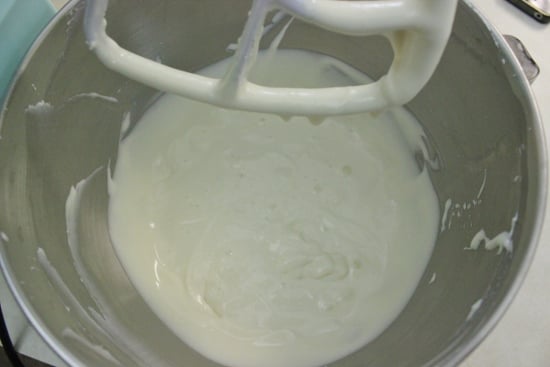 Add the sour cream and vanilla.
 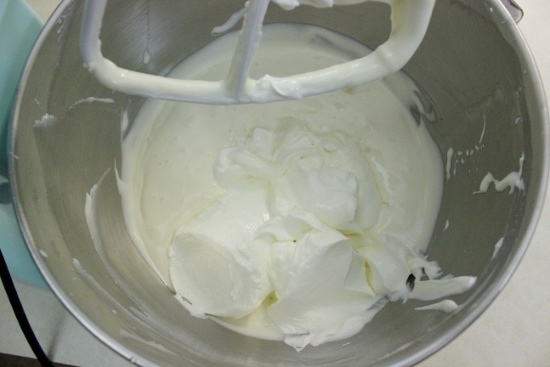 In another chilled bowl, whip the heavy cream with the powdered sugar. Gently fold it into the rest of the frosting.
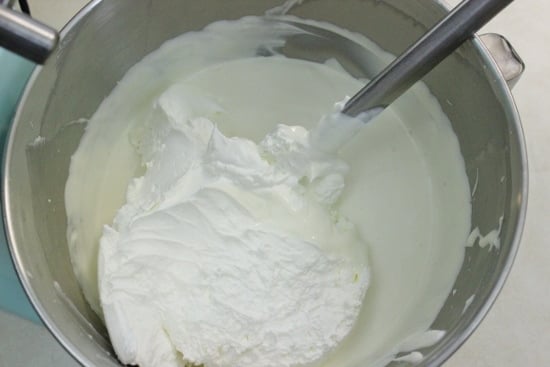

Assembling the Cake:
Dust off any excess flour from the cake layers.
Line your serving plate edges with aluminum foil. Place a dollop of frosting into the center of the plate, just to keep the cake from sliding around.
Top each cake layer with about ¼ cup of frosting and spread it around evenly. 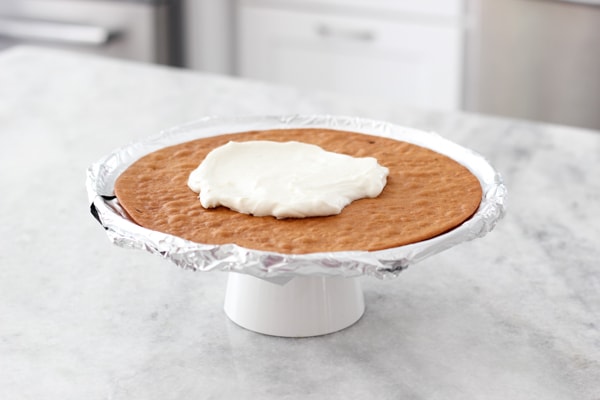
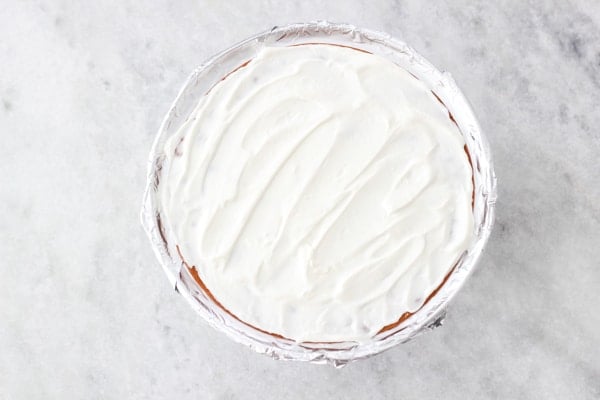 Repeat with all the cake layers. As you place the layers on top of each other, some of the frosting will ooze out of the sides.
  Spread it out evenly over the sides.
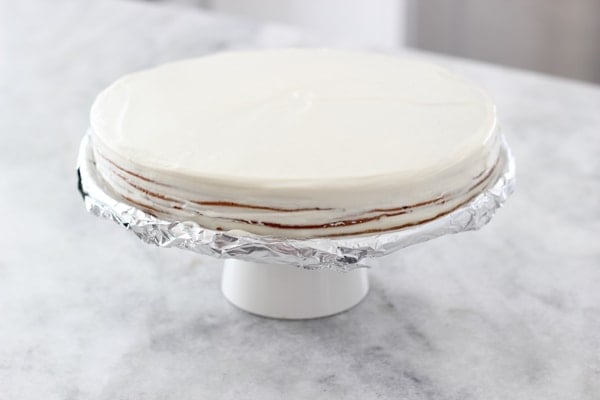
Gently remove the aluminum foil.
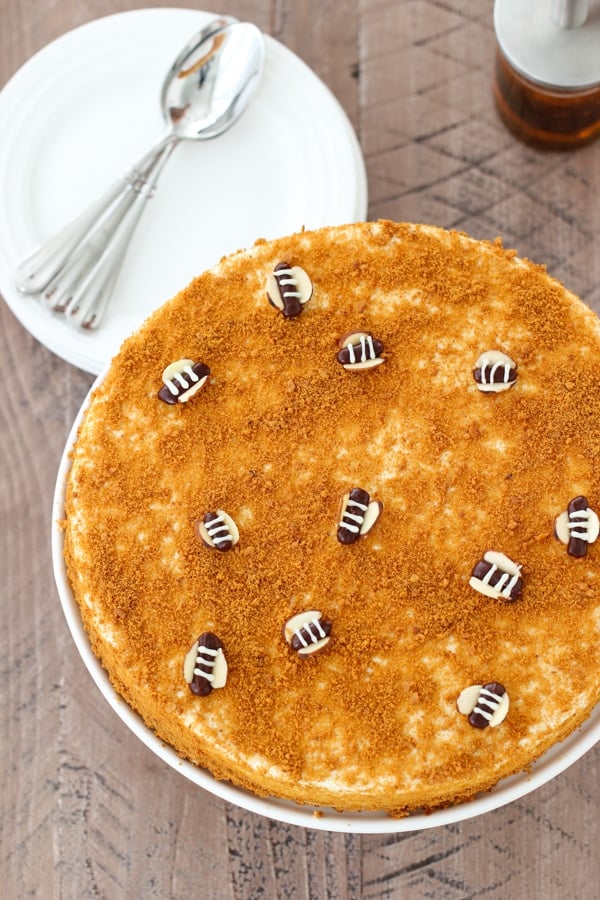
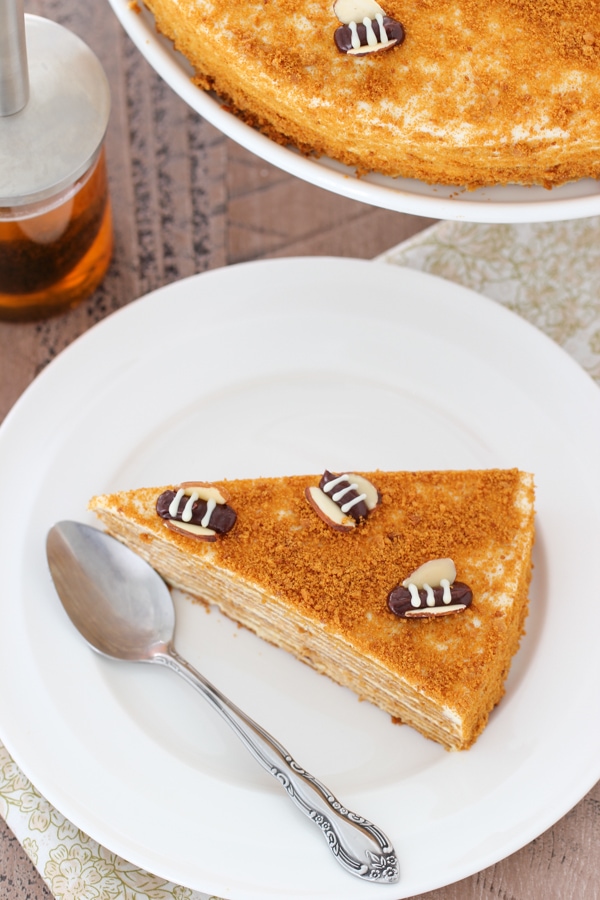
Decorate with crushed cake layer crumbs.
I also make little bees to decorate the cake. Here's the tutorial on how to make the bees.
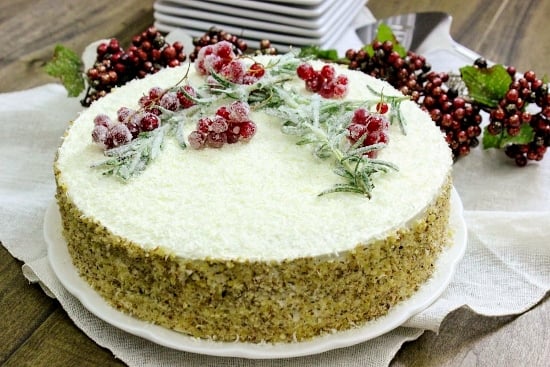
 During the winter, here's a really beautiful way to decorate the cake.
Heat 1 cup water and 1 cup sugar in a small saucepan just until the sugar dissolves. Pour it into a shallow dish. Place about ⅓ - ½ cup of sugar in another shallow dish. Dip the rosemary and the red currants in the sugar syrup and dip it in the sugar. 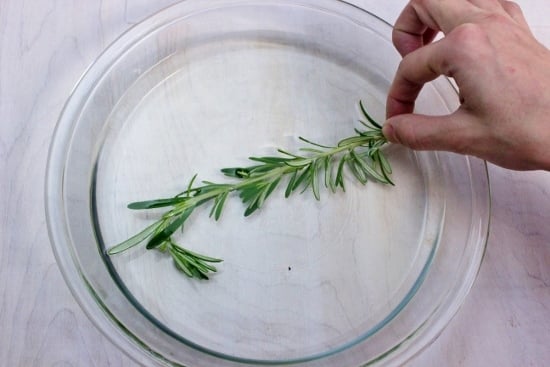
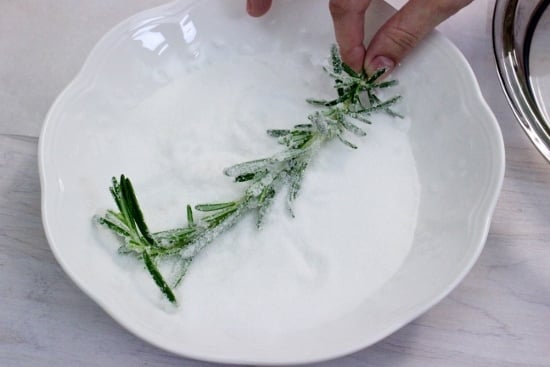
 Place on a parchment paper to dry and then place it on the cake. Now you have a beautiful winter masterpiece.
Medovik - Honey Layer Cake
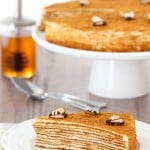
With multiple, thin honey layers and a tangy sour cream frosting, this cake is so tender it just melts in your mouth. It's a classic Russian recipe that has been loved for generations.
- Prep Time: 120 minutes
- Cook Time: 60 minutes
- Total Time: 540 minutes
- Yield: 1 cake (9 inch round) 1x
- Category: Dessert
Ingredients
Cake:
- ½ cup butter
- ¾ cup sugar
- 2 eggs
- 2 teaspoons baking soda
- ¼ cup honey
- 3 ½ - 4 cups all purpose flour
Frosting:
- ½ package of cream cheese (4 oz total)
- ½ (14 oz) can sweetened condensed milk
- 16 oz sour cream
- 1 teaspoon vanilla
- 1 cup heavy cream
- 2 Tablespoons powdered sugar
Sugared rosemary and currants: (Optional)
- Fresh rosemary
- Red currants or cranberries
- 1 cup water
- 1 cup plus ½ cup sugar
Instructions
Making the cake layers:
- Place the butter and sugar in a large nonstick pot. If you don't have a nonstick pot, or your pot burns easily, you may wish to use a double boiler. (Just place a metal or glass bowl on top of a pot with about an inch or water in it and keep it simmering, but make sure the bottom on the bowl never touches the simmering water. Add more water if it evaporates.
- Cook it just until the butter melts but is still barely warm, NOT HOT.
- Take it off the heat. Add the eggs, baking soda and honey and mix to combine.
- Cook the mixture on medium low heat for about 7 minutes, longer if you're using a double boiler. The batter will almost double in size and will turn a deep caramel color. Take it off the heat.
- Add the flour and mix quickly with a wooden spoon. I always add less flour than I need and add more when I'm rolling out the cake layers. If you add too much flour, it will be really hard to roll out.
- Preheat the oven to 350 degrees.
- On a lightly floured surface, roll out the cake layers.
- Take approximately ¼ cup of batter and knead it on your work surface. If it's sticking to your hands and the counter, add more flour. Roll it out thinly into somewhat of a circle.
- Use the bottom of a cake pan or the bottom of a tart pan to cut a perfect circle. You can save all the scraps just the way you cut them and place them on a baking sheet and then bake. Later, you can crush them into crumbs and sprinkle the sides and top of the cake. I usually just take the scraps and knead them into the batter as I roll out each new cake layer.
- I use 2 (9 incround tart pans to bake the cake layers. If you don't have a tart pan, use a rimmed baking sheet., sprinkled with flour or lined with parchment paper.
- 1Sprinkle the bottom of the tart pan with flour and bake the cake layers for about 4 minutes each.
- Take them off the tart pan right away. As the cake layers cool, they will become pretty hard.
- Working quickly, repeat with the rest of the cake batter. You can roll out the cake layers and set them aside, waiting to be baked. You want to roll them all out while the batter is still warm. As the batter cools, it becomes harder and harder to roll out. You should have approximately 10-12 cake layers.
Making the frosting:
- Cream the softened cream cheese and condensed milk in a standing mixer with a paddle attachment or using a hand mixer until it's well combined.
- Add the sour cream and vanilla and mix to combine.
- In another chilled bowl, whip the heavy cream with the powdered sugar.
- Gently fold it into the rest of the frosting.
Assembling the Cake:
- Dust off any excess flour from the cake layers.
- Line your serving plate edges with aluminum foil.
- Place a dollop of frosting into the center of the plate, just to keep the cake from sliding around.
- Top each cake layer with about ¼ cup of frosting and spread it around evenly.
- Repeat with all the cake layers. As you place the layers on top of each other, some of the frosting will ooze out of the sides. Spread it out evenly over the sides.
- Grate some white chocolate on top of the cake and chopped nuts or crushed cake layer scraps over the sides of the cake.
- Gently remove the aluminum foil.
- Heat 1 cup water and 1 cup sugar in a small saucepan just until the sugar dissolves. Pour it into a shallow dish.
- Place about ⅓ - ½ cup of sugar in another shallow dish.
- Dip the rosemary and the red currants in the sugar syrup and dip it in the sugar.
- Place on a parchment paper to dry and then place it on the cake. Now you have a beautiful winter masterpiece.


I love this recipe and have made it many times, thank you! I do wonder what is the best way to freeze it. Should I do it the day after I frost it? I want a ready cake sometimes, and am thinking it should be ok.
it takes a bit more time than expected but is definitely worth it! The cake is incredible and looks great! Felt very professional 😉
This cake is definitely a labor o love:). So glad you enjoyed it.
Have been using this recipe for over a year and all it’s an all time favourite. Guests can’t get enough of it.
Your cake looks amazing and I can't wait to try it as I love honey and condensed milk. I just need to ask if you can please tell me how many grams is a cup? Sorry not used to this
Hello Olga
I Have made your recipe and its the 2md time im doing so. It turned out great! However this time my cake discs have not hardened up after baking... what do you think I can do.. the discs are still good in shape its just they are soft and not turned hard.. please suggest ! Thankyou
Sakina
Hello. Am I the only one who came out with super oily dough - almost like churros? Is the 1/2 cup butter correct or should it be 2 table spoons like in most other recipes online?
Hi Julia,
This recipe calls for 1/2 cup of butter, not 2 Tablespoons. The batter consistency should not be like churros, maybe you needed to add more flour.
Fascinating looking recipe & accompanying pictures.
+) I am guessing this is 350 degs F
+) Total time is listed as 9 hours - But prep + cook time = 3 hours. Does that mean I need to chill the cake after making it?
Thanks again for posting this - I'm going to see if I can perfect this by Valentines day 🙂
Hi Anthony.
Yes, the cake needs to chill. I usually prepare it the day before I am planning to serve it. The frosting needs time to soak into the cake layers and become really tender.
Awesome! Thankyou for the rapid response Olga 🙂
I made this as a birthday cake and now everyone I know is requesting it for theirs. lol I love your clear step by step instructions. Thank you so much!
This was amazing. I just made it for Easter. However I used the trick of rolling out the layers on a parchment paper and placing the parchment paper right in the oven so that way I was able to roll it out quite thinly without the need to pick it up. Also this resize barely made 8 layers. I made two batches and the second was 8 layers as well. Well it was amaaazing!!!!!!! Made me look like a pro baker when I was simply following instructions.
wow this cake is so delicious!! I made different medovik cakes before and my husband away said his moms was better, made this for easter and he was so inlove with this cake said it remind him of childhood and it taste better then his moms!!! thank you for such easy instruction recipe!!
Thank you for taking the time to write, Mariya:). I'm so happy you and your husband both enjoyed it.
I finally made this cake for the new year day, it came perfect! My guests were impressed,
I was able ro roll out all the layers even the dough was not warm anymore, what helped me to make the dough perfectly was the part of watching the batter double before I stirred in the flour, and I did put only 3 cups of flour, then a half more cup and felt it was perfect. Otherwise 4 cups right away would create stiff and dry dough
I'm so glad you were happy with the cake, Irina. Thank you for taking the time to write.
I am making the cake today but am unsure what you mean by a 'stick of butter'. Would appreciate clarification please e.g. is a stick a block of butter [half pound?]
You need 1/2 cup of butter
Hi Olga, I’ve made this cake several times using a different recipe and I decided to try yours out, and the layers turned out perfect! But when I was rolling out the dough it kept “cracking” like it wouldn’t stretch out properly when I was rolling it out. Do you know what would cause that?
Usually this means that the dough is too cold or there is too much flour, Anna. In my experience, if you roll out all the cake layers while the dough is still warm, it's much easier to work with and rolls out very smoothly with no cracking. I hope that helps.
Hi Olga,up.
I made this cake last night. Turned out amazing and nothing is left.
Need your advice about the frosting. I used sour cream + heavy cream + powdered sugar. Do you use it? What would be the measurements for this cake?
I'm so glad you enjoyed the cake, Marina.
You can certainly use this frosting for the Medovik cake. Unfortunately, I can't help you with measurements and quantities of ingredients. I use the frosting that I posted in the recipe. You will need to experiment.
Great recipe for the cake layers! Except every time I cook it until it turns brown it becomes impossible to roll out big thin circles.. breaks apart like crazy 🙁 I started cooking it only 5 mins it's not very brown as shown on your pictures but it rolls so easy and the taste is just as great.
Yes, time is not the best way to tell if something is done or not, that's why I try to include the step by step photos and other visual cues to look for. They dough should be soft and easy to roll out. I'm glad you figured out how to make it work.