
If you have a food processor, it makes the best pie crust. The knife blades do a perfect job of working in the butter into the flour without overworking the dough and melting the butter. This results in a really tender and flaky pie crust.
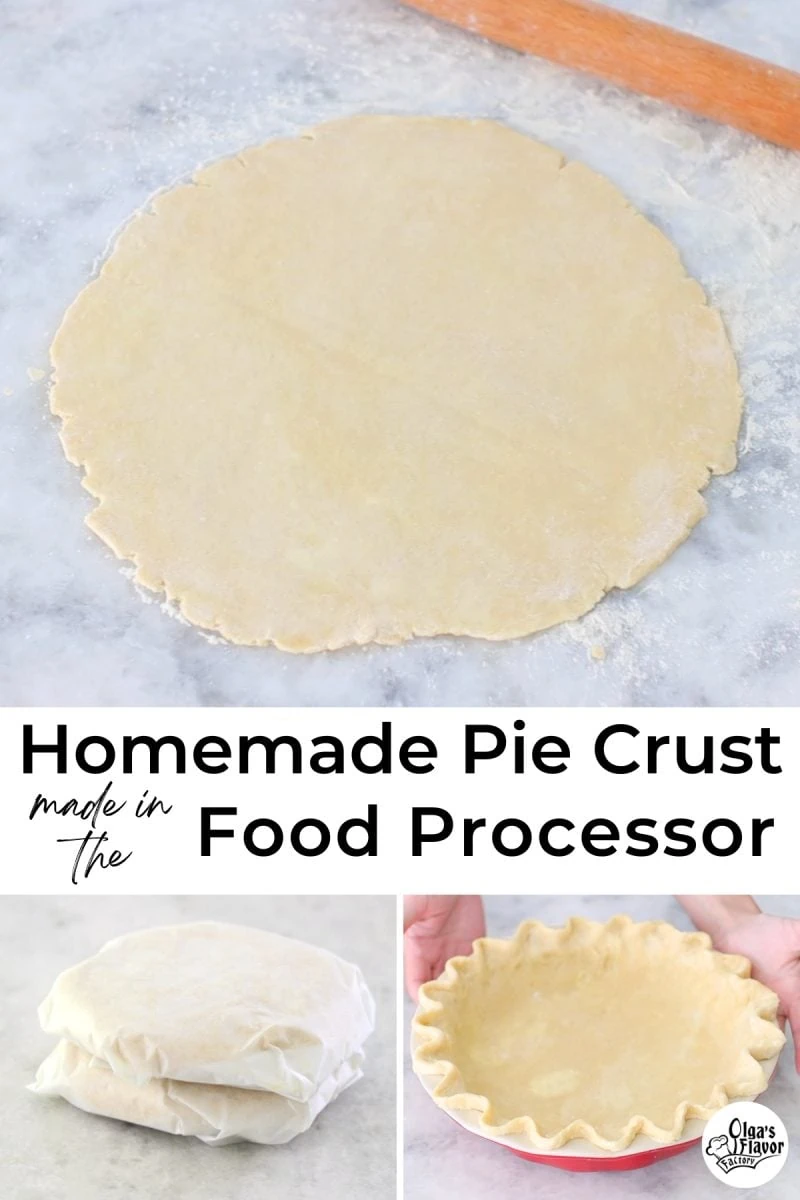
Homemade pie crust is such a treat and it's so easy to make it in your food processor. It takes just a few minutes to bring it all together and you don't have to worry about melting the butter or overworking it with your hands.
Make some extra pie crusts to have on hand, because it freezes so well. You can store it in the freezer for up to 3 months - which is especially convenient during the holidays and other busy times of the year.
The pie crusts are perfectly tender, flaky and delicious. You can use this recipe for both sweet and savory baking. We love Apple Cranberry Pie, Pumpkin Pie and Potato Bacon Pie. You can also use it for homemade pop tarts and a Cherry Apple Galette, which is a free form pie.
Video of How To Make Homemade Pie Crust in the Food Processor
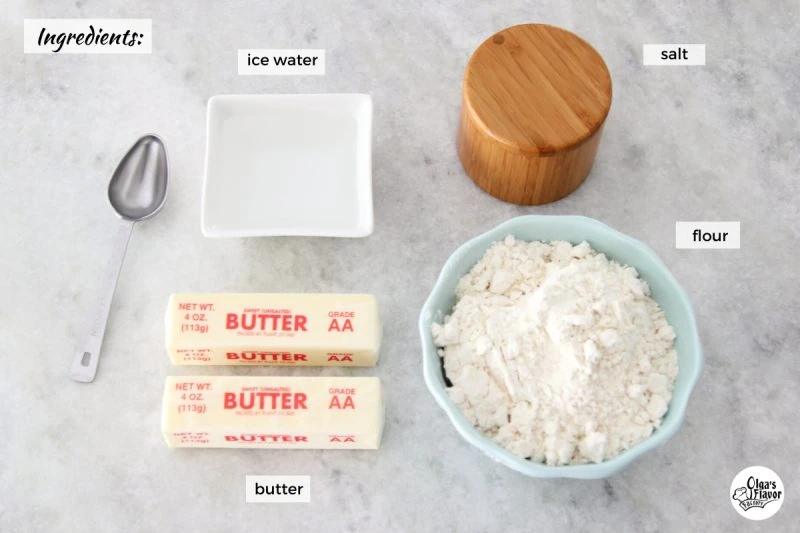
Ingredients
- all purpose flour
- salt
- butter
- I usually use unsalted butter for baking so that I can control the amount of salt in each recipe. Salted butter will work too, just omit the salt or reduce the amount of salt that you add to the dough.
- The butter needs to be REALLY cold. I like to cut the butter up into 1 inch pieces and freeze it about 30 minutes - 1 hour before making the pie crust. Starting up with frozen butter really helps to give you pea sized bits of butter throughout the pie dough after you're done mixing it up.
- ice water
- The water needs to be really cold so that the butter stays cold too. You can either place a cup of cold water in the freezer before you start making the pie crust, or add some ice cubes to the water.
I use this Food Processor to make the Pie Crust. It's one of my favorite kitchen tools that I for so many things. I have a detailed blog post and video about all the different ways I use the Food Processor, so you can check it out if you are interested in finding out more.
Homemade Pie Crust Recipe
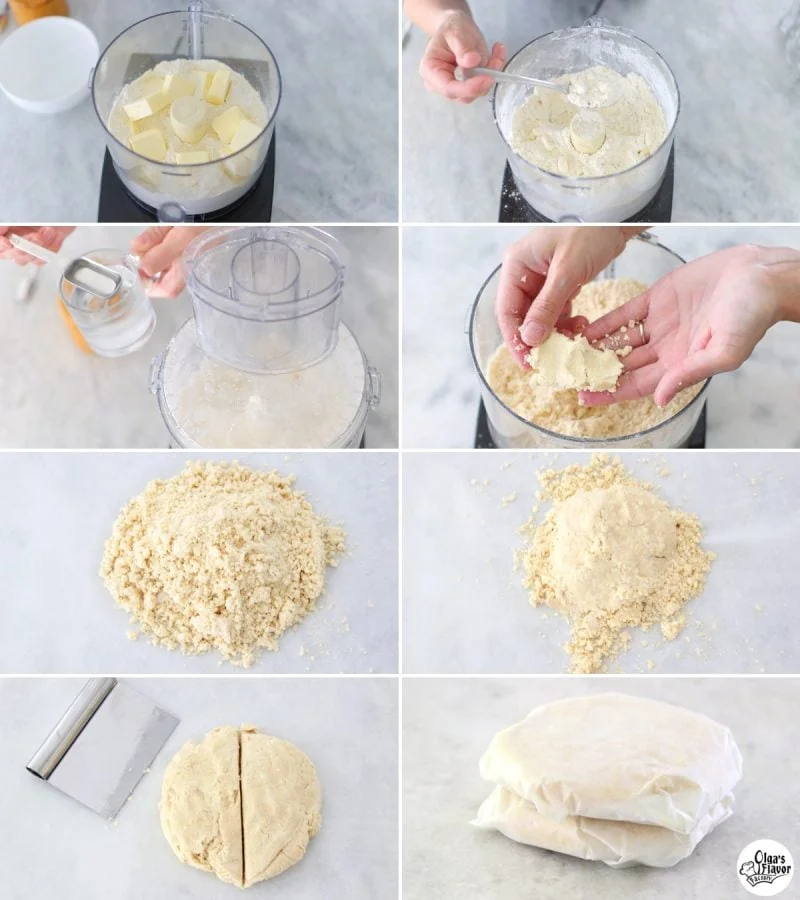
- In the food processor, combine the flour and salt. Pulse to combine a few times.
- Add the frozen butter to the food processor. Pulse to combine until the butter is cut up into pea sized pieces.
- Add the ice cold water to the dough, a few Tablespoons at a time, until it starts to come together. Don't add too much water. Pinch a small handful of the dough between your fingers. If it stays together and holds its shape, that is enough water. If it's dry and isn't staying together, add more water.
- Transfer the shaggy dough to the countertop and mix it together with your hands, kneading it quickly to form a cohesive dough. If the dough is falling apart, is too dry and isn't staying together, you can add more water.
- Cut the dough in half and shape each portion into a flattened disc. Wrap each pie crust in parchment paper, plastic wrap or aluminum foil.
- Refrigerate for at least 1 hour before rolling it out.
- To freeze the pie crust, placed the wrapped pie crust discs into a freezer ziplock bag or a reusable gallon storage bag and freeze for up to 3 months.
- Let the dough thaw completely before rolling it out.
Helpful Tips and Frequently Asked Questions For the Best Pie Crust
When the butter is frozen it is less likely to melt. Cold pieces of butter in the dough will melt when baking and create pockets of air, making the pie dough tender and flaky. If the butter melts while you are still making the crust, the crust will be tough and flat.
You want to see bits of butter throughout the pie dough. 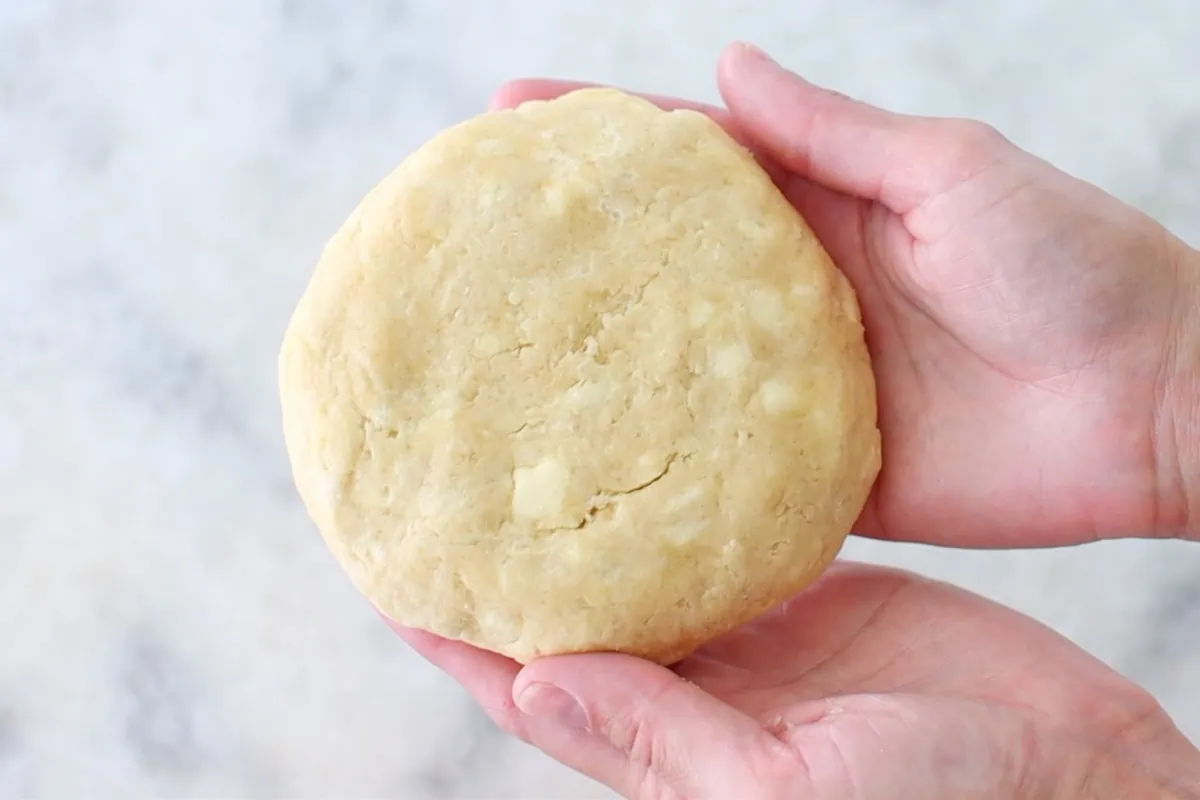
If you overwork the dough, the butter will melt and when you bake the pie, it won't be as tender and flaky.
Adding too much water will make the dough sticky, it will be harder to roll out, which will cause you to overwork it and once again, it won’t be tender and flaky. When you mix the dough in the food processor, it should still look shaggy and will come come together when you pinch it between your fingers. Don’t add any more water. When you place it on the counter and bring it together with your hands, it will easily hold together. If it's falling apart and too dry, you can always add more water.
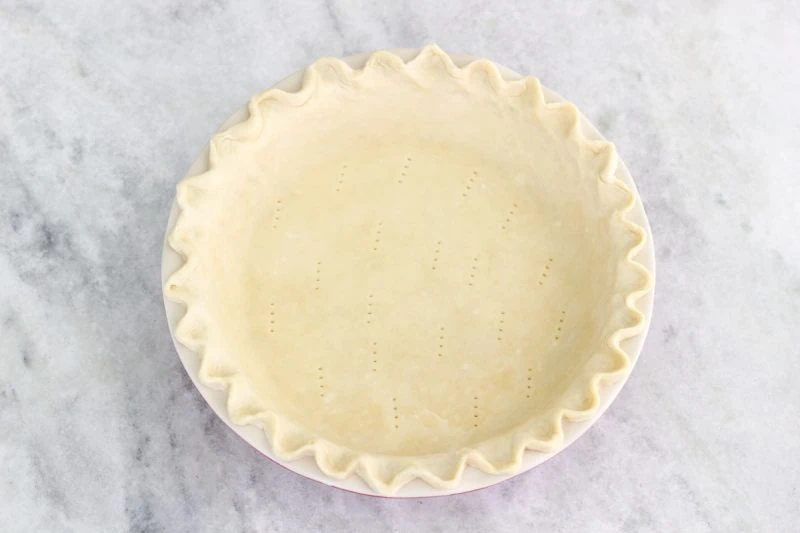
Chilling the dough will let the butter rest, keep it cold and help the gluten relax, so the dough doesn’t shrink too much while you are rolling it out. Chill the dough before rolling it out and also after rolling it out and placing it into the pie pan.
What helps the most is to chill the dough. Not only does keeping everything cold helps to give you a tender crust with flaky layers, but it will help to keep the shrinking to a minimum.
Blind baking means partially pre-baking the crust before adding the filling. This will help to make the crust golden and crisp, not pale and soggy. This isn't appropriate for all pies, like an apple pie, but for a pumpkin pie or a quiche, it's great.
You can definitely make pie crust by hand - that's how our ancestors did it for generations:).
Cut the cold butter into small pieces and work it quickly into the flour with your hands, trying to keep the butter from melting too much. You want to have pea sized bits of butter in the flour. Then add the flour a few Tablespoons at a time and continue with the rest of the recipe.
Yes! This is why it's so great for meal prepping. Wrap the pie dough in parchment paper, plastic wrap or aluminum foil and then place it into a freezer ziplock bag. Freeze for up to 3 months.
Thaw completely before rolling out the dough.
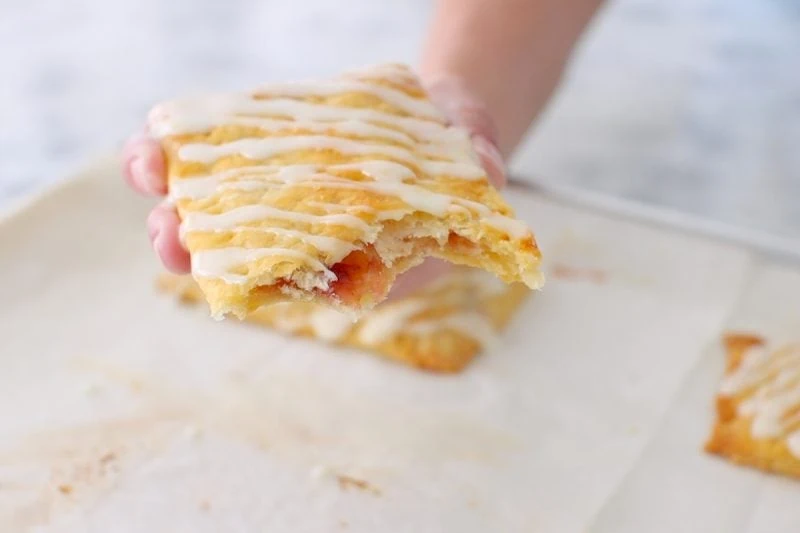
Use your pie crust to make Homemade Pop Tarts! They are incredibly delicious and such a treat.
- Roll out the chilled pie crust into a rectangle and cut out rectangles.
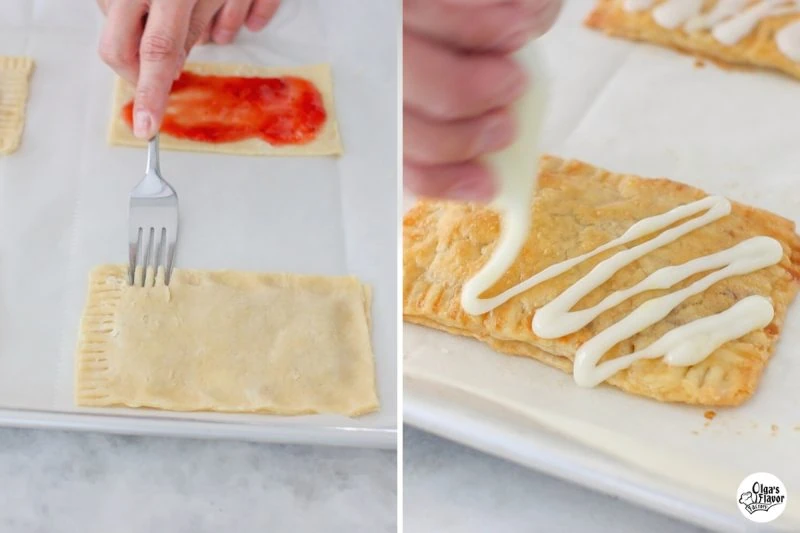
- Spread out jam, Nutella, sweetened cream cheese, preserves, etc. in the center of the pie dough, leaving room all around the edges.
- Place another piece of dough on top of the jam, sealing the edges closed, pinching it with your fingers and then a fork.
- Brush the top of the dough with an egg wash.
- Bake in a preheated oven (400 F) for about 15 minutes, depending on the size of the pop tarts that you made.
- You can also drizzle glaze on top of the pop tarts after they cool. (Glaze Recipe)
Recipes To Use Your Homemade Pie Crust

- Apple Cranberry Pie
- Potato Bacon Pie
- Quiche Lorraine
- Perfect Pumpkin Pie
- Cherry Apple Galette
- Blackberry Cheesecake Pie
Food Processor Pie Crust
- Prep Time: 15 min
- Total Time: 15 minutes
- Yield: 2 crusts 1x
Ingredients
2 ¼ cups all purpose flour
¾ - 1 teaspoon salt
(1 Tablespoon sugar, if making a sweet pie only)
1 cup unsalted butter, cut into 1 inch cubes and frozen
8-10 Tablespoons ice cold water
Instructions
- Place the flour and salt (and sugar, if using) in a food processor and pulse just a few times to combine.
- Add the frozen pieces of butter and pulse until the butter is pea sized and incorporated into the flour.
- Add the water, 1-2 Tablespoons at a time, pulsing after each addition of water. Keep adding water until the dough just begins to gather into larger clumps.
- Transfer the dough onto the counter and quickly knead it, gathering it with your hands and pressing it together. When it holds together, cut the dough in half. Shape each into a flat disc.
- Wrap each half in parchment paper, plastic wrap or aluminum foil. Chill for at least 1 hour before using.
- Store in the refrigerator for 1-3 days.
- If freezing, place the wrapped pie dough into a freezer ziplock bag or resealable gallon bag. Freeze for up to 3 months. Thaw completely before rolling it out if frozen.


This pie crust is wonderful. Thank you for sharing it. I have used it probably about 8 times so far. It has become my go to pie crust recipe. I definitely give it 5 stars for easy to make, great texture and flavor and overall end result.
Thank you so much for your kind words, Katie! I’m so glad to hear that the pie crust has become your go-to recipe. It means a lot to me that you’ve found it easy to make and enjoy the flavor and texture. Your 5-star review really made my day! I hope it continues to be a hit every time you make it. 😊