
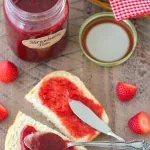
Making homemade strawberry jam is quite simple and you can even use frozen strawberries. This means that you can make it all year long, even when strawberries aren't in season. I also love that this jam isn't cloyingly sweet, since I use significantly less sugar than most recipes call for.
Homemade strawberry jam is my absolute favorite and I love how convenient and easy this recipe is. Not only can you make this jam when it's strawberry season and you have an abundance of glorious strawberries, but you can also use frozen strawberries.
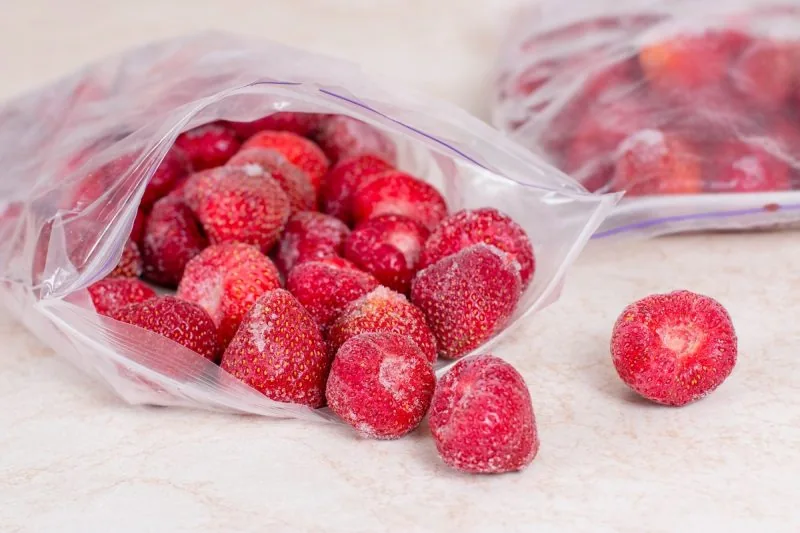
When I lived in New York, our family would go strawberry picking every year and come back home with buckets and buckets of gorgeous red beauties. If you're ambitious and have extra time, you can make jam right away, but another option is to freeze the berries while they are still at their best. You can use it for smoothies all throughout the year and then make jam when you have some pockets of free time in the midst of your busy life.
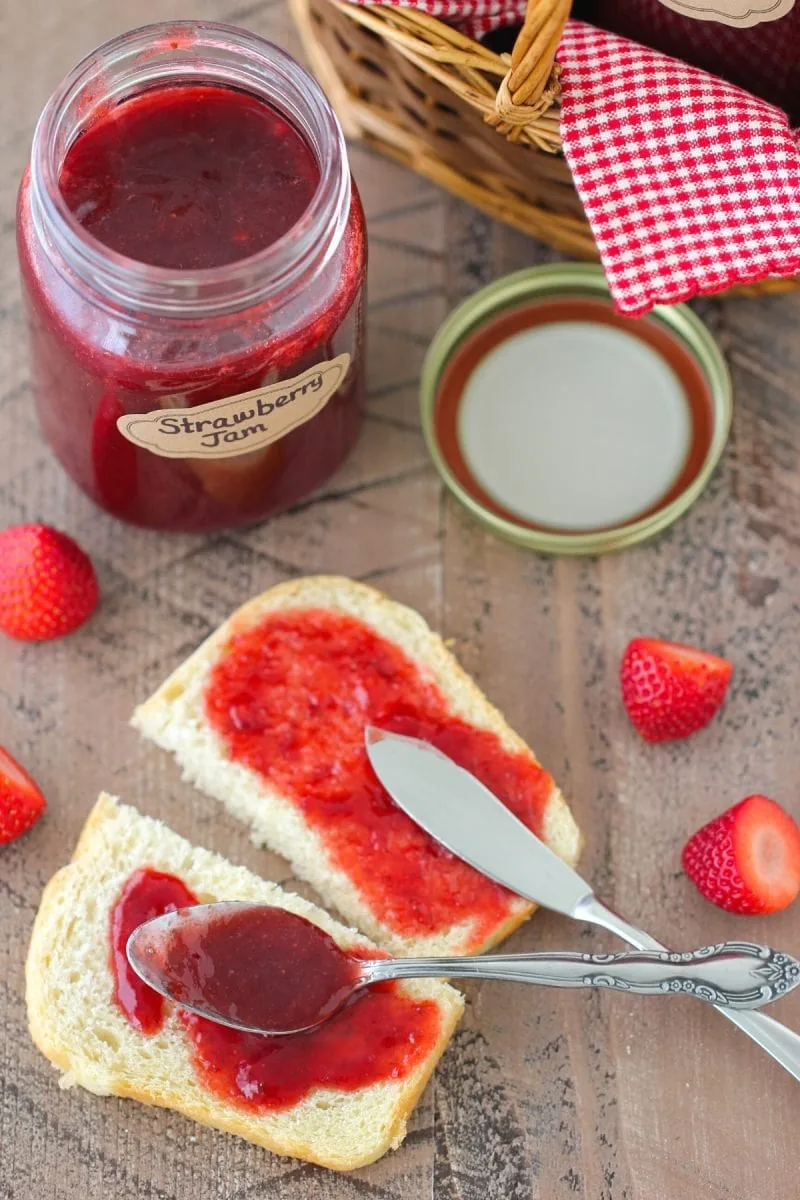
Another really special thing about this recipe is that has HALF as much sugar as most typical recipes. I know that you need a lot of sugar for the jam to set properly, but I've finally made a recipe that works. The jam sets just enough, it's not too cloyingly sweet. My whole family loves it. It's so much better than store bought jam. I love using this jam in many recipes, especially as a filling in yeast buns, danishes, puff pastries and more commonplace ways like on toast and crepes or as a topping on yogurt.
Video of How To Make Homemade Jam With Frozen Berries
Can You Make Jam From Frozen Fruit?
Yes! I have been making jam from many different varieties of frozen fruit and berries for years and not only does it work, but it's so much more convenient. Frozen fruits and berries are picked at their peak of freshness, which means they are ripe and full of flavor.
Often supermarket berries aren't all that great when they aren't in season - you probably know what I mean, kind of bland and watery. I also freeze berries when I do go picking in season, so I have a large stash in my freezer at all times. You will love how this cuts down on prep work, since the berries are already washed and hulled.
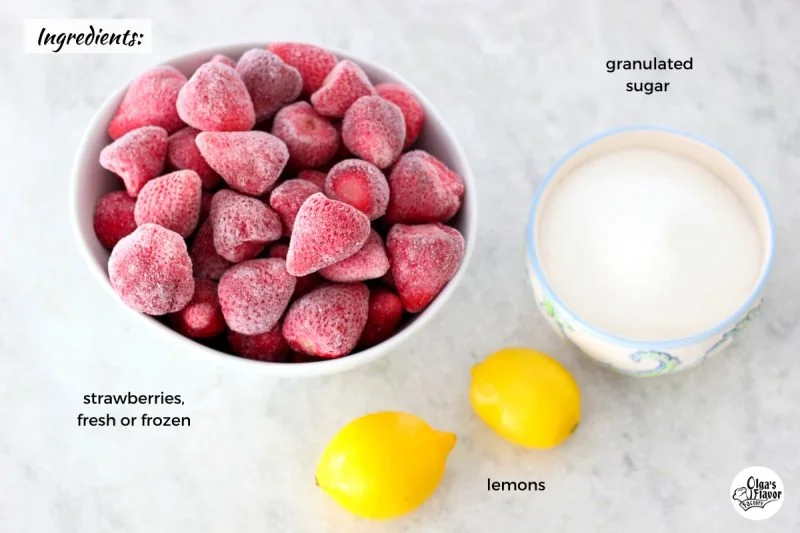
Ingredients:
- strawberries (frozen or fresh)
- In most of my local grocery stores, you can find 4 lb bags of strawberries, so you don't even have to weigh the berries. (That's why I developed the recipe this way, to use up the whole bag.)
- granulated sugar (I have not experimented with sugar substitutes, so I don't know what else can be used instead)
- lemon juice and zest (the addition of the lemon is wonderful here)
- The lemon juice not only gives acidity to the jam, but also prevents the growth of bacteria in the jam. Most importantly, it has something really important - pectin. Pectin is what makes sure that the jam gels properly and isn't a runny mess.
How To Make Homemade Strawberry Jam Using Frozen Strawberries
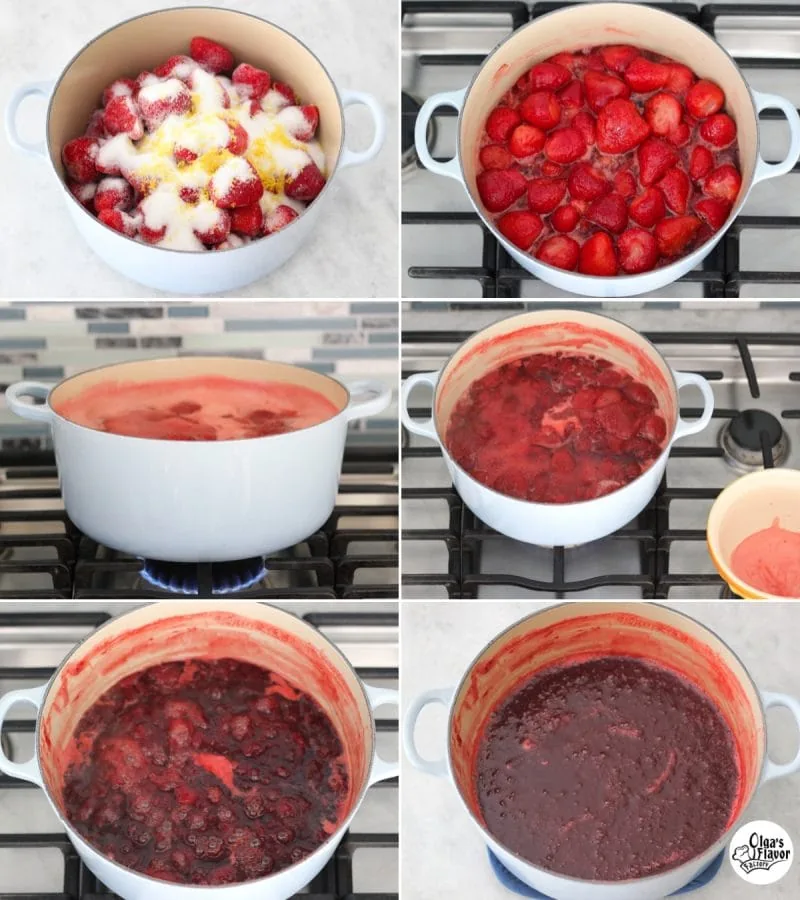
- Place the strawberries, sugar, lemon juice and lemon zest in a large, heavy bottomed pot. Do you realize how easy this recipe is? I like to use a dutch oven, because it is wide, big and very sturdy.
- Bring everything to a boil. Cover the pot and while you're waiting for everything to boil, stir every once in a while. Since the berries are frozen, it will take a bit of time until the sugar starts to dissolve and the berries begin to melt. Keep the pot covered until everything comes to a boil.
- Simmer the jam until it thickens. Now you can uncover the pot and reduce the heat to low. Keep simmering the jam for 35-45 minutes. Skim the foam off the top while the berries are cooking.
- The jam is finished cooking when it has thickened and reached 215-220 degrees Fahrenheit.
- Mash the berries in the jam or puree with an immersion blender. It should be really easy to do it, since the berries are really soft at this point. You can make it as chunky or smooth as you like.
- Fill sterilized jars with the jam and close with sterilized lids. Store at room temperature up to a year for best results. Refrigerate after opening. If you're using unsterilized jars, store in the refrigerator.
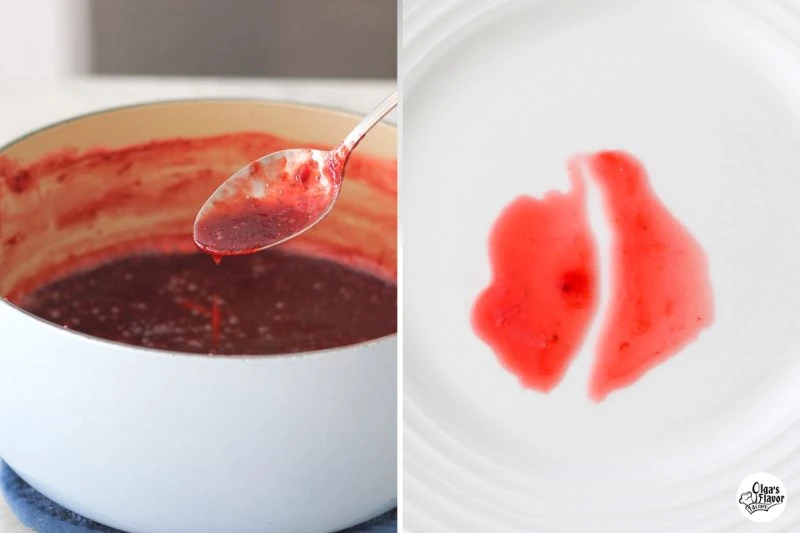
How Do I Know If My Jam is Set?
The jam is finished cooking when it has thickened and reached 215-220 degrees Fahrenheit on your instant read thermometer.
A simple test you can use if you don't want to use a thermometer is the cold plate test. Chill a plate in the freezer before you start making jam. When the jam seems to have reached the proper consistency, place a dollop of jam on the plate and let it stand for a minute of two. It should start to gel and shouldn't be too runny. If you run your finger through the center, it shouldn't run back together.
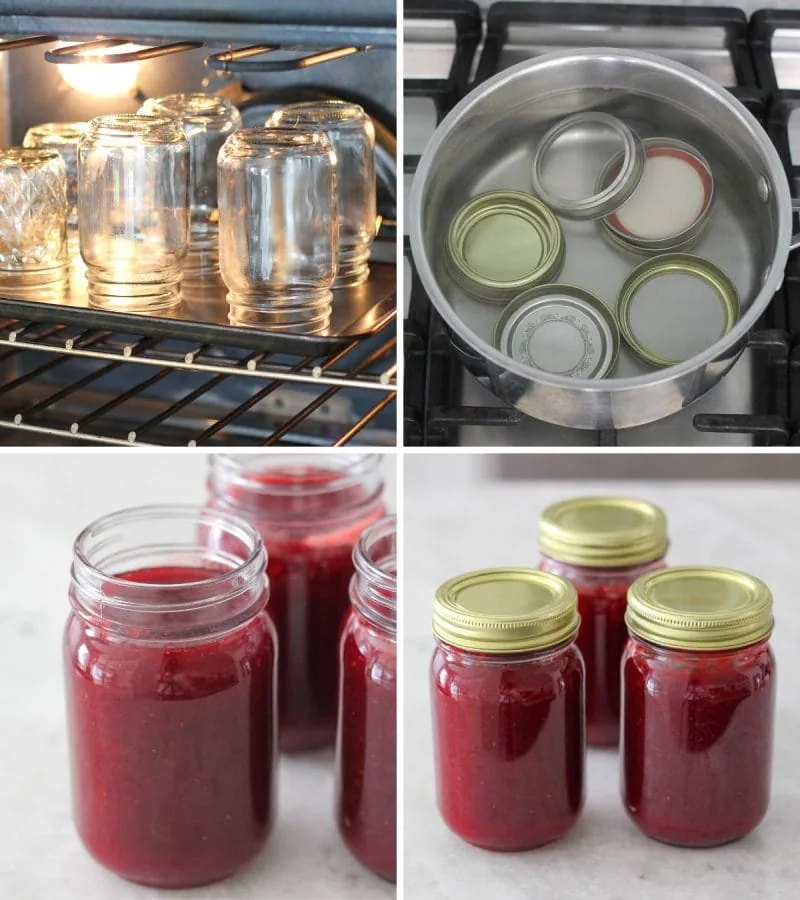
Sterilizing the Jars For Homemade Strawberry Jam
- Wash the jars and lids in hot and soapy water. Place the glass jars in a 200 degrees Fahrenheit oven for about 15 minutes. In a medium pot, place the lid rings covered with water. Bring the water to a boil. Turn off the heat and add the lids. You can let them stand in the boiled water until you are done canning, at least 10 minutes.
- Pour the hot jam into the hot and sterilized jars. Wipe the edges with a wet cloth to make sure they are clean. Place the lids on top of the jars and close with the lid rings.
- Place the jars into boiling water and make sure they are covered with water up to the top of the jars. Boil for at about 10 minutes. Take the jars out of the boiling water. Cool the jars in a towel for about 12 hours. The lid should be concave.
Storing Homemade Strawberry Jam
I am not an expert canner and am only sharing how we do this in our family. My mom is the one who taught me all I know and she has been doing this for decades. My own house storage options for food are very limited, so I don't can a lot to be stored at room temperature. Our garage is way too hot most of the year (we live in Florida) and we don't have a basement. I have an extra refrigerator with a freezer, so I use that much more for longer storage. Please follow the recommended canning and preserving guidelines, such as this website.
If you process the jars in the boiling water, you can store the jam at room temperature or in a cool, dry place. You can also store jam in the refrigerator or freezer, especially if you don't sterilize the jars and the jam. Store open jars of jam in the refrigerator as well.
Helpful Tips & Frequently Asked Questions For the Best Homemade Strawberry Jam
If you're using frozen berries, it will take longer to bring the jam to a boil and take a little bit longer to reach the right consistency. Since the berries are frozen, they will have more liquid than fresh berries. It will take longer for the extra liquid to evaporate. If you're using a pot that isn't wide, it will also take longer, since the smaller the surface area, the slower the evaporation.
For frozen berries, it should take around 45 minutes - 1 hour.
For fresh berries, it will be faster. Start checking the consistency or the temperature of the jam at 30 minutes.
Don't be too worried if the jam seems to be thinner than you would like, because it will become much thicker as it cools and sets. As long as you cooked it long enough and it reached 220 degrees Fahrenheit, it should be ok. However, if the jam is watery and too thin even after cooking it for more than an hour, continue cooking it. It's possible that the heat was too low or your pot wasn't wide enough, so the jam wasn't able to thicken enough.
Yes, jam freezes really well for 6 months - 1 year. Store the jam in an airtight container (making sure that you leave some room at the top of expansion). I like using these twist top containers for freezing jam* (affiliate link). (They come in different sizes. I like the 4 cup and the 2 cups options, so I can store them in large or smaller quantities. They're really great to freeze broths and sauces too.)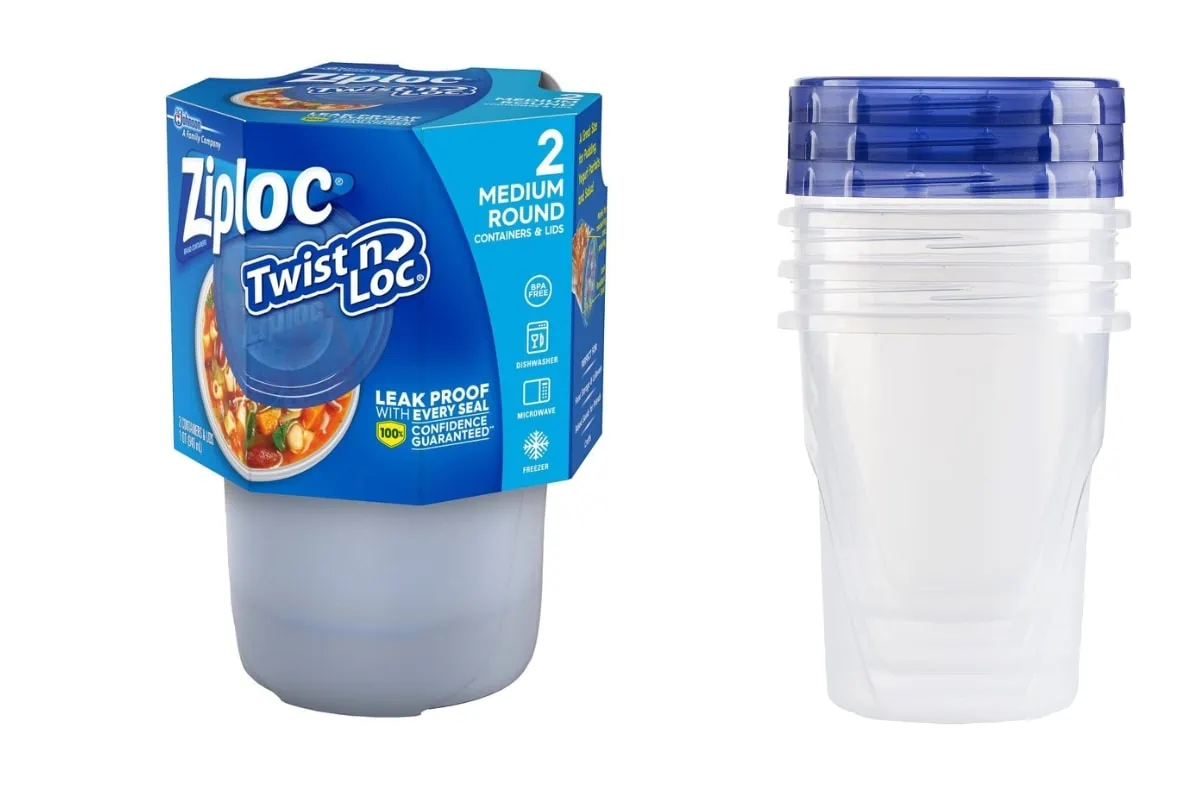
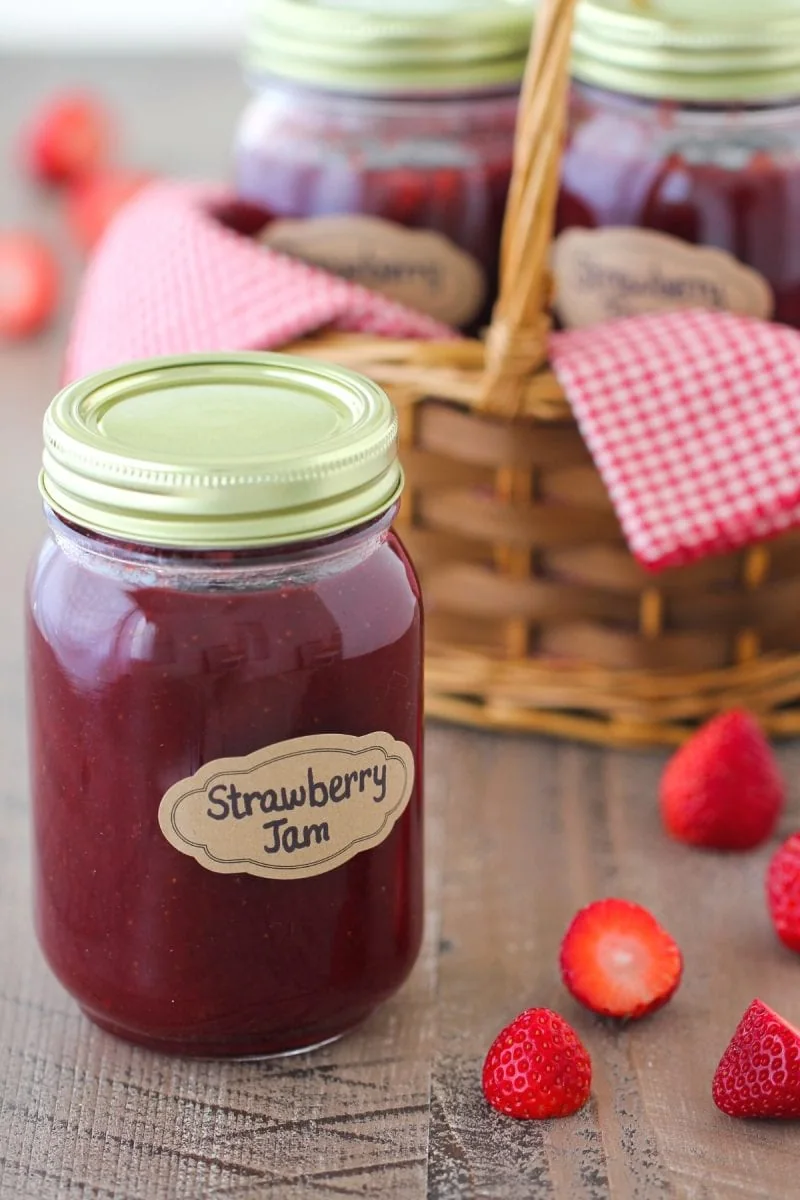
How To Make Homemade Strawberry Jam
Making homemade strawberry jam isn't hard and you can even use frozen strawberries, so you can make it all year long. This recipe also uses much less sugar than most, so the jam isn't too sweet.
- Prep Time: 15 minutes
- Cook Time: 35 minutes
- Total Time: 50 minutes
- Yield: 3 pints
- Category: Breakfast
Ingredients
- 4 lbs strawberries (frozen or fresh)
- 3 ½ cups granulated sugar
- juice of 2 lemons and zest of 1 lemon (about 5-6 Tablespoons of lemon juice, you can use bottled lemon juice)
Instructions
- Place the strawberries, sugar, lemon juice and lemon zest in a large, heavy bottomed pot. I like to use a dutch oven, because it is wide, big and very sturdy.
- Since the berries are frozen, keep stirring everything until the sugar starts to dissolve and the berries start to melt. Soon, the sugar, lemon juice and lemon zest will be evenly distributed and coating the berries. Keep the pot covered until the berry mixture comes to a boil.
- The jam is finished cooking when it has thickened and reached 215-220 degrees Fahrenheit.
- When the jam is done cooking, crush the berries with the back of a spoon, a potato masher or an immersion blender. It should be really easy to do it, since the berries are really soft at this point. You can make it as chunky or smooth as you like.
- Fill sterilized jars with the jam and close with sterilized lids. Store at room temperature up to a year for best results. Refrigerate after opening.
Notes
- If you're using frozen berries, it will take longer to bring the jam to a boil and take a little bit longer to reach the right consistency, since the berries are frozen and will have more liquid than fresh berries. It will take longer for the extra liquid to evaporate. If you're using a pot that isn't wide, it will also take longer, since the smaller the surface area, the slower the evaporation.
- A simple test you can use if you don't want to use a thermometer is the cold plate test. Chill a plate in the freezer before you start making jam. When the jam seems to have reached the proper consistency, place a dollop of jam on the plate and let it stand for a minute of two. It should start to gel and shouldn't be too runny. If you run your finger through the center, it shouldn't run back together.
hello! hello! I am planning on using this recipe this week for strawberries and I would like to try it with blueberries too. Have you tried this recipe with blueberries?
God bless,
Rebecca
How many jars will this make? I have 3 cups of mashed strawberries that I froze. Can I add that to what ever amount I’d need of frozen whole strawberries to make 4lbs
Hi Olga. Great tips. I make jam for our local symphony fundraiser. This will allow me to make jam at a much lower cost by buying frozen fruit on sale and not buying pectin. Do you use any other fruit or just berries? Any tips you have will be wonderful to have. I probably make over 200 bottles a year for them.
One tip I have is for Seville orange marmalade. I have recently found a product called Mamade. It has all the hard work done so you just add sugar and water. You get 9 to 11 bottles.
I attempted to make the mixed frozen and fresh strawberries to make this jam. However it never set and I cooked it for more than an hour and it still never set. I tried adding pectin to assist in that problem and still - it was a waste. Trashed it all. Where did I go wrong?
Hi Paula, I'm so sorry to hear that your jam didn’t set. Even though you cooked the jam for an hour, it’s important to make sure the jam reaches the right temperature—around 220°F (105°C) to ensure it sets properly. You can test it by placing a spoonful of jam on a cold plate and letting it cool for a minute. If it wrinkles when you push it with your finger, it’s ready. One thing to keep in mind is that when the jam is still hot or warm, it has a much thinner consistency. It will naturally thicken up as it cools. Also, because I use significantly less sugar than most store-bought jams, my recipe will result in a slightly thinner jam than what you might be used to. However, it does thicken up as it cools—just like you see in the pictures and videos—it’s just not as thick as the store-bought versions. I hope that helps. If you want, you can try using more sugar. That will usually thicken jam right up.
Can I mix frozen and fresh strawberries together in this recipe for canning preserves?
Absolutely, Paula! I use frozen strawberries for convenience and availability, but when fresh berries are in season, I use those exclusively. Mixing both frozen and fresh should work just fine in this recipe. Enjoy making your preserves!
Hello Olga!
I have 2lbs frozen, so my thought is to just halve the recipe. But, my question is, since I will not be sterilizing the glass containers and they are of several different sizes with metal or plastic screw tops, is that acceptable??
I am not able to get out to buy the typical mason jars ) -:
Thank you in advance for your help!
Patricia
Hi Patricia,
Yes, you can certainly halve the recipe and if you don't sterilize the jars, it doesn't matter what kind of lids you use. Any jar with any type of lid will work, you can just store the jam in the refrigerator. Hope you enjoy the jam!
Thanks, Olga!
Funny, it took forever to reach 215 degrees….wasn’t able to skim
all the foam, hope that’ll be okay.
Will let you know how it goes when I have breakfast ( -:
You're welcome! Yes, getting it to 215 degrees can definitely be the longest part of the process. As for the foam, it should be fine – not skimming it won’t affect the jam’s taste. Hope you love the jam when you try it at breakfast! Let me know how it turns out!
How much sugar and lemon juice do I use sure jell in this
I do not add any sure jell at all. The lemon juice and sugar will help to set the jam and cooking it long enough will concentrate it as well.
My 1sr time using frozen strawberry. I can a lot of different things I'm 77 but never us frozen before but I'm going to try I have 5 lb. Of frozen strawberry's so how much sugar should I use and how much lemon juice
Ruthreece9@gmail.com
5 lbs vs 4 lbs isn't much of a difference, Ruth, you can even use the same amount of sugar and lemon juice, or add a bit more, if you'd like.
I have searched and made MANY strawberry jam recipes, MANY! I could never find one that tasted the way I wanted it to. First, most were too sweet. A family member (child) was diagnosed with food allergies which made me more aware of the need for simple ingredients. THIS RECIPE IS THE WINNER!
As soon as my first batch was made, I spread some of the extra jam on some toast and at that moment I knew that this was the taste I've been searching for years. THANK YOU, THANK YOU! These will be going out in Christmas Baskets this year and every year after. P.S. I used frozen strawberries.
That's wonderful, Angela. I am so happy that you were so pleased with the jam recipe. Thank you for taking the time to write.
Can I use unthawed strawberries for freezer jam? I had to unthaw because I didn’t know how many berries were in the container.
Freezer jam is made using a different method than this recipe that I have posted. I have never used frozen or thawed strawberries for Freezer Jam, only fresh, so I am not sure if it will work or not. When using frozen berries, I always cook the jam using the recipe here and have always had great results.
Can I water bath the jam to make sure the jars seal ?
Yes, absolutely.
Hi,
I normally leave my strawberries overnight in the fridge with the sugar been added.
Can I do that with the frozen berries as well ?
I saw in using frozen berries when left to defrost, I loose almost 60% of my volume in the fruit.
Kindly advise
Thank you
Martie
I haven't tried it this way, Martie, so I can't say for sure how that will work. I always start cooking the berries frozen.
Will this thicken as it sits? Flavor is great, easy to make but looks a little
t hin after cooking for 50-60 minutes.
Thanks! Trying soon