
Perfectly poached eggs in silicone cups makes the intimidating process of poaching eggs super easy and foolproof. You'll have just the right shape, with tender whites and yolks exactly how you like them.
Poaching eggs can be quite a challenge, but if you use silicone cups, it takes all the mystery out of it and gives you absolutely perfect results every time. You don't need to create a "vortex" in the water, don't have to sweat trying to get it to set up in the correct shape, worry about the yolk breaking or watch it send out weird streaks.
The silicone cups hold the egg in place and gently cook them just the way you like them - runny yolk, soft poached or more hard cooked. The eggs slide right out of the mold and onto your plate.
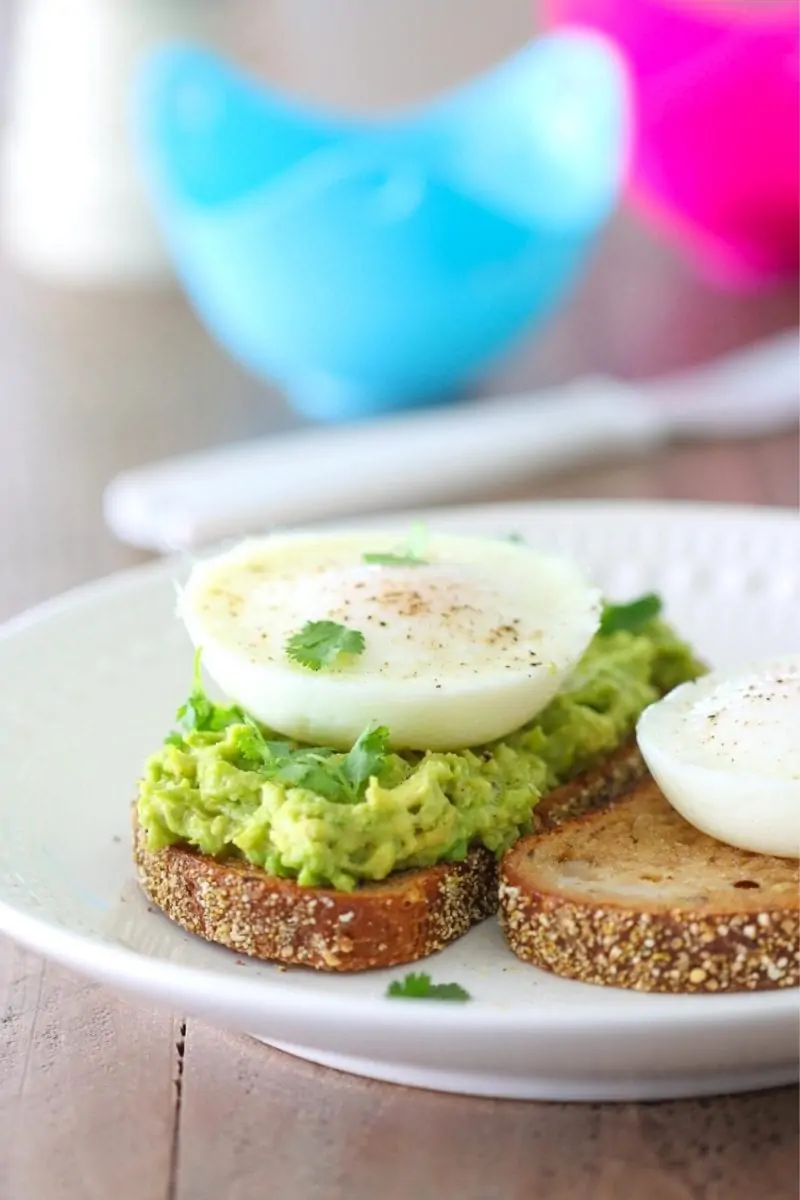
I love to serve mine on top of avocado toast or a potato hash, but there are so many amazing options to enjoyed poached eggs, such as a croissant sandwich with smoked salmon, or even with roasted asparagus and hollandaise sauce.
Watch the video of how to make poached eggs in silicone cups
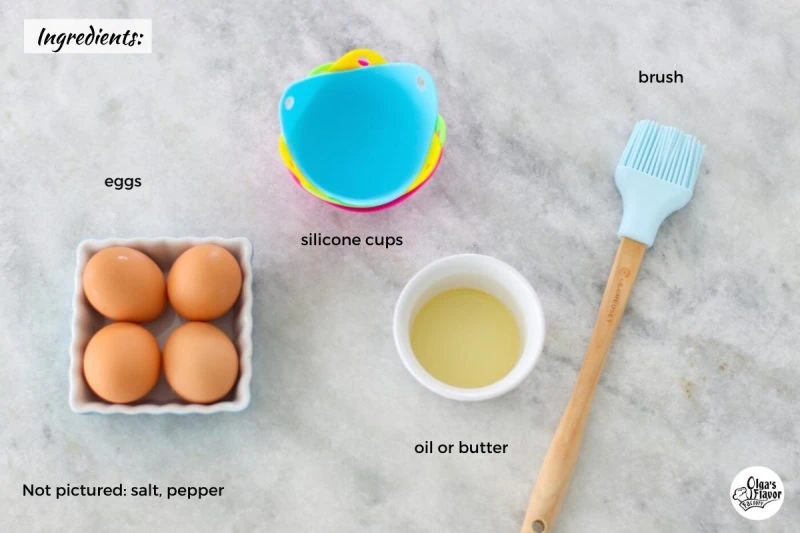
What You Need:
- eggs - I use large eggs, so keep that in mind when I say how much time each time of egg takes to cook. If you use larger or smaller eggs, you will need to adjust the timing.
- oil or melted butter- to brush the center of the silicone cups before cracking in the eggs.
- pastry brush, optional - you can use a paper towel to spread out the oil/butter, but a pastry brush makes it easier.
- silicone cups
- salt, pepper, to season the eggs
- Also not pictured: deep skillet or wide pot to cook the eggs.
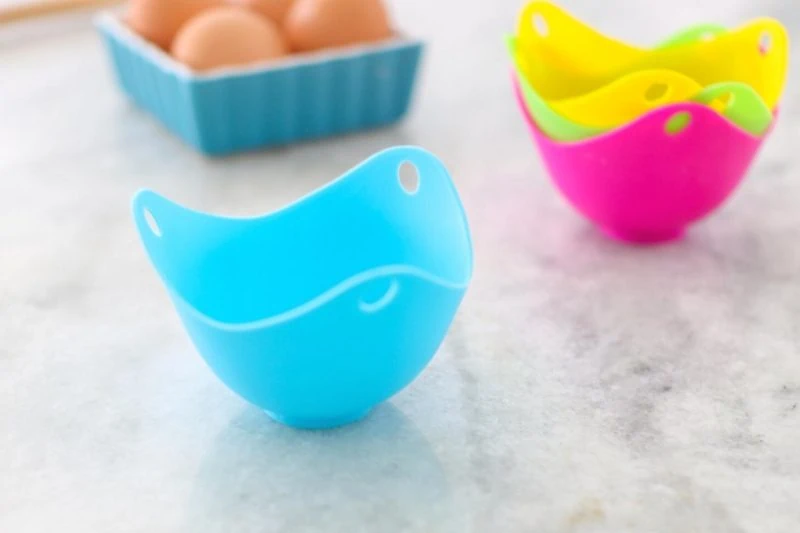
Silicone Cups
I bought mine in a set of 4. They are stackable for easy storage. The three sides with holes at the top make it very convenient to pick up when you're adding them to skillet and then later removing from the hot water. They also are easy to clean.
The exact silicone cups that I have aren't sold anymore, but here's some that are very similar: Silicone Cups For Poaching Eggs (affiliate link)
How To Make Poached Eggs in Silicone Cups
- Bring a deep skillet or large pot of water to a boil.
- Meanwhile, brush the silicone cups with butter or oil on the inside.
- Crack the eggs into the silicone cups. I found it easiest to crack the egg into a small bowl/ramekin first. This way, it was easier to remove an eggshell or other impurities, if needed, first. It also helps to make sure your egg is intact and the yolk isn't broken. Then transfer the egg to the silicone cups.
- Place silicone cups with eggs into the simmering water. When the water it boiling, reduce the heat to a simmer and carefully transfer the eggs to the simmering water, being careful not to get the water into the cups, setting them onto the surface of the water.
- Cover the skillet/pot with a lid and cook, at a low simmer, until the white is opaque and the yolk is as set as you like. 4-5 minutes for runny yolks, 6-7 for soft cooked eggs with slightly runny/"jammy" yolks, 8-10 minutes for hard cooked eggs. Since the silicone cups have a thick edge, it takes longer to cook through than if you would crack the eggs right into the simmering water as you would if using the traditional poaching method.
- Remove the silicone cups from the water.
- Take the poached eggs out of the silicone cups. I had a thin spatula come with my set of silicone cups. If the eggs don't slide out from the silicone cups, use the spatula to go in between the eggs and the silicone cup.
- Season the eggs with salt, pepper and serve with whatever you like, simply on their own, with toast, avocado toast, on top of a potato hash, etc.

What To Serve With Poached Eggs
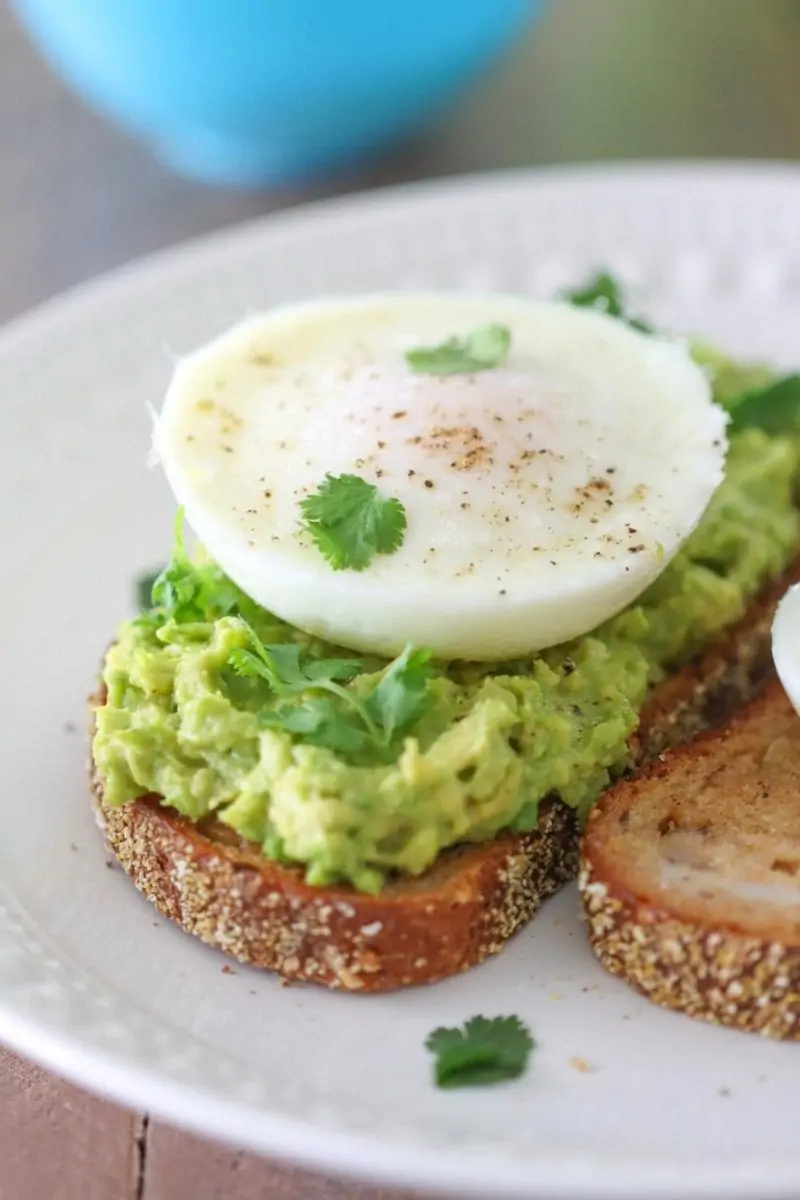
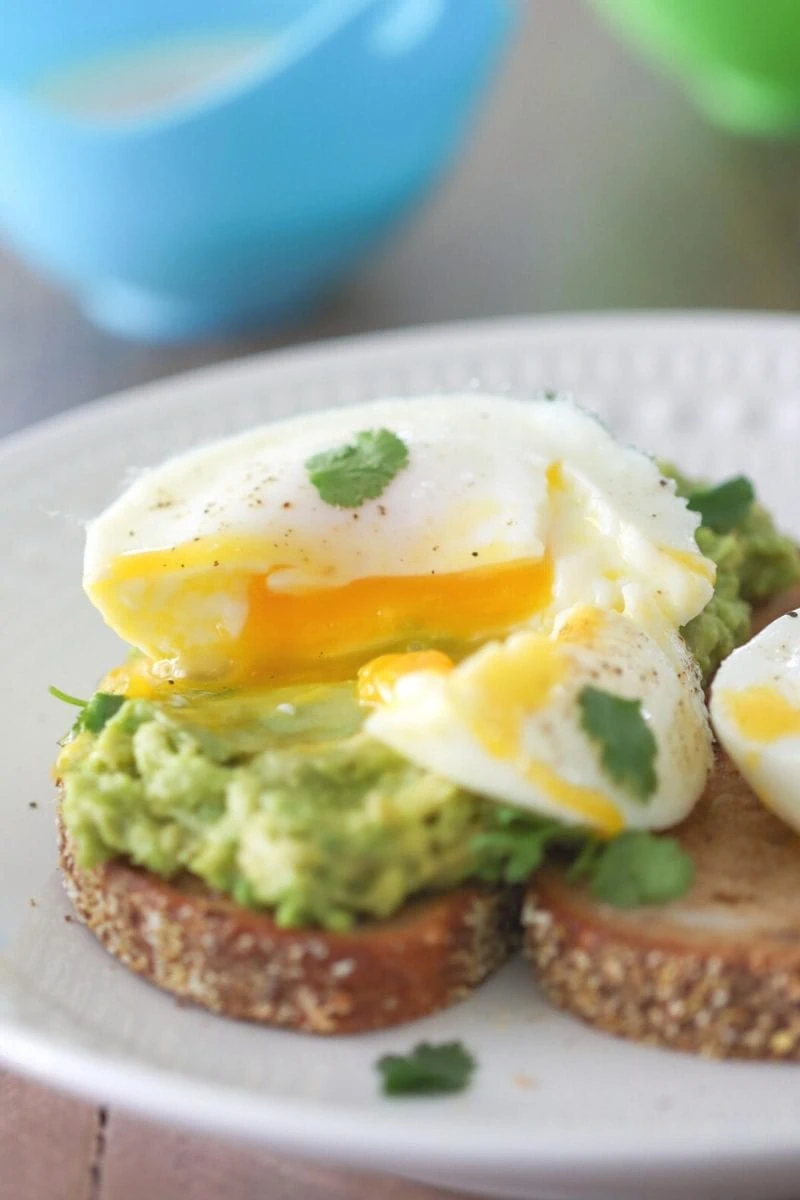
My favorite way to serve poached eggs is with simple toast brushed with butter, or avocado toast. I added a bit of lime juice, salt and pepper to my avocado, spread it on toasted multigrain bread and then added some fresh cilantro.
Want an extra pop of flavor? Add some easy pickled red onions on avocado toast then top with your egg. Amazing!
More Delicious Egg Recipes
Potato and Pepper Hash With Poached Eggs
Croissant Egg Sandwich With Smoked Salmon and Avocado
Egg in a Hole Breakfast Sandwich
Poached Eggs in Silicone Cups

Poached eggs prepared in silicone cups are so easy and foolproof. The eggs have a beautiful shape, very tender and cooked to perfection.
- Prep Time: 5 min
- Cook Time: 5 min
- Total Time: 10 minutes
- Yield: 4 eggs 1x
Ingredients
4 large eggs
oil or melted butter, to brush on the silicone cups
salt, pepper, to season the eggs
Instructions
- Bring water to a boil in a deep skillet or wide pot. Have enough water to cover the bottom by several inches, but leave enough room at the top so it doesn't spill over when you add the silicone cups.
- Brush the inside of the silicone cups with oil or melted butter. Crack the eggs into the silicone cups.
- Carefully transfer them to the boiling water, reducing the heat to a simmer. Cover and cook on low heat, until the eggs are opaque and the yolks are the way that you prefer, 4-5 minutes for runny yolks, 6-8 for soft eggs with "jammy" yolks and up to 10 if you want the yolks to be completely cooked through.
- Remove the eggs from the water and place onto a plate. Gently remove the eggs from the silicone cups. They should slide right out but if they don't, use a thin spatula underneath first.
- Season the eggs with salt and pepper and serve.
- I love serving poached eggs over hot buttered toast or avocado toast with a squeeze of lime and cilantro if I want to make it fancier.


This is great. We love poached eggs, but the dip in water is to much of a mess.