
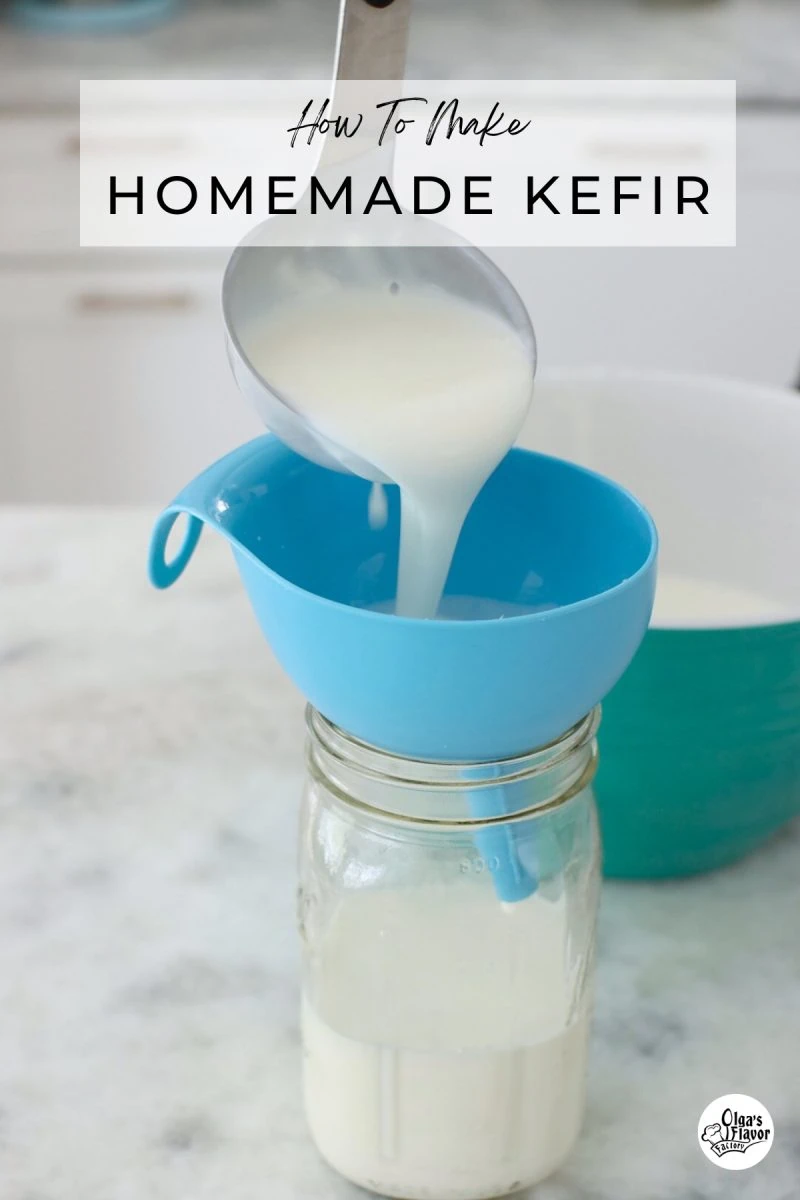
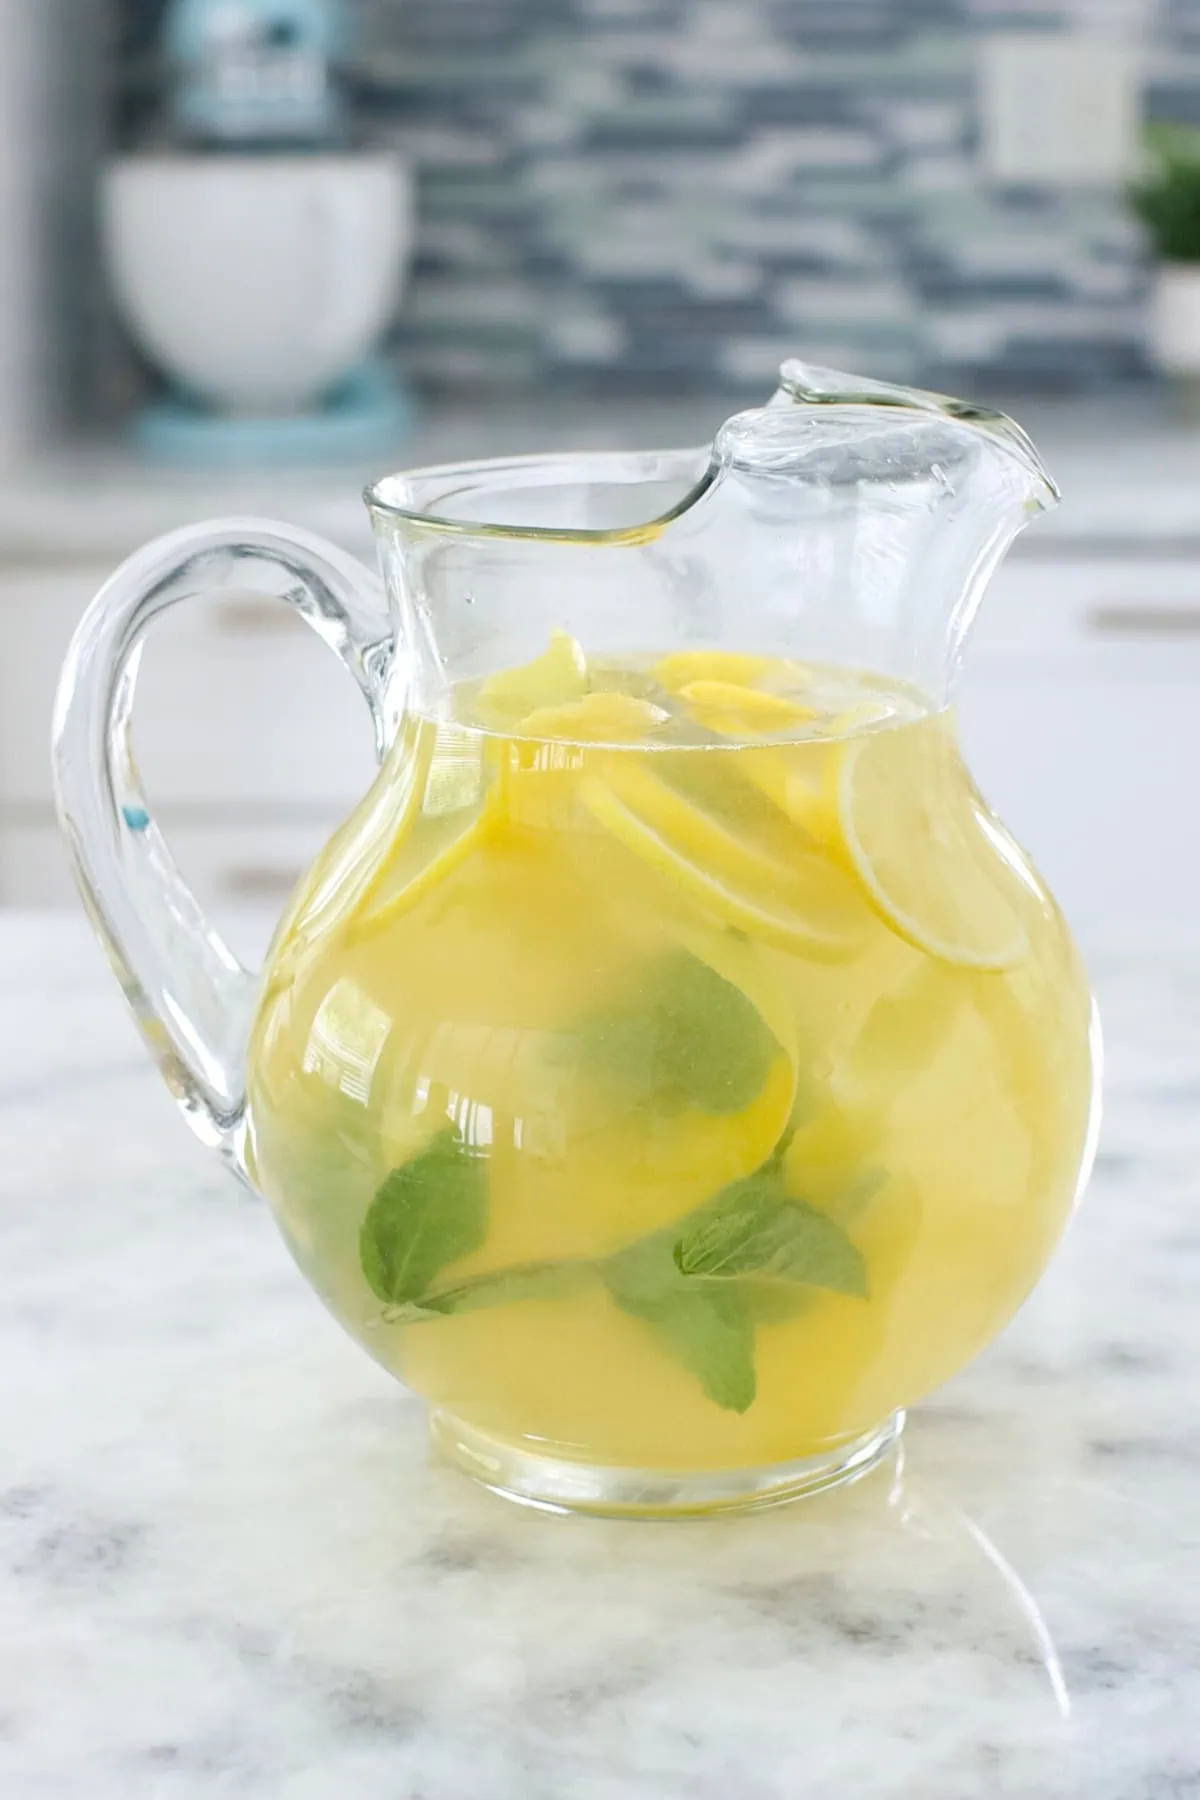
Creamy, tangy and packed with probiotics, homemade kefir is amazing. It's so simple to make and can be enjoyed as a drink or used in countless recipes.
Making homemade kefir is one of the easiest things you can make that is SO healthy and good for you. It literally takes just a few minutes of hands on work and the results are amazing. Every since I started making homemade kefir, I can't get enough and my whole family loves it too.
Kefir is incredibly rich in probiotics and tastes so creamy, tangy and delicious. All you need is some milk and kefir grains. My wonderful aunt shared some of her kefir grains with me after I tried the kefir at her house and we have been hooked ever since.
The delicious kefir can be enjoyed as a drink on its own or used in smoothies and countless other recipes in place of buttermilk. I use it in pancakes, waffles, salad dressing, biscuits and so much more.
Homemade Kefir Video
Ingredients:
The complete list of ingredients and their exact measurements can be found in the recipe card below.
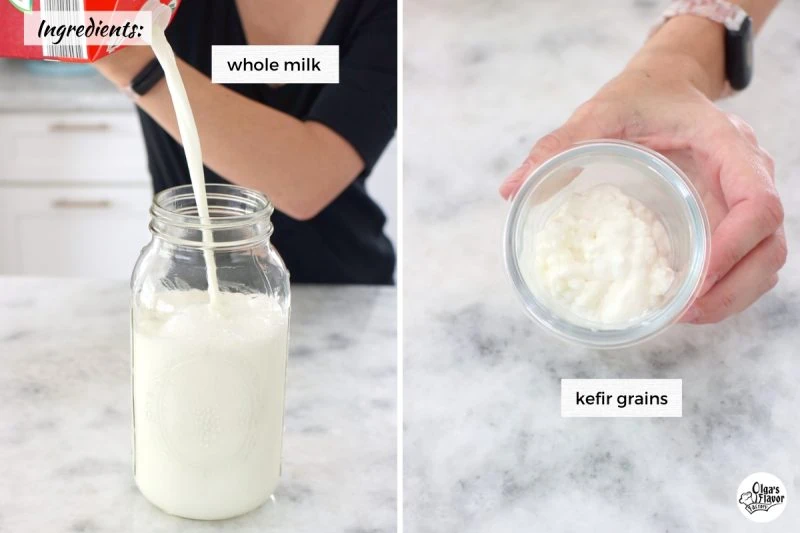
- milk
- I have never made kefir using plant based milks, only dairy milk products. I always use whole cow's milk. I know you can also use goat milk and sheep milk, but I have never tried it.
- kefir grains
- You will need to get some kefir grains to start making homemade kefir.
- I added all the tools and the kefir grains to a separate folder in my Amazon Shop. You can see it all in one place. (affiliate link)
What are Kefir Grains?
Kefir grains resemble small, gelatinous clusters that contain a symbiotic culture of lactic acid bacteria and yeast. When these grains are added to a clean glass jar filled with fresh, whole milk, this serves as the ideal medium for the kefir culture to thrive.
Over the course of 24-48 hours, the kefir grains will work their magic, fermenting the milk through a process of converting the lactose into lactic acid. This transformation gives the kefir its distinctive tart and slightly effervescent flavor profile. As the kefir ferments, the grains will begin to visibly grow and multiply, a sign that the process is working as intended.
Where To Get Kefir Grains
If you know someone who makes their own kefir, you can get some of their grains.
If not, you can order kefir grains and start your own batch. After you make the first batch, you can use the grains to make kefir indefinitely.
How To Make Kefir
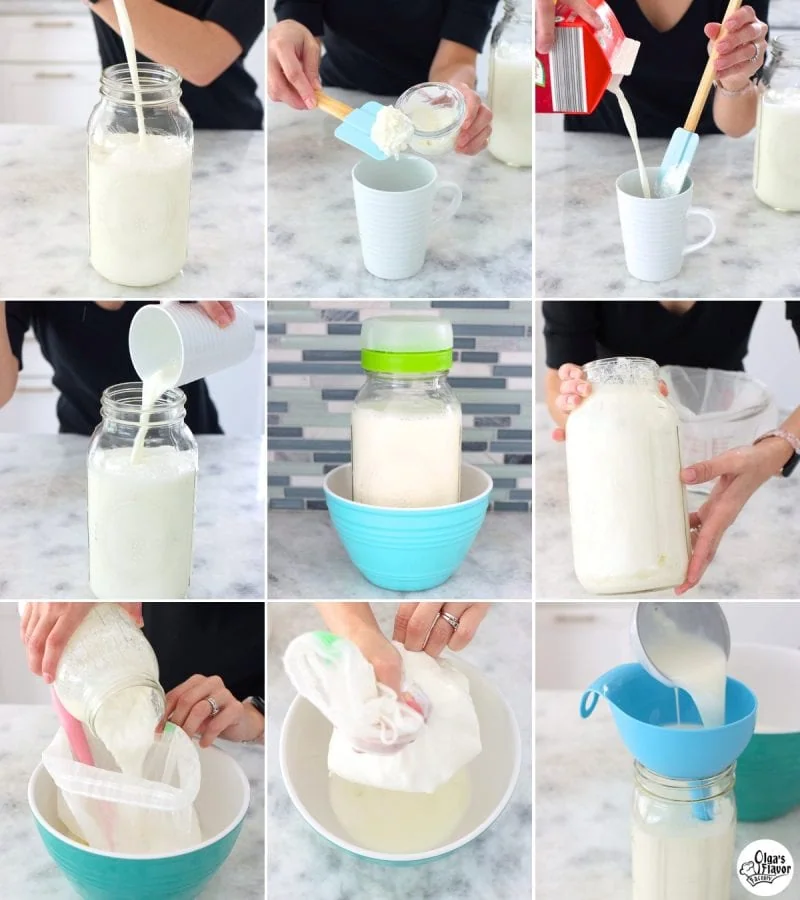
- First, pour your milk into a clean glass jar. I use a half gallon size.
- Then, add the kefir grains to the milk and mix to combine.
- I like to add the kefir to a small cup and mix it up separately with some of the milk and then pour it into the jar with the rest of the milk. It's easier to mix it better this way.
- Cover the jar. I use a vented lid that is great for kefir or sourdough starter. You can use a paper towel, a thin kitchen towel or cheesecloth and put a rubber band over it to keep it in place. You want the kefir to be open to air.
- Here's where the magic happens! Leave the mixture at room temperature for 24-48 hours. The kefir grains will ferment the milk. The milk will get thicker and set, similar to yogurt and you can see curds and whey separating.
- The time will depend on how cold your milk was to begin with and also the temperature of your house. The warmer your house, the faster the kefir will be ready.
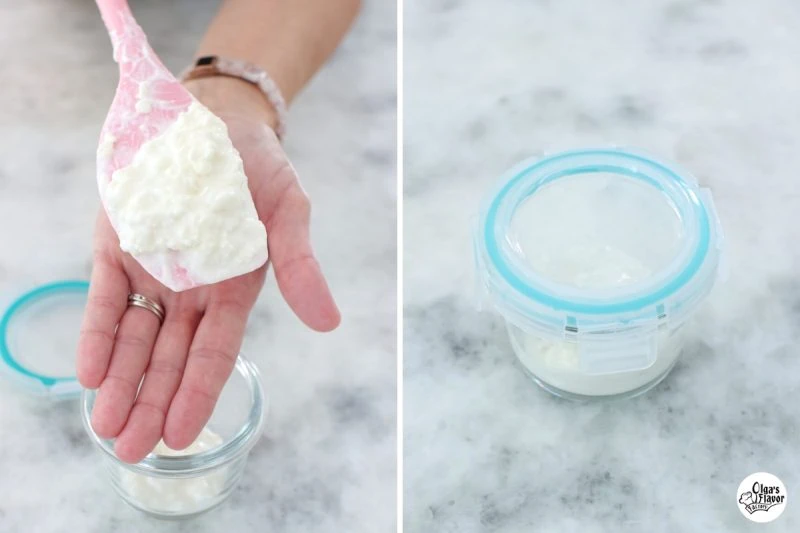
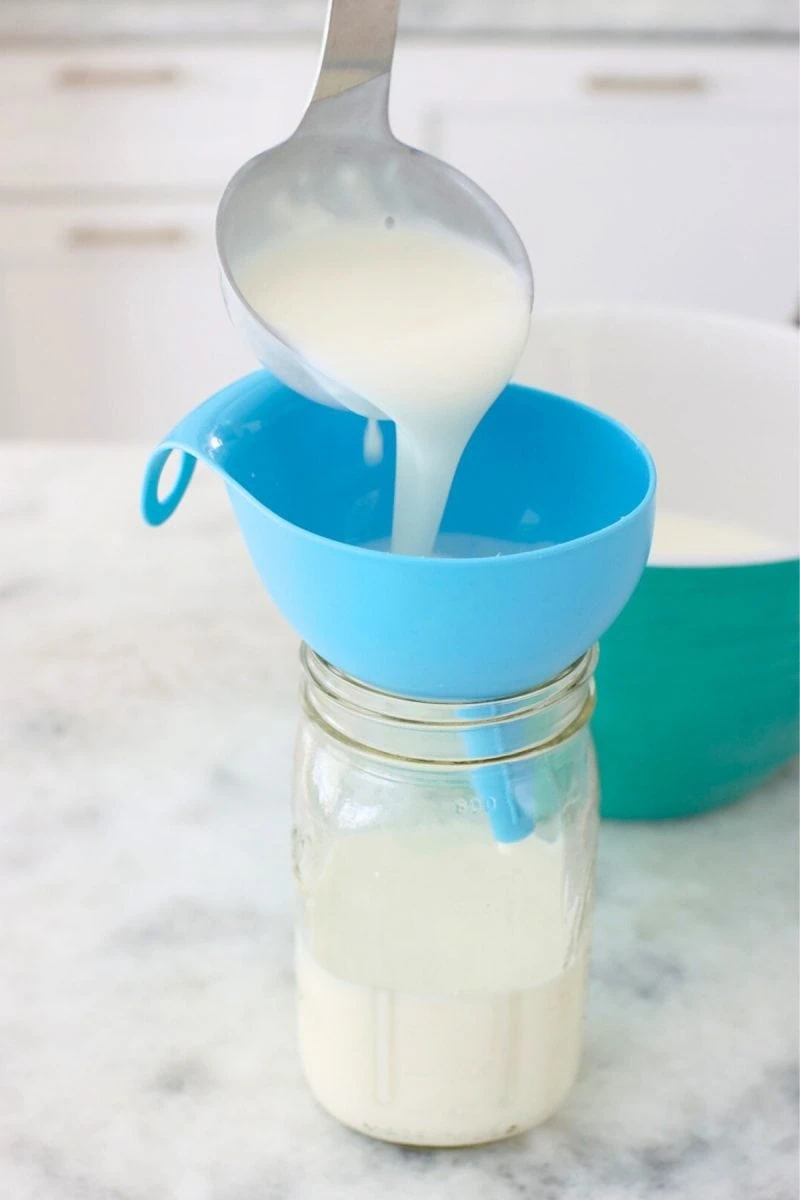
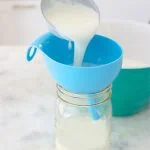
- Strain the kefir through a fine mesh strainer (non metal) or a nut milk bag. Remove all the kefir grains and store in the refrigerator or start a new batch of kefir.
- Transfer the kefir to a glass jar and store in the refrigerator.
How To Store Kefir
Store the ready kefir in an airtight container in the refrigerator for 7-10 days. I like using mason jars to store the kefir in the refrigerator. You can buy these handy lids that have a pour spout and make it easy to pour the kefir from the jar. Of course, you can just use a lid to close the kefir jar too, I like these colorful lids.

How To Store Kefir Grains
You can immediately use the kefir grains and add it to more fresh milk to make your next batch of kefir, or store the kefir grains in the refrigerator in an airtight container until you're ready to make more kefir. I usually make kefir about once a week, but I've also stored kefir grains in the refrigerator for about a month with no issues when we were traveling, etc.
For longer storage, store the kefir grains in the freezer. The kefir grains will multiply, so you can share them with friends and family.
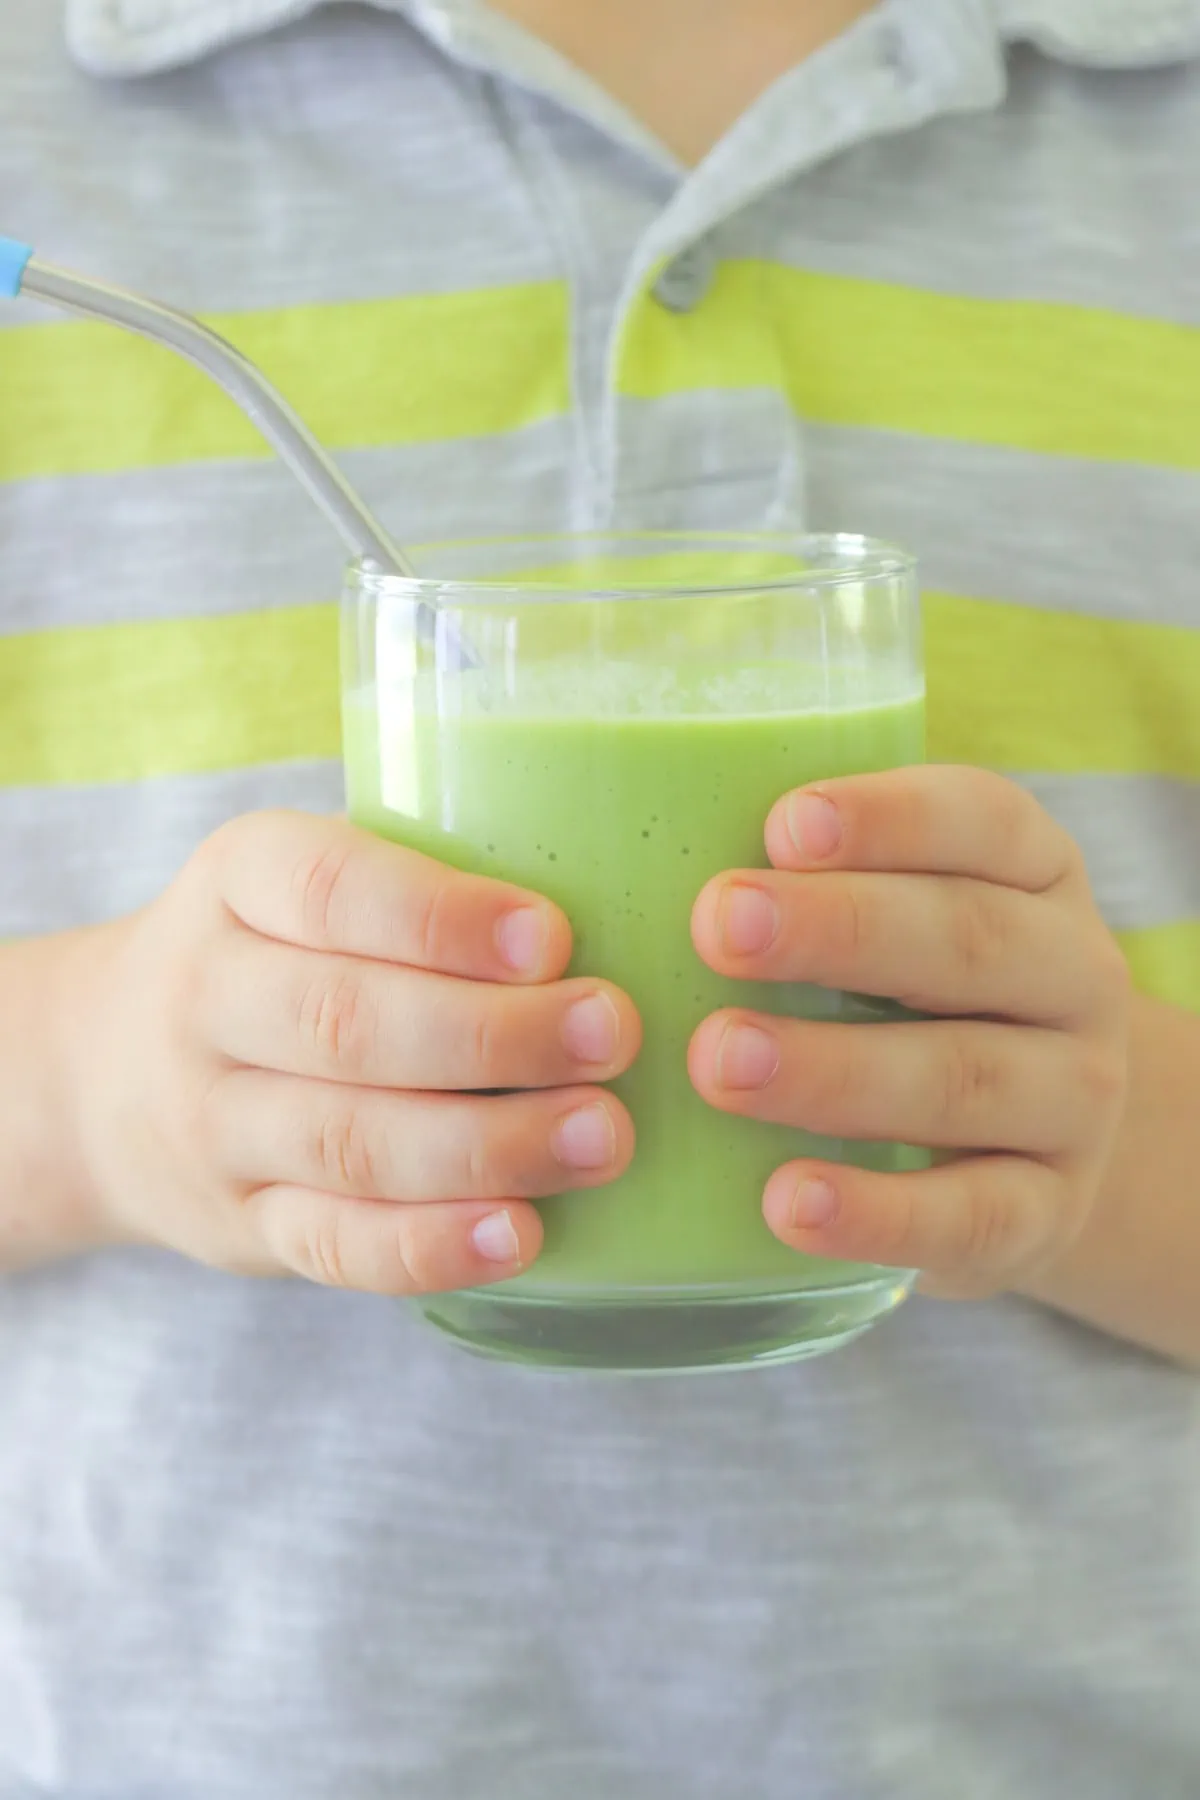
Easy Flavored Kefir (Berry Kefir, Peach Kefir, etc.)
If you're not too excited to drink kefir straight, try making it into some delicious flavored kefir drinks. They sell them in the grocery store, why not make your own? My 7 and 9 year old boys LOVE these drinks and can't get enough of them.
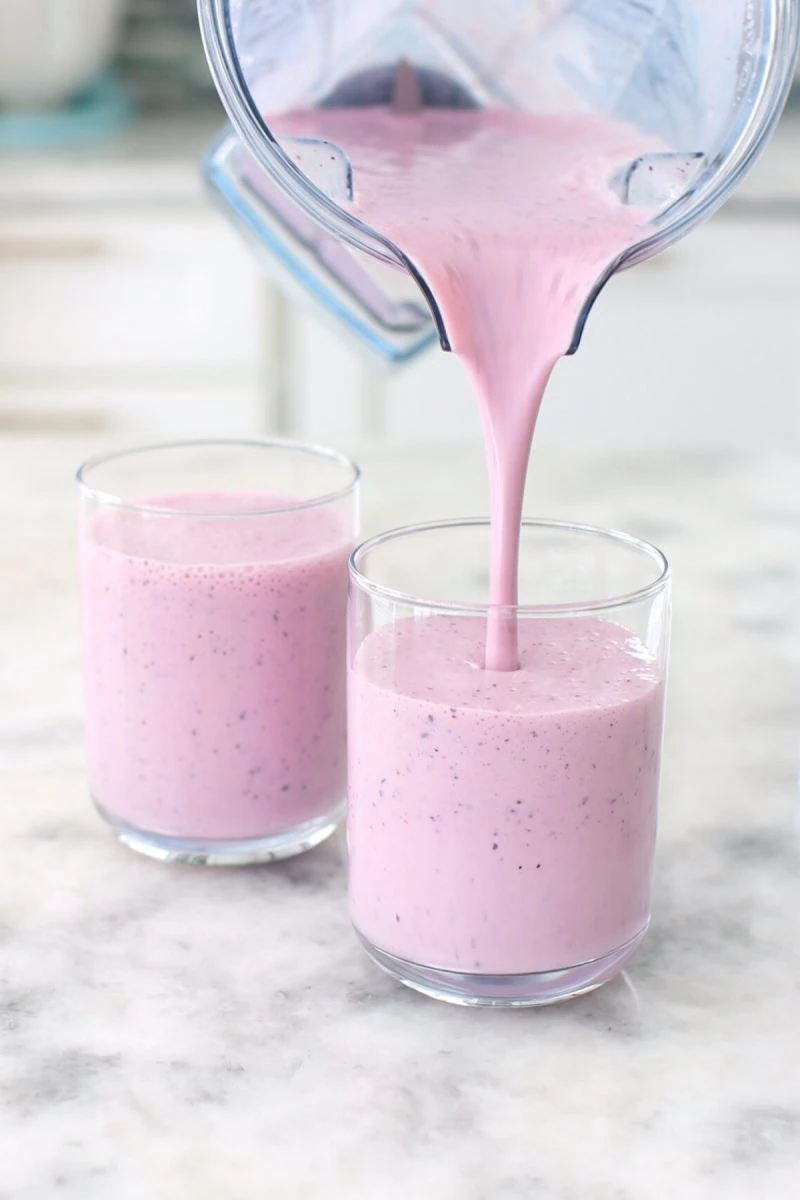
- Pour homemade kefir into the blender.
- Add your choice of fruit to the kefir.
- Next, sweeten it to taste with maple syrup or honey.
- Blend until smooth. Enjoy!
Some of our favorite flavors:
- Any collection of berries - strawberries, blueberries, raspberries, cherries, etc.
- Peaches, apricots, nectarines, mango, pineapple.
- Strawberry Banana
- Banana Peach
For a more subtle flavor, add a bit of kefir to your smoothies

What To Make With Kefir
I use kefir interchangeably with buttermilk. I use it in buttermilk pancakes, biscuits, scones, waffles, dressings and so much more.
It's delicious to enjoy as a drink, but that not be for every palate 😀. In Belarus, drink kefir was very popular, so my husband and I both love it, especially with some pan fried potatoes. (If you know, you know!)
Homemade Kefir
Creamy, tangy and packed with probiotics, homemade kefir is amazing. It's so simple to make and can be enjoyed as a drink or used in countless recipes.
- Prep Time: 5 min
- Cook Time: 24 hours
- Total Time: 24 hours 5 minutes
- Yield: ½ gallon 1x
Ingredients
- half gallon whole milk
- 1 Tablespoon milk kefir grains
Instructions
-
- First, pour your milk into a clean glass jar. I use a half gallon size.
- Then, add the kefir grains to the milk and mix to combine. I like to add the kefir to a small cup and mix it up separately with some of the milk and then pour it into the jar with the rest of the milk. It's easier to mix it better this way.
- Cover the jar. I use a vented lid that is great for kefir or sourdough starter. You can use a paper towel, a thin kitchen towel or cheesecloth and put a rubber band over it to keep it in place. You want the kefir to be open to air.
- Strain the kefir through a fine mesh strainer (non metal) or a nut milk bag. Remove all the kefir grains and store in the refrigerator or start a new batch of kefir.
- Leave the mixture at room temperature for 24-48 hours. The kefir grains will ferment the milk. The milk will get thicker and set, similar to yogurt and you can see curds and whey separating.The time will depend on how cold your milk was to begin with and also the temperature of your house. The warmer your house, the faster the kefir will be ready.
- Transfer the kefir to a glass jar and store in the refrigerator. Store the ready kefir in an airtight container in the refrigerator for 7-10 days.
-
Notes
Use Kefir Instead of Buttermilk
I use kefir interchangeably with buttermilk. I use it in buttermilk pancakes, biscuits, scones, waffles, dressings and so much more.
Make Flavored Kefir
Some of our favorite flavors:
- Any collection of berries - strawberries, blueberries, raspberries, cherries, etc.
- Peaches, apricots, nectarines, mango, pineapple.
- Strawberry Banana
- Banana Peach
Storing Kefir Grains
You can immediately use the kefir grains and add it to more fresh milk to make your next batch of kefir, or store the kefir grains in the refrigerator in an airtight container until you're ready to make more kefir, up to several weeks.
For longer storage, store the kefir grains in the freezer. The kefir grains will multiply, so you can share them with friends and family.

This is the first time that I've read about storing the grains! This is a game changer for me. And the recipe is very different from how it was first explained to me. I can't wait to try it.
Quick question. When you store, are the kefir grains rinsed or prepped in anyway prior to putting them in the container? Should the container be well sealed or should be it loosely covered?
Hi, when you store the kefir grains in the refrigerator, do you strain and keep them in a container with milk or without milk? Thank you
I love kefir made from goat milk! The more fat content in the milk the better kefir taste
Great kefir ideas! Live the kefir smoothie.. great directions