
 My family is very close and we love sharing everything with each other. It's not unusual to discover my phone with 27 group text messages coming in. We like to send pictures, news, funny anecdotes, etc. and share it with everybody via text messages. It's awesome to live in the age of technology. I can watch my nieces growing even though they live so far away; I can see what new nail polishes my sisters are wearing and get excited that the cherry tree in my parents backyard actually grew cherries this year.
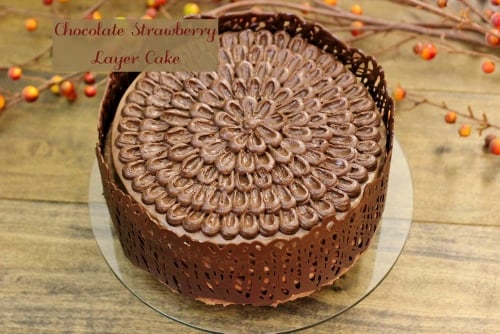
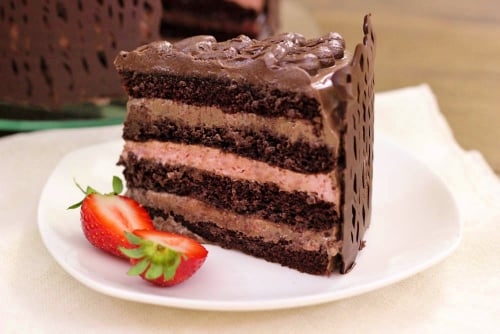
My sisters (and sister in laws) are all great cooks and bakers, so we often share new recipes that we've tried. Recently, on my Dad's birthday, my sister, Karina, made him a birthday cake that the family devoured with gusto, and of course, Mom had to send me a picture. I heard rave reviews from all who ate it. When Karina came down for a visit, making this cake for the blog was on my to-do list for sure. It was surprisingly simple to prepare and took me four times as much time to edit the recipe and pictures as it did to actually bake and decorate. The verdict - it's amazing! The cake is moist and tender, the strawberry souffle goes perfectly with the chocolate and the cream cheese chocolate frosting is so creamy and chocolaty but not too sweet at all. Karina is so creative! This was her idea from start to finish.
The chocolate cake layers are from My Baking Addiction.
Ingredients:
Chocolate Cake:
1 ½ cups sugar
1 ¾ cups flour
¾ cups unsweetened regular cocoa powder
2 teaspoons baking soda
1 teaspoon baking powder
1 teaspoon salt
2 eggs
1 cup buttermilk
1 cup strong coffee, cooled
½ cup oil
2 teaspoons vanilla
Strawberry Mousse:
2 teaspoons gelatin
3-4 Tablespoons water
¾ cup strawberry puree, cooled (½ lb strawberries, ⅛-1/4 cup sugar cooked until soft and then pureed)
½ cup heavy cream, chilled
Frosting:
1 stick of butter (8 Tablespoons), softened
2 (8 oz each) packages cream cheese, softened
1 ¼ cup powdered sugar
4 teaspoons vanilla
½ cup unsweetened regular cocoa powder
1 cup sour cream
⅓ (14 oz) can condensed milk, or to taste
Garnishing/Decorating:
½ pint strawberries, chopped, to add in between the cake layers
6-8 oz chocolate, for decorating
Preheat the oven to 350 degrees Fahrenheit.
Grease 2 (9 inch) round baking sheets with oil. Line the bottom of the pans with parchment paper.
Start by brewing a nice, strong cup of coffee and set it aside to cool.
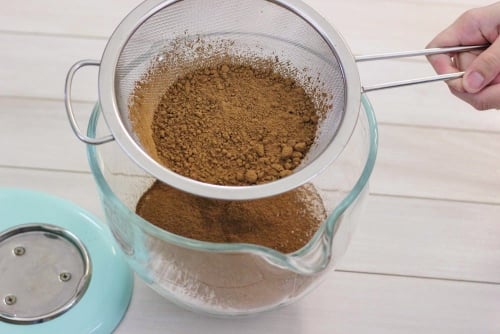
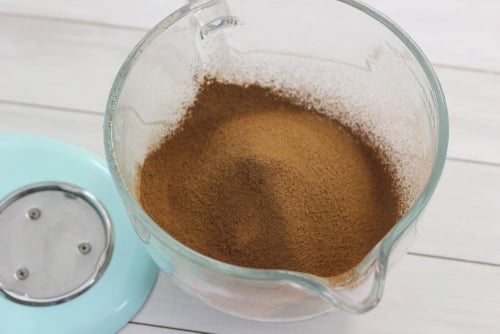
 Combine all the dry ingredients (sugar, flour, cocoa, baking powder, baking soda, salt) in a large bowl and mix to combine. I like to sift in the cocoa powder, since it tends to be very lumpy. Mix them all together.
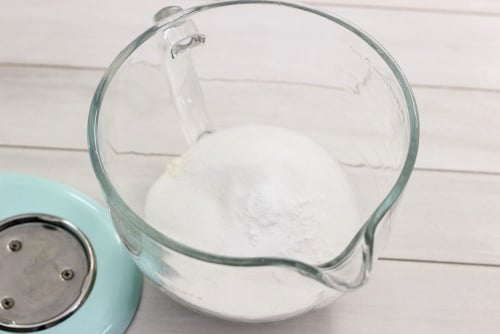
 Mix all the liquid ingredients (eggs, buttermilk, coffee, oil and vanilla) in a large measuring cup.
 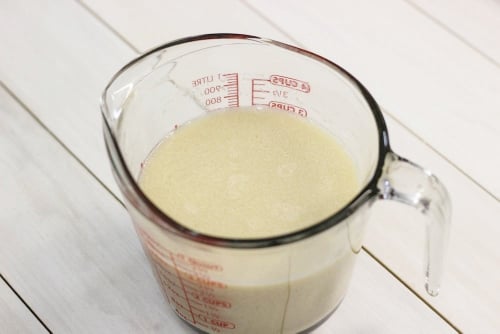 Pour in the liquid ingredients into the dry ingredients and mix to combine.
 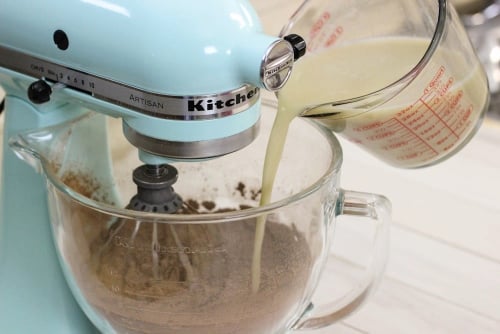 Divide the cake batter evenly between the two cake pans.
 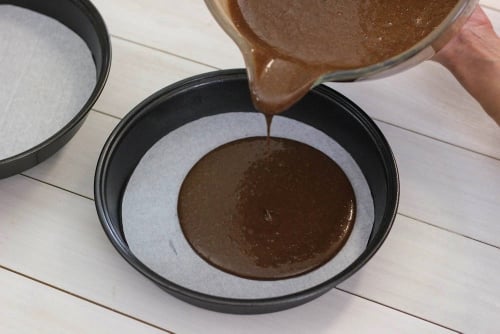 Bake for 30-35 minutes. Cool the cake layers. When they are cool enough to handle, slice each cake layer in half horizontally.
Meanwhile, make the Strawberry Mousse.
Combine the strawberries and sugar in a small saucepan. 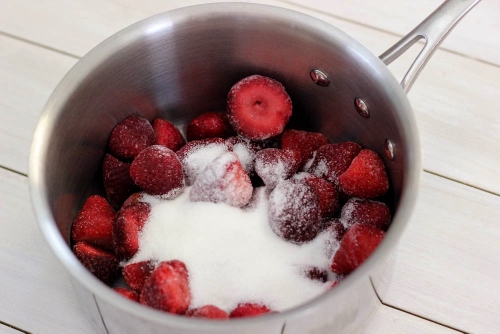 Bring to a boil, reduce to a simmer and cook just long enough for the berries to become soft, about 10-15 minutes.
  Cool slightly and puree in a food processor.
 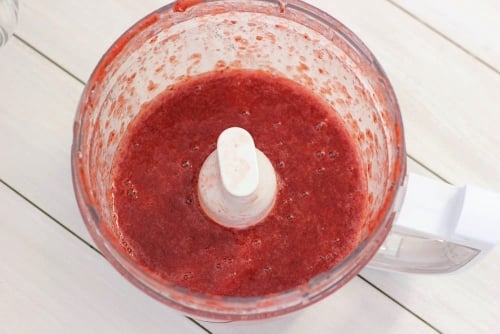 You can also use other berries for this souffle. Raspberries and chocolate are a divine combination, and you can use frozen berries, which means you can make it all year round.
You will most likely have strawberry puree left over. You only need ¾ cup of strawberry puree. I used the remaining strawberry puree as a syrup for pancakes, crepes, waffles, etc. Set aside to cool completely.
Sprinkle the gelatin over the water and set aside to bloom, for about 5 minutes. 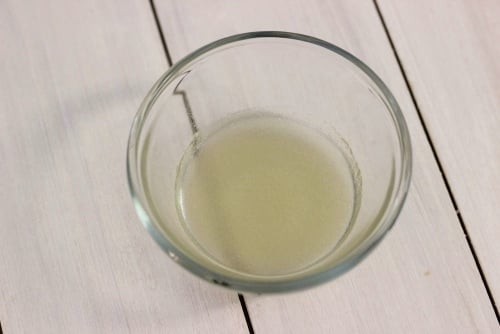 Heat the gelatin in a microwave for just 20-30 seconds, until the gelatin dissolves, but be careful not to boil it.
In a chilled bowl and whisk attachment, whip up the chilled heavy cream. 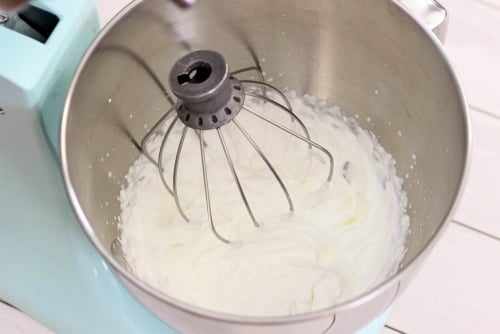 Add the strawberry puree and mix to combine.
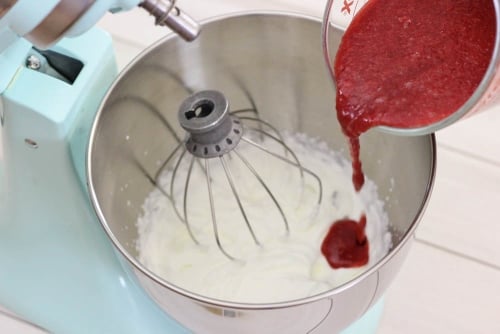
 Pour in the gelatin, mix to combine.
 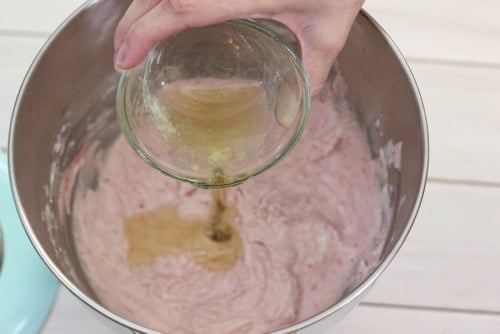 Place the strawberry mousse in the refrigerator for about 10 minutes, just until starts to set.
Meanwhile start making the Frosting.
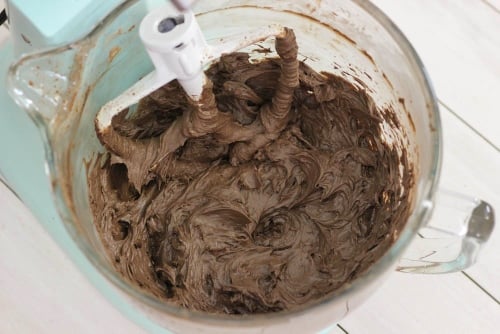
Cream the softened butter and cream cheese in the large bowl of a standing mixer, using a paddle attachment, or a hand mixer, until creamy and fluffy. 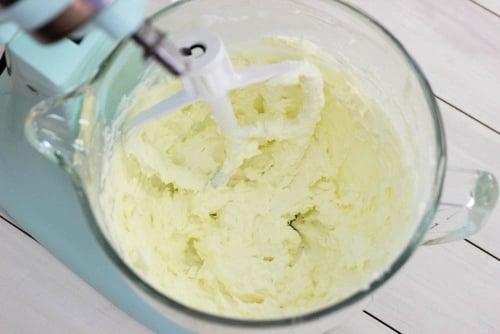 Add the powdered sugar, mix to combine.
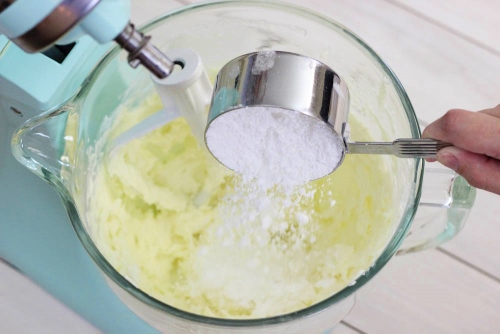
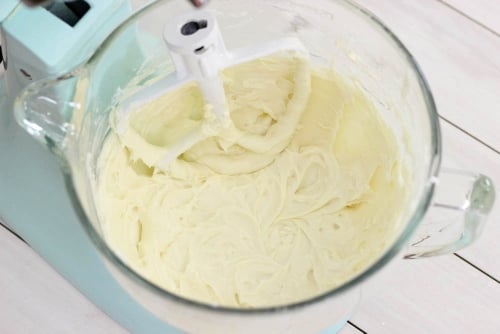 Sift in the cocoa powder and mix to combine.
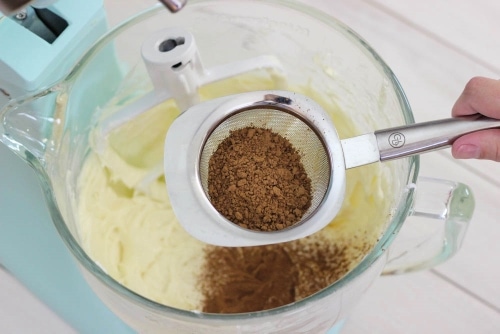
 Divide the frosting in half. Set aside one half to be used to make the chocolate petal design on top of the cake later. Add the sour cream, condensed milk and vanilla to the other half of the frosting and mix to combine.
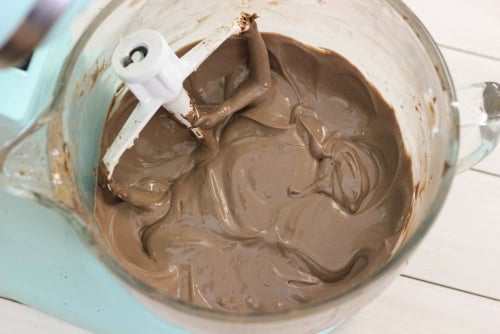 Add as much condensed milk as you like, depending on how sweet you want the frosting to be.
Place some aluminum foil all around your cake platter.
Place a dollop of frosting on the bottom of the plate and place the first cake layer on top of it. Spread some of the frosting on top of the first cake layer. Sprinkle in some of the chopped strawberries on top of the frosting. 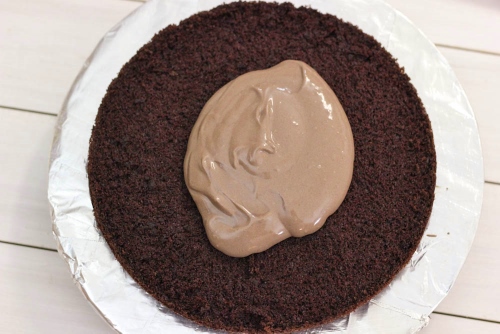
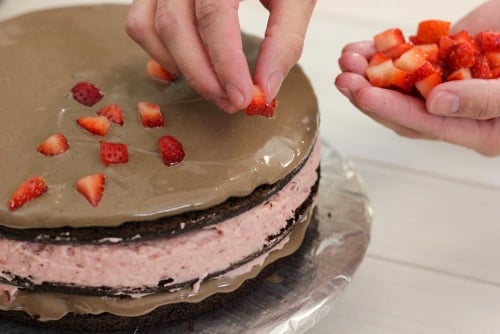
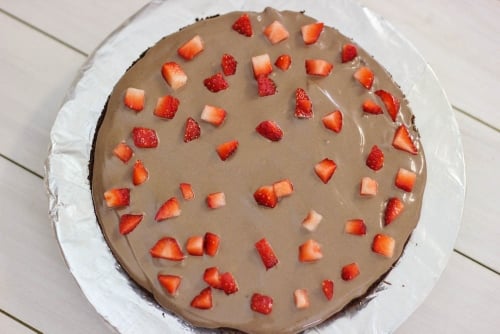 Spread out the Strawberry Mousse on top of the second cake layer, followed by more of the chocolate frosting and strawberries on top of the third cake layer.
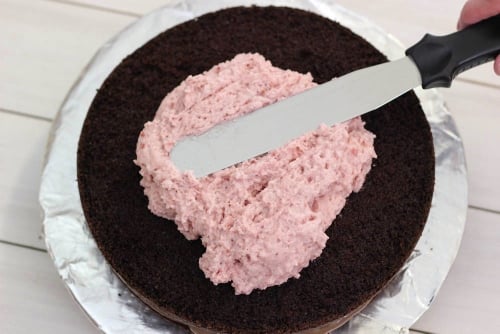
 Frost the top and sides of the cake with more chocolate frosting.
 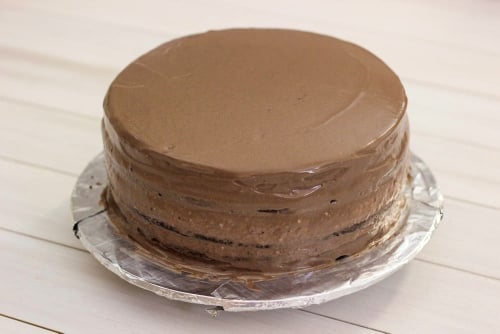 Decorate the cake with a chocolate petals design on top and a chocolate cage around the sides. Remove the aluminum foil from the cake platter and it is magically clean. Yay! I will have additional posts describing in details how to do both.
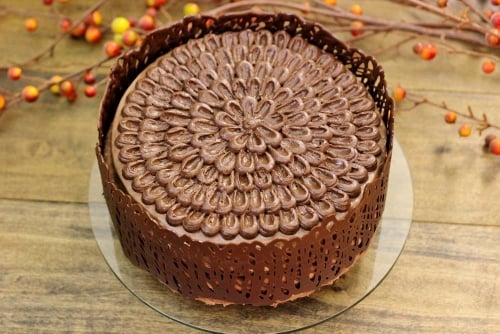
Chocolate Strawberry Layer Cake
Ingredients
Chocolate Cake:
- 1 ½ cups sugar
- 1 ¾ cups flour
- ¾ cups unsweetened regular cocoa powder
- 2 teaspoons baking soda
- 1 teaspoon baking powder
- 1 teaspoon salt
- 2 eggs
- 1 cup buttermilk
- 1 cup strong coffee cooled
- ½ cup oil
- 2 teaspoons vanilla
Strawberry Mousse:
- 2 teaspoons gelatin
- 3-4 Tablespoons water
- ¾ cup strawberry puree cooled (½ lb frozen strawberries, ⅛-1/4 cup sugar cooked until soft and then pureed)
- ½ cup heavy cream chilled
Frosting:
- 1 stick of butter 8 Tablespoons, softened
- 2 8 oz each packages cream cheese, softened
- 1 ¼ cup powdered sugar
- 4 teaspoons vanilla
- ½ cup unsweetened regular cocoa powder
- 1 cup sour cream
- ⅓ 14 oz can condensed milk, or to taste
For garnishing:
- ½ pint strawberries chopped, to add in between the cake layers
- 6-8 oz chocolate for decorating
Instructions
Chocolate Cake
- Preheat the oven to 350 degrees Fahrenheit.
- Grease 2 (9 inch) round baking sheets with oil. Line the bottom of the pans with parchment paper.
- Start by brewing a nice, strong cup of coffee and set it aside to cool.
- Combine all the dry ingredients (sugar, flour, cocoa, baking powder, baking soda, salt) in a large bowl and mix to combine. I like to sift in the cocoa powder, since it tends to be very lumpy. Mix them all together.
- Mix all the liquid ingredients (eggs, buttermilk, coffee, oil and vanilla) in a large measuring cup.
- Pour in the liquid ingredients into the dry ingredients and mix to combine.
- Divide the cake batter evenly between the two cake pans.
- Bake for 30-35 minutes.
- Cool the cake layers. When they are cool enough to handle, slice each cake layer in half horizontally.
Strawberry Mousse:
- Meanwhile, make the Strawberry Mousse. Combine the strawberries and sugar in a small saucepan. Bring to a boil, reduce to a simmer and cook just long enough for the berries to become soft, about 10-15 minutes. Cool slightly and puree in the food processor. You will most likely have strawberry puree left over. You only need ¾ cup of strawberry puree. I used the remaining strawberry puree as a syrup for pancakes, crepes, waffles, etc. Set aside to cool.
- Sprinkle the gelatin over the water and set aside to bloom, for about 5 minutes. Heat the gelatin in a microwave for just 20-30 seconds, until the gelatin dissolves, but be careful not to boil it.
- In a chilled bowl and whisk attachment, whip up the chilled heavy cream until soft peaks form.
- Add the strawberry puree and mix to combine.
- Pour in the gelatin, mix to combine. Place the strawberry mousse in the refrigerator
Chocolate Frosting:
- Meanwhile start making the Frosting. Cream the softened butter and cream cheese in the large bowl of a standing mixer, using a paddle attachment, or a hand mixer, until creamy and fluffy.
- Add the powdered sugar, mix to combine. Sift in the cocoa powder and mix to combine.
- Divide the frosting in half. Set aside one half to be used to make the chocolate petal design on top of the cake later.
- Add the sour cream, condensed milk and vanilla to the other half of the frosting and mix to combine. Add as much condensed milk as you like, depending on how sweet you want the frosting to be.
Assembling the cake:
- Place some aluminum foil all around your cake platter. Place a dollop of frosting on the bottom of the plate and place the first cake layer on top of it.
- Spread some of the frosting on top of the first cake layer. Sprinkle in some of the chopped strawberries on top of the frosting.
- Spread out the Strawberry Mousse on top of the second cake layer, followed by more of the chocolate frosting and strawberries on top of the third cake layer.
- Frost the top and sides of the cake with more chocolate frosting.
- Decorate the cake with a chocolate petals design on top and a chocolate cage around the sides. Remove the aluminum foil. I will have additional posts describing in details how to do both.

I can't find a tutorial for the chocolate cage. Would you be able to help me out on that?
Thank you
Here you go, Lana - Chocolate Cage. If you ever need to find something, you can type it into the search box. Tips and tutorials, such as this one, can be found under Olga's Tips tab.
Thank you very much. I will try to make it for my brother's birthday this weekend. Thanks for great ideas 🙂
Happy birthday to your brother! Enjoy your family celebration. I'd love to know what you think of the cake once you make it.
Do you have a tutorial on how to make the chocolate cage??
Thanks!
NM...found it! 🙂
Glad you found it, Lily.
How long do I whip the heavy cream? Cant wait to try this cake!!
It depends on your mixer and on how cold the whipped cream is and if you're using a chilled bowl. You should really watch it, because it's very easy to over mix it, and then the whipped cream will taste like butter. As soon as the cream starts to thicken, keep your eye on it.
hi olya....I was making the cakes and they turned out really rounded on top. is that ok? and are the cake layers supposed to be not that sweet?
Hi Angela,
It was definitely sweet enough for me. Plus the jam and frosting are very sweet, so they add more sweetness to the cake. I would not add more sugar to the cake layers. That's my preference though. Maybe you like your desserts sweeter?
My cake layers were pretty flat. If yours cake our rounded, you can just cut off the rounded part. It's not a problem to fix it.
I loved your video, you make it look so easy and I will gladly eat some of that cake with tea right now :).
Thanks, Natasha! Cake with tea is always awesome.
I always wanted to make some cakes but my mom's "step-by-step" recipes didn't turn out good... I was so dissapointed until I found out about your blog. You made me a great baker and cook!!! There are no words to describe how grateful I am!!! May God bless you girl!!!!
What a sweet comment, blueberry!
Thanks so much for your kind words.
Can't wait to make one!!!! i would make it now (even though its night time) but I'm missing some ingredients... 🙁
I made this cake today for guests and everyone enjoyed it. I will definitely make it again.
Next time, I may just add the gelatin to the strawberry sauce on the stove, and then put the sauce in the fridge to bring it to room temperature or even cool. In your photos of this step, the whisk was sitting in the cream, so I thought it was supposed to be mixed that way. When I did, the mousse collapsed and I had to whip more cream and then add the liquefied mixture to it (which kind of diluted the strawberry flavor). All this to say: next time I will have better luck folding the sauce into the cream, little by little.
Still, very delicious! And my friend was impressed with the petal decorating. Next time I will try the cage, too.
Thank you for another yummy recipe!
Hi Jessica!
I'm so happy that you and your guests enjoyed the cake.
Actually, I did mix the strawberry puree with the whipped cream with the whisk and it didn't collapse. The gelatin will hold it together anyway, so I'm not sure why you had any issues with it.
I think either my sauce needed to cool more, or maybe my gelatin got too hot!
Do you have any tips on how to easily cut off rounded cake tops?
Here's a post with some tips about cake baking where I show how I cut my cake layers in half. https://www.olgasflavorfactory.com/olgastips/kitchen-tips/8-cake-baking-tips/
Follow the basic principle, by scoring the cake and then cutting across evenly with a serrated knife.
Gorgeous cake! Love multi-colored layers - my favorite is the pink one right in the middle. Pinning!
Thanks, Julia! I'm glad the cake caught your eye. The strawberry level really adds something special to the cake. I really like the "moussy", luscious texture.
HeyOlga cake looks very good. .I wanna make it this Sunday how did you make the chocolate on top of the cake?
Looks delicious! Bookmarked this to try whenever the next occasion is that calls for cake 😀 thank you!
the cake looks delicious. i want to make it today. can i substitute the buttermilk with something else?
For best results, use buttermilk. However, you can also add some lemon juice or vinegar to whole milk, let it stand for 5-10 minutes until it sours and use it instead. Real buttermilk will be better though.
I like this video. Have been thinking about doing something like this for my recipes.
Thanks, mom's dish:).
I loved this cake! As always awesome step-by-step pictures how to bake a cake... and the teaser is perfect. Thank you Olga, for sharing another great recipe with all of us lovers of food! haha
Thanks, Milana! The best part is always sharing it with my family!
WOW!!!!
NO WORDS!!!!!
I WILL TRY TO MAKE IT FOR SUNDAY AFTER CHURCH LUNCH.
EVERYTHING I MAKE FROM YOUR BLOG TURNED SOOOO DELICIOUS.
THANKS FOR YOUR TREMENDOUS WORK.
Thanks for such a sweet comment, Nina! I'm so glad to hear that you're enjoying the recipes. I'd love to hear what you think of the cake once you've made it.