
 Today I am sharing a bit of a different type of post. Even though this isn't a recipe or a cooking tip, per se, I figure it does have something to do with the kitchen, since it's all about how we painted our dining room china cabinet. It holds our dishes, right?
Sergi and I found a really great china cabinet on Craigslist more than a year ago. We had intended to repaint it even when we bought it, but with my difficult pregnancy, recovery and plain and simple procrastination, this project kept getting put off. Another reason we didn't get to it sooner was that we weren't sure what color we wanted to paint it.
 We finally agreed on a color, made a trip to the paint stores, read a bunch of tutorials online and that's where my contribution ended.
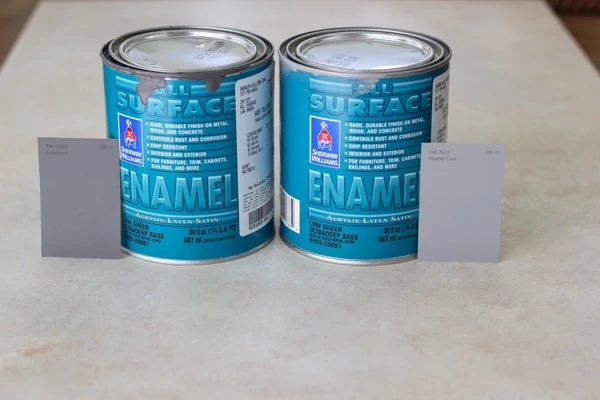
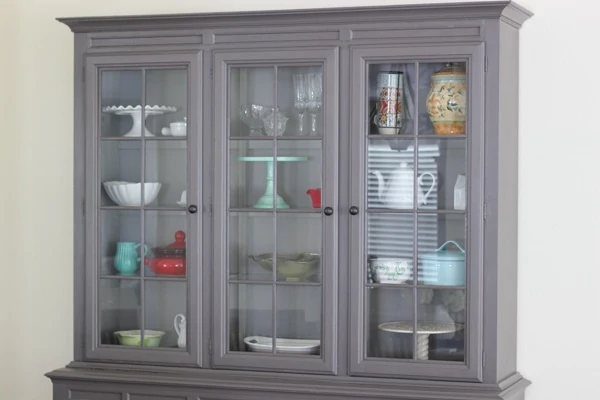
The outside paint color - Folkstone by Sherwin Williams. 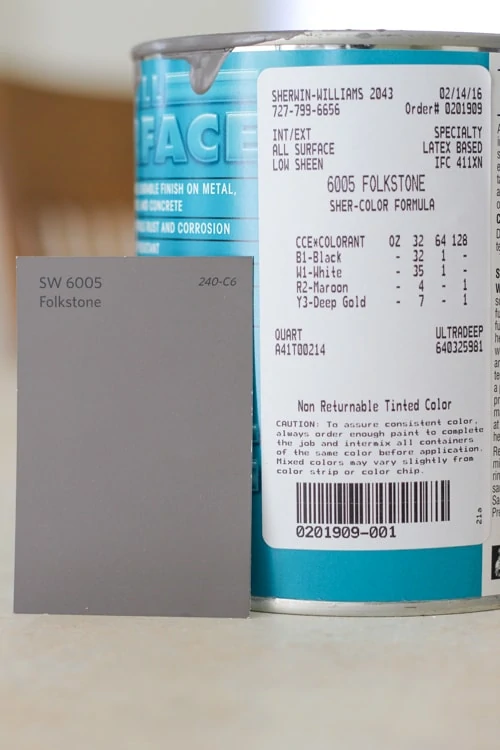 The inside of the cabinet (behind the glass doors) paint color - Pewter Cast by Sherwin Williams.
 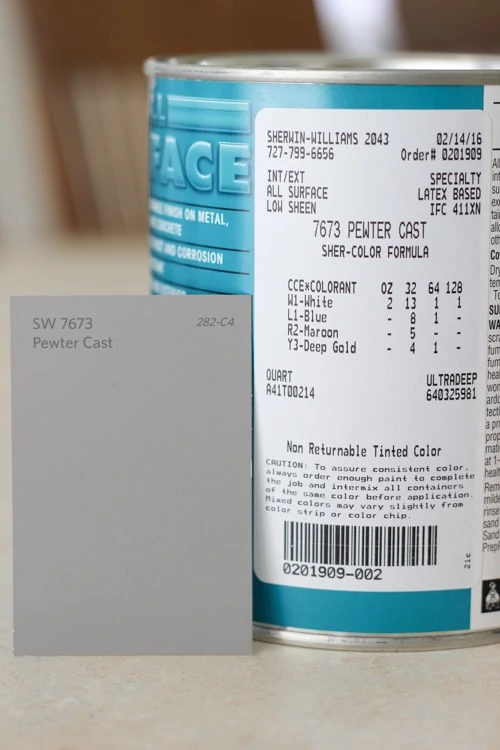 And the paint side by side.
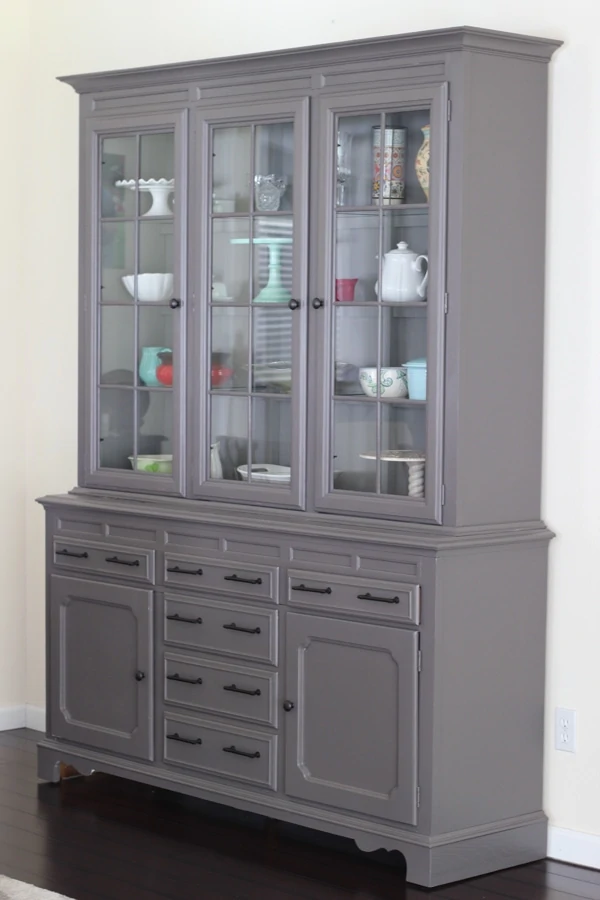
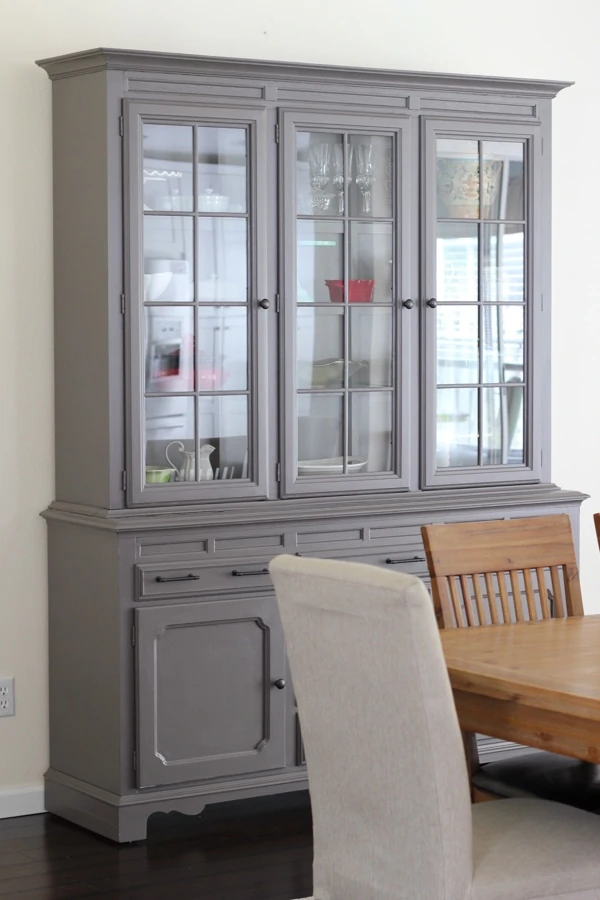
 Sergi did the actual work and it turned out so great! We are so pleased with how it looks and fits in with the rest of our home decor.
The secret to a smooth application of paint (per Sergi) is to first of all buy good quality paint and secondly to do multiple smooth, thin layers of paint. (He used both the roller and the paint brush.) If you put too much paint on the paintbrush or roller, the paint will look gloppy and you will see streaks once it dries.
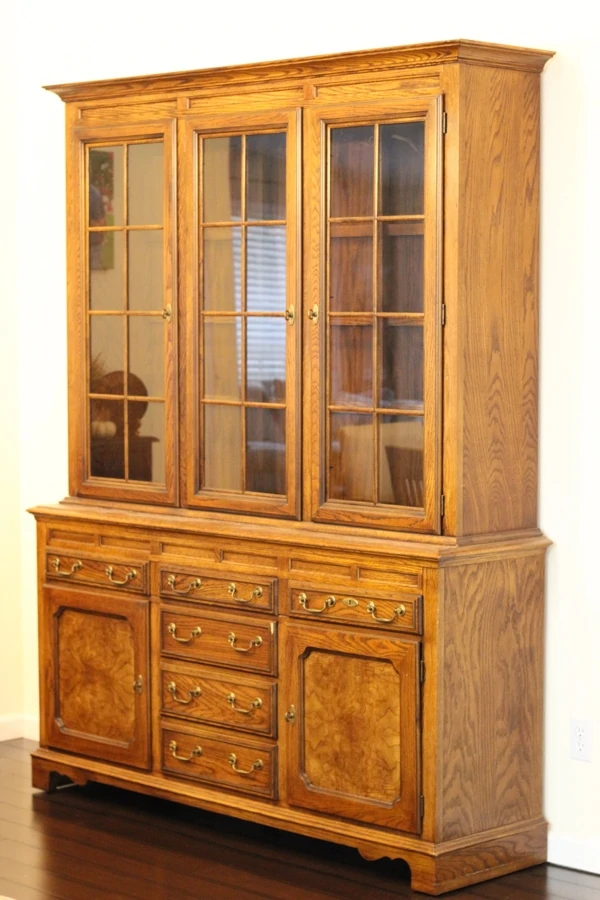
When we first moved into our home, we had a good idea of the type of china cabinet we wanted, but the style that we liked turned out to be so expensive. Isn't that how it usually is?
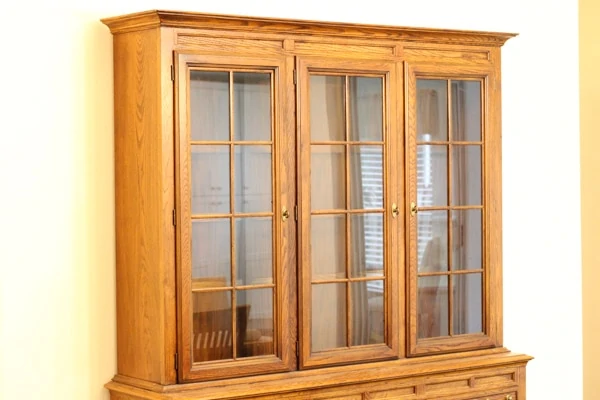
We scoured Craigslist for months hoping that we could find some options there and we finally found the style that we wanted for a really great deal. I wish I remembered how much money we spent, but unfortunately we didn't record it anywhere. The china cabinet is really well built, all wood and was the perfect shape and style that we were going for. It was just the wrong color, but that is now remedied.
A big time saver for this project was that Sergi didn't even sand it.We read many tutorials where others had skipped the sanding and decided to risk it and follow their lead.
First, Sergi scrubbed the whole china cabinet in this TSP, which we got at Home Depot. 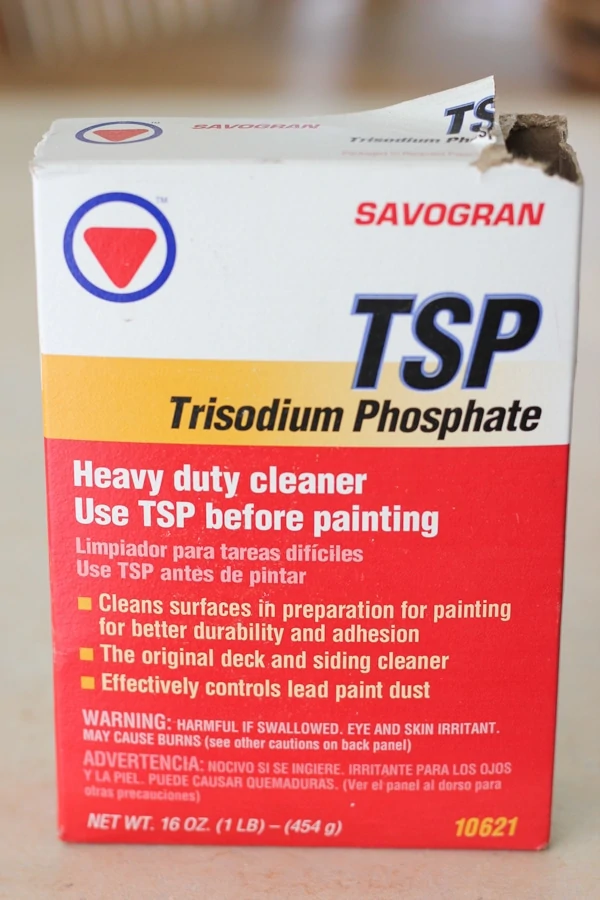 Then he used this primer (which we also got at Home Depot) and covered the cabinet in it.
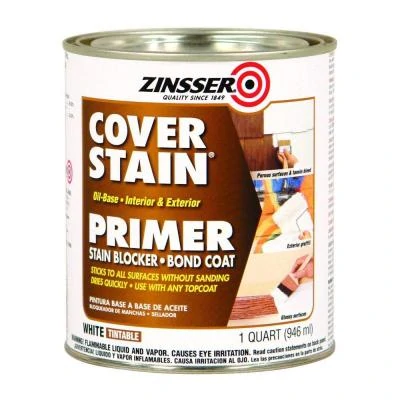
Lastly, we bought the Sherwin Williams paint that I showed you up above. The paint looks so smooth and polished, you would never know that it wasn't sanded.
I love that it has so much storage. All the kitchen items displayed behind the glass are actually pieces that I love and use all the time, so the setup is constantly changing.
 The bottom drawers and cupboards were all used to store my medical supplies for the past year and a half.
 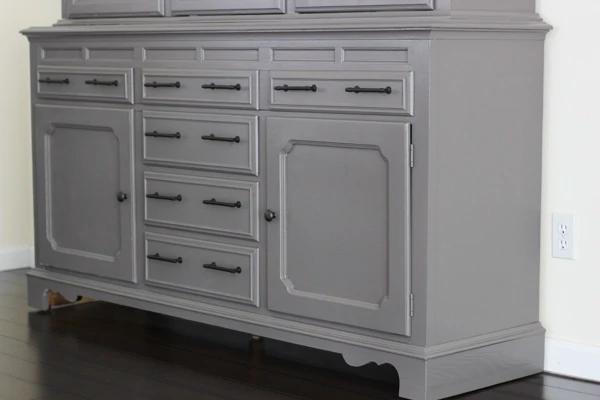 Thank God they are now empty and such a cool space for Nathaniel to explore. He loves opening all the doors, climbing inside the cupboards and storing his treasures inside.
You probably noticed that we changed all the hardware too. We ordered the handles and knobs from Amazon.
We are really happy with how this project turned out. We saved so much money and got this awesome china cabinet that is perfect for our dining room. 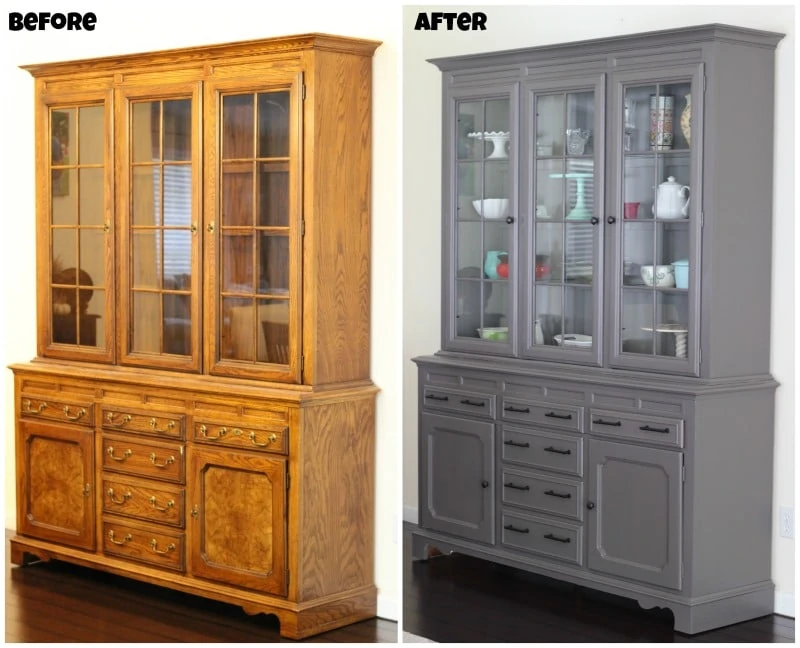 Have any of you been working on any house projects lately? Do you like to buy furniture second hand and then update it?


Hi Olga,
Love how your cabinet turned out. I’m wondering if you used a satin or semi gloss paint? Also, did you seal it will anything after painting.
All the details of the paint are in the picture in this post, Jennifer. I don't remember any other details.
We did not seal it after painting.