
 Today I am sharing a bit of a different type of post. Even though this isn't a recipe or a cooking tip, per se, I figure it does have something to do with the kitchen, since it's all about how we painted our dining room china cabinet. It holds our dishes, right?
Sergi and I found a really great china cabinet on Craigslist more than a year ago. We had intended to repaint it even when we bought it, but with my difficult pregnancy, recovery and plain and simple procrastination, this project kept getting put off. Another reason we didn't get to it sooner was that we weren't sure what color we wanted to paint it.
 We finally agreed on a color, made a trip to the paint stores, read a bunch of tutorials online and that's where my contribution ended.
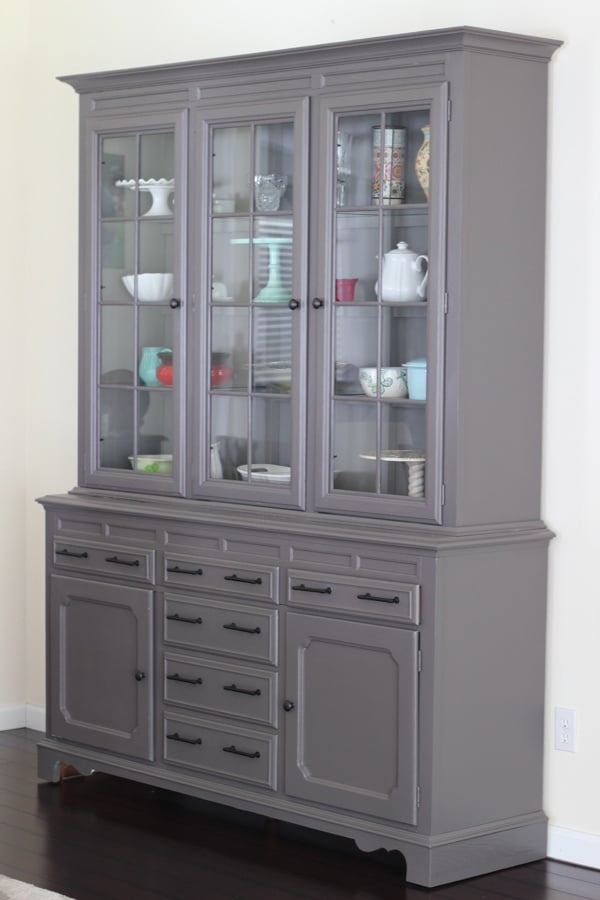
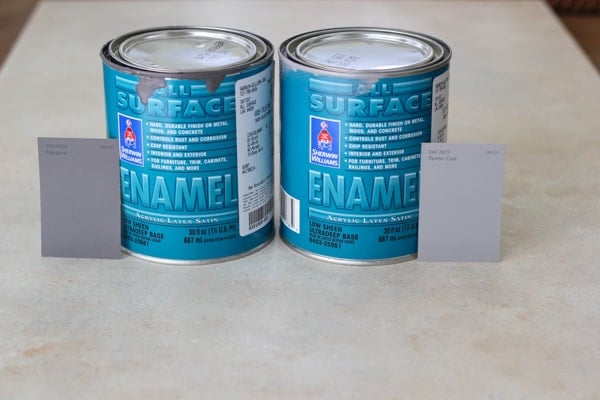
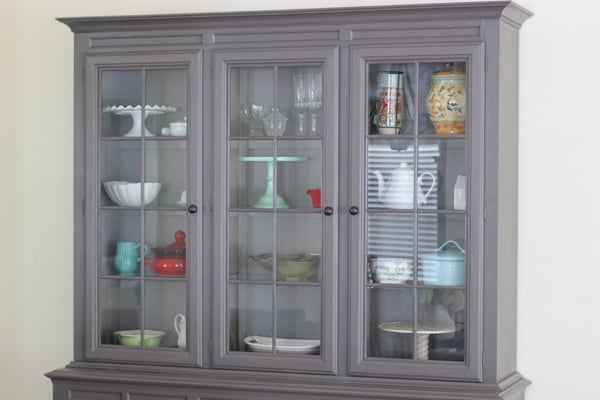
The outside paint color - Folkstone by Sherwin Williams. 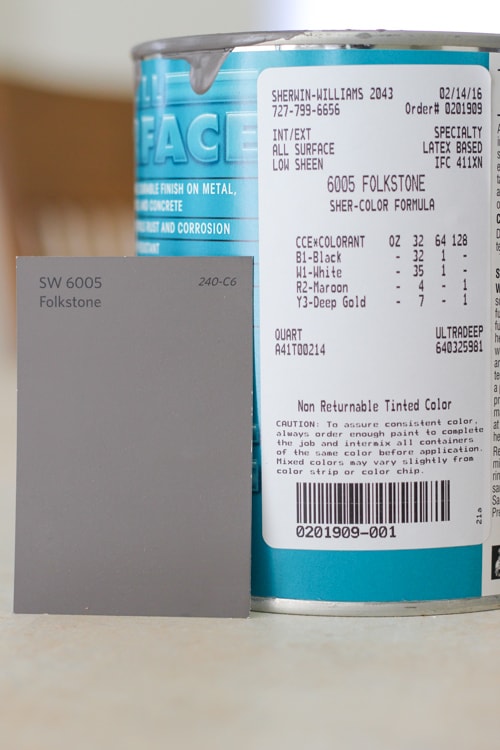 The inside of the cabinet (behind the glass doors) paint color - Pewter Cast by Sherwin Williams.
 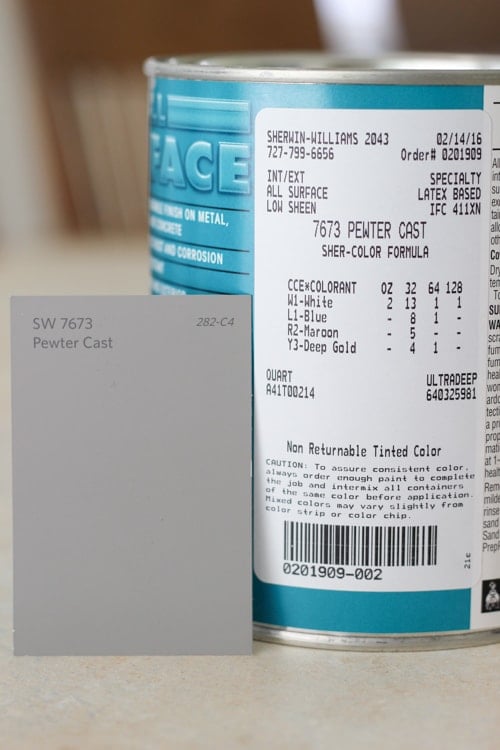 And the paint side by side.
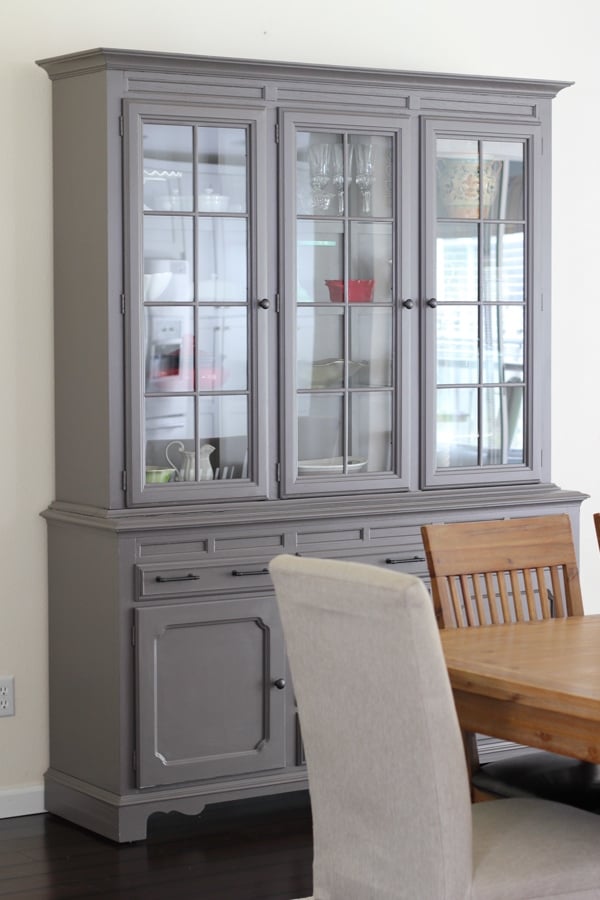
 Sergi did the actual work and it turned out so great! We are so pleased with how it looks and fits in with the rest of our home decor.
The secret to a smooth application of paint (per Sergi) is to first of all buy good quality paint and secondly to do multiple smooth, thin layers of paint. (He used both the roller and the paint brush.) If you put too much paint on the paintbrush or roller, the paint will look gloppy and you will see streaks once it dries.
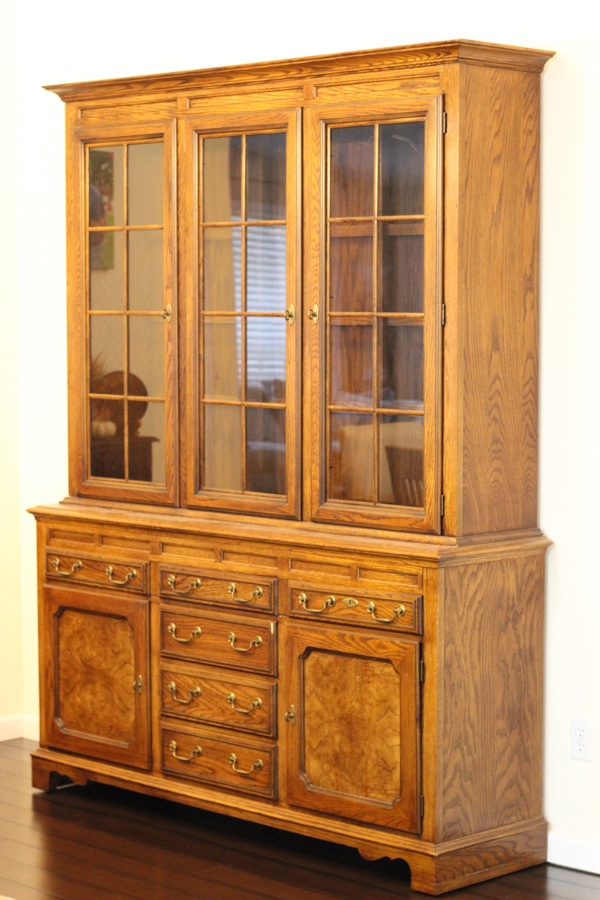
When we first moved into our home, we had a good idea of the type of china cabinet we wanted, but the style that we liked turned out to be so expensive. Isn't that how it usually is?
We scoured Craigslist for months hoping that we could find some options there and we finally found the style that we wanted for a really great deal. I wish I remembered how much money we spent, but unfortunately we didn't record it anywhere. The china cabinet is really well built, all wood and was the perfect shape and style that we were going for. It was just the wrong color, but that is now remedied.
A big time saver for this project was that Sergi didn't even sand it.We read many tutorials where others had skipped the sanding and decided to risk it and follow their lead.
First, Sergi scrubbed the whole china cabinet in this TSP, which we got at Home Depot. 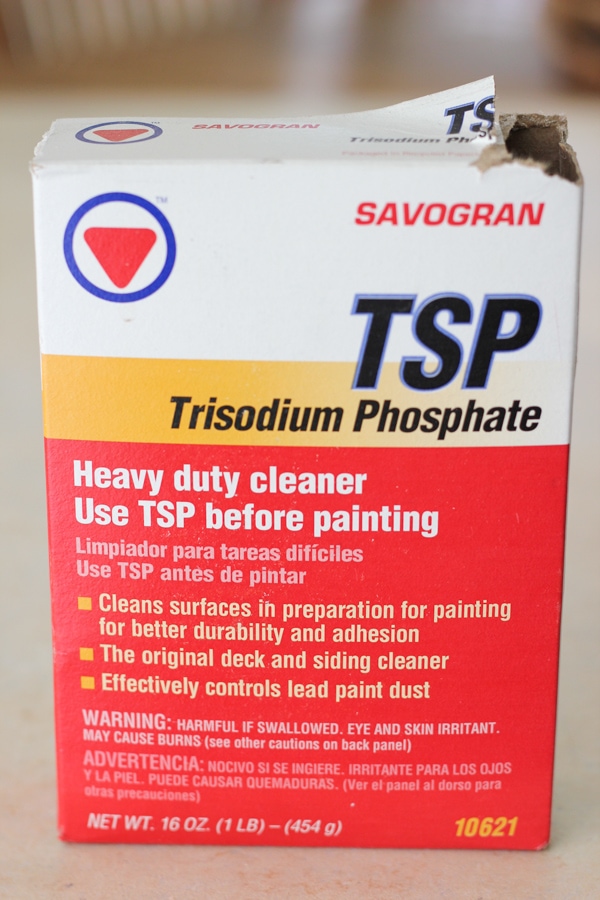 Then he used this primer (which we also got at Home Depot) and covered the cabinet in it.
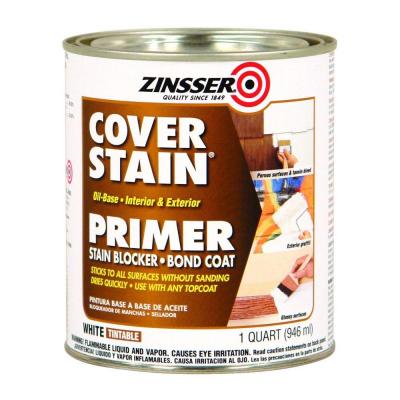
Lastly, we bought the Sherwin Williams paint that I showed you up above. The paint looks so smooth and polished, you would never know that it wasn't sanded.
I love that it has so much storage. All the kitchen items displayed behind the glass are actually pieces that I love and use all the time, so the setup is constantly changing.
 The bottom drawers and cupboards were all used to store my medical supplies for the past year and a half.
 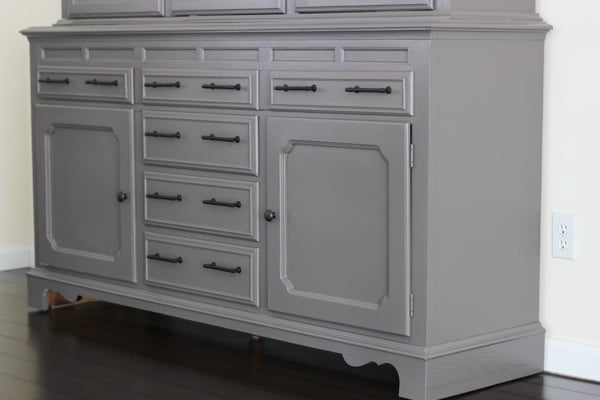 Thank God they are now empty and such a cool space for Nathaniel to explore. He loves opening all the doors, climbing inside the cupboards and storing his treasures inside.
You probably noticed that we changed all the hardware too. We ordered the handles and knobs from Amazon.
We are really happy with how this project turned out. We saved so much money and got this awesome china cabinet that is perfect for our dining room. 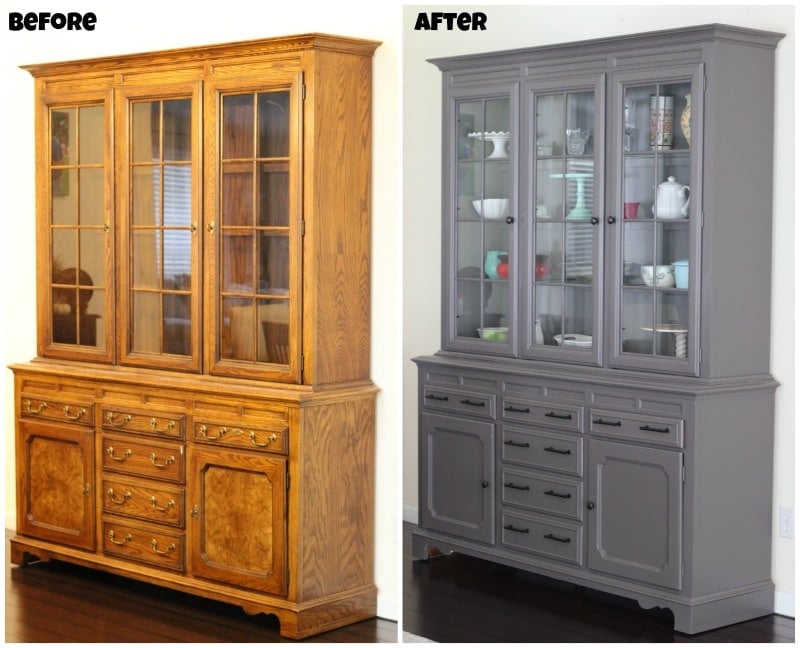 Have any of you been working on any house projects lately? Do you like to buy furniture second hand and then update it?


I also would like to know if you removed the glass to paint the inside of the glass door grids?
Thanks
This seems to be an older post, but would like to know if you took off the door hinges to paint the doors. Did you paint inside the bottom cabinets and the inside of the cabinet doors. What about the drawers? Did you paint anything other then the drawer face.?
I am about to prepare to paint my own china cabinet and the picture of the "after" do not completely answer my questions. I do love the finished cabinet though. Its the project that convinced me to use the darker grey. Thank you for your help.
Hi Susan,
Yes, my husband removed the glass to paint the china cabinet. He painted all of it, the outside and the inside of the cabinet as well. He did not paint inside the drawers - it's just bare wood, not we left it that way, but the shelves inside the cabinets are painted too.
I have a cream colored lacquered dining room set that is so 80's, I wonder if I could paint it like you did, if it would work because it does have a lacquered finish, what do you think? Otherwise if I try to sell as it, I won't get much at all for it and buying something new can get very expensive. Thanks, Kathy
I don't really know, Kathy. We don't have a lot of experience with painting furniture and DIY.
Thank you for sharing! It looks so nice!! You inspired me to repurpose old furniture. It is a huge timesaver to not have to sand! I will give it a try also:-).
Thanks you!
Really like your recipes and blog!😘
So pretty! I have the exact same hutch that we were planning to give to the Goodwill, but I think I’ll keep it and give it a makeover now!
This is great even two years later thank you for your share.
Smart move on using a lighter color inside! I love your site, by the way. I always look forward to new posts!
Thank you, Michelle.
Hi Olga!
I love the way your cabinet looked before and the way it looks now. Both styles are unique and interesting, and none of them made me think of Ikea. It's all about your personal preferences and the overall theme of your house decor. I think you did a great job! Well done guys! x
Thank you, Lena.
Wow Olga it looks amazing!!! Great job!!
Thank you, Olesya.
First and foremost I really like your recipes! But when I look at the cabinet I want to cry! Such a beautiful nice old wood cabinet and now it looks like some thing from ikea 🙁
Personal taste is personal and all that, but seeing such nice old things destroyed for a such a cheap look is sad, sorry.
I'm sorry you feel that way, Lou, but personal taste is personal:). We love how it looks in our home.
I totally agree with you Lou. I personally like more picture BEFORE. It looks much better.
I'm sure there are many others who prefer the original look:). That is why we all decorate our homes differently, because we all have different tastes:).
A few years ago I refurbished an old French Provincial bedroom set for my granddaughter. I went to Hirschfield Paints and they walked me through all the steps. It took a long time but it still looks amazing, like purchased furniture. I gave it a total of four coats. Won't go into detail but it has a furniture appearance not a painted appearance. Nice work on your china hutch. Beautiful.
That sounds wonderful, Gwen. Giving furniture your unique touch and putting in the effort makes it so much more special.
WOW Olga! It looks so beautiful! The fact that you didn't have to sand it first is a huge plus! Also thank you so much for sharing the tips on "how to"; I will def refer to your tips next time we paint a furniture piece.
Skipping the sanding was a huge bonus. We weren't sure if it would even work, but it was worth a try and it paid off. Good luck with your project.
I LOVE it. It looks ahhh-mazing!!!!
I did a project last year. We inherited the piece when we purchased our house and it was the same color as your before picture. Such a great peice and I couldn't wait to refinish it. If you thought I took you long - it took me 3.5 years to mustard up the courage to do it. But I love how it turned out.
House projects are fun, aren't they? Especially seeing the transformation. It can take a while to get around to it though:).
Wow... Such a handy man. Look beautiful ...
He did great job
He sure is handy:). I have a very talented husband.
do you have a link for the handles and knobs
Its looks beautiful..I love the color choice..
Thank you, Olga. We love that color. It is a great neutral color that goes with just about any decor.